Ever since we did our Tissue Paper Mache Eggs from a previous post I've been toying with this idea and have finally completed it. I really wanted the Tissue Paper Mache Eggs to be transparent, but we had to do a few layers so they did turn out beautiful, but they were opaque. I was looking through Scribble Art
a great kid's art book by Mary Ann Kohl and noticed an idea for the yarn eggs, but at the end of the idea it mentioned putting tissue paper over it for an extension. This was my light bulb moment and this is how these Egg Shaped Lanterns came to be!!! I Love how they turned out! I'm so pleased with these!
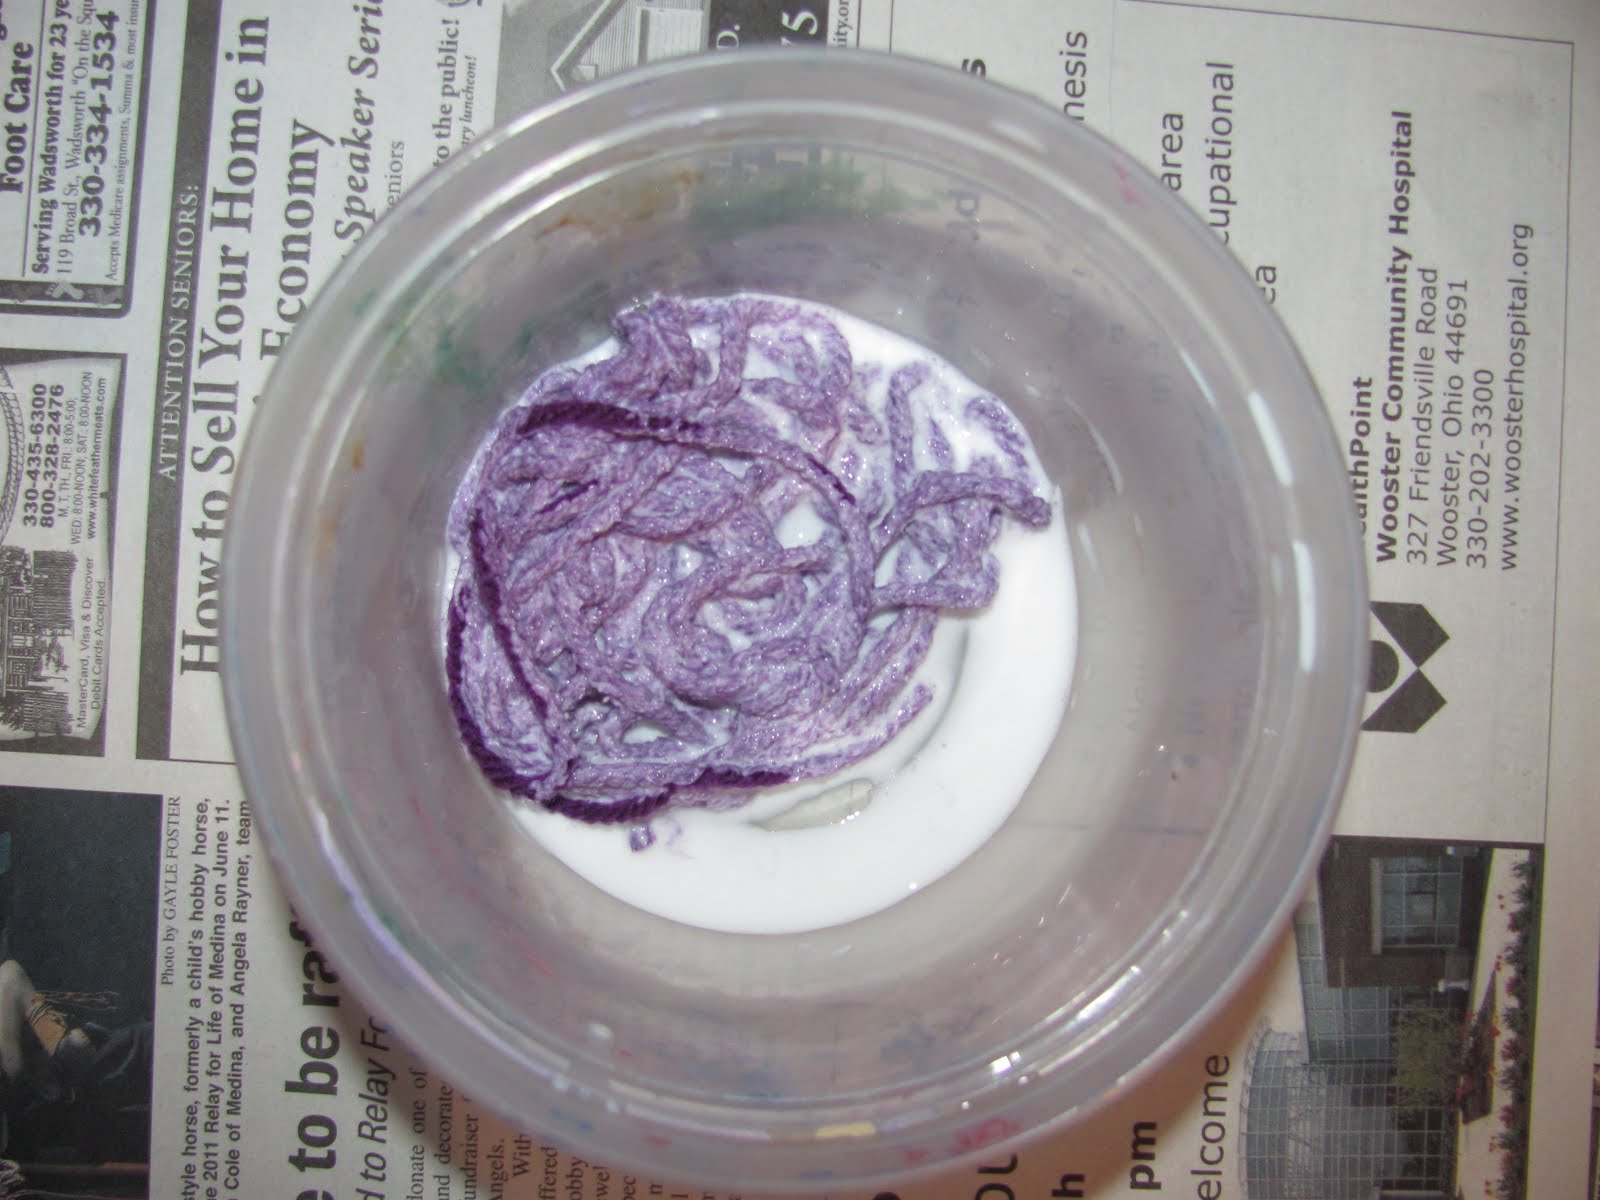
To begin, cut some 12 inch yarn pieces----about 8 pieces or so. You'll need white glue in a container--enough to soak the yarn in!

Soak the yarn in the glue for a few minutes. I spread out the pieces for Cassie because she cannot stand being sticky!!!
Set a water balloon in a cup (I cut down a yogurt container to fit) and you are ready to wrap yarn around the balloon. You can take some glue off between your fingers, but leave most of the glue on the yarn!

Here is Cassie wrapping the yarn on the balloon. I had to help pick the balloon up to get it all around or it will easily fall off the balloon!

Here is our yarn wrapped balloon---we did 2 of these at a time!

Now for the tissue paper part---make sure it is not bleeding tissue! I cut up some squares in put them in a pile. Make a mixture of 2 parts glue to 1 part water to apply the tissue paper. We placed the tissue paper on the yarn balloon and went over it with a brush (Thank you Imagination Tree for the tip!) which made it so much easier to handle because your hands didn't have to get as sticky!

All you have to do is one layer and cover the balloon so that it will be transparent. Don't forget to throw some glitter on too! The great thing is that this only took a day or so to dry and you are ready to pop the balloon and hang! Love this idea!

I punched holes in the tissue paper and attached the yarn or you could attach it to the yarn of the balloon too! This seems like a great indoor patio decoration!
WHAT DO YOU THINK?
This post is linked to:
Those looks like awesome party lanterns! I thought this post was going to be about wrapping yarn around your already made paper mache eggs! I never thought of doing the yarn and then tissue paper! Great result!
ReplyDelete(BTW, HOW did you get your kiddo to do the wrapping at all? We just tried this (sorta) and it turned into a COMPLETELY different project!)
Thanks, as usual, for linking up to the party!
Jamie
Um seriously, these are totally awesome, I am sooooo sharing! maybe you could string some battery powered christmas lights with them so they glow at night too??????
ReplyDeletelovely lovely lovely! thank you for sharing these!
ReplyDeleteThese are wonderful, Melissa! What a fun process (isn't MaryAnn Kohl the best?!) I also like Aleacia's idea about adding holiday lights to them. I bet they'd be gorgeous at night.
ReplyDeleteMelissa!
ReplyDeleteThese are just great!
Brenda
Wonderful lanterns!! Had seen yarn eggs earlier, but adding that tissue made all difference, looks great!
ReplyDeleteWe love Mary Ann's books too, such awesome ideas
Such a wonderful ideas. I think all kids would think this was fabulous. Thanks for the share
ReplyDeleteThanks everyone!!! Yes, I did think of adding lights and I just might!
ReplyDeleteso pretty, melissa!
ReplyDeleteThey look really cool. That's a great idea.
ReplyDeleteThanks for linking up with us. : )
Those are really beautiful!
ReplyDeleteThose are pretty!
ReplyDeleteHi Melissa, I'd been wondering where the name for your blog came from, and just now read the heading here. Now I get it. Cassie wanted to plant a "Chocolate Muffin Tree" - that's a sweet story, and she is a wonderful inspiration for your blog. Our children bring out the best in us I think, and inspire us to do amazing things. When she's older she'll appreciate this story.
ReplyDeleteBrenda
We finally did our paper mache eggs! They turned out really great thanks to your blog posts about them (and your great tip comment that you left for me). So I blogged about it and for some reason left a link to you out....then I noticed and edited it so now it is linked back to your blog. I hope that some one follows it and becomes as inspired as I am when reading your posts. :)
ReplyDeleteLove these! They are so colorful!
ReplyDeleteAwesome!
ReplyDeleteJo @ SmileMonsters
I just LOVE these! I've shared them with my facebook friends :)
ReplyDeleteThanks so much for sharing this at this week's For the Kids Friday Link Party! Hope to have you back again for our next party!!!! I always love your projects!
What do I think?!?!?!? I think these A GORGEOUS!! WOW! how pretty and the light really makes the look wonderful! Such a clever idea AGAIN!
ReplyDeleteThank you for stopping (AGAIN) by at Kids Get Crafty!!!
Maggy
love this project! you could even use them with tiny lights and make some great outdoor lights for any festive occasion. Thanks so much for sharing on Craft Schooling Sunday!
ReplyDeleteFeaturing these in this week's For the Kids Friday Link Party! Stop by and get an A++ button for your awesome work! :) Love it!
ReplyDeleteThey look stunning with the sun shining through, absolutely gorgeous :)
ReplyDelete