Showing posts with label Blottos. Show all posts

Wednesday, February 29, 2012

Painted Blotto Creations

Today I'm guest posting over at one of my favorite blogs: The Imagination Tree.  If you have never checked this blog out it is FANTASTIC!  So many wonderful ideas for Artsy ideas, Sensory Tubs, Baby Play, Treasure Baskets, Messy Play and my favorite: Play Dough ideas.  I consider Anna "The Queen of Play Dough!" So honored to be guest posting on this fabulous blog.

My post is about painting blottos and making them into creations! Pop on over to check out the details of my post here.


Monday, February 6, 2012

Paper Bag Puffy Heart

We are taking part in TinkerLab's Paper Bag Challenge along with many other bloggers.  Hope you check out all the ideas other blogs have done with paper bags after this post!  We've made a few things with paper bags before,  including our Fandango Inspired Paper Bag Puppets and Paper Bag Self Portraits...hope you check those out too.  Paper Bags are so versatile and the great thing is that you can cut them apart to create a surface to paint on or create a sculpture too!  We did both!  Since Valentines and hearts have been our minds, we decided to make a three dimensional version of our Heart Blotto Valentines that we did a couple weeks ago and we also did Heart Blotto T-shirts too!!  Here is one of our Paper Bag Puffy Hearts floating on a cloud of poly-fil stuffing.


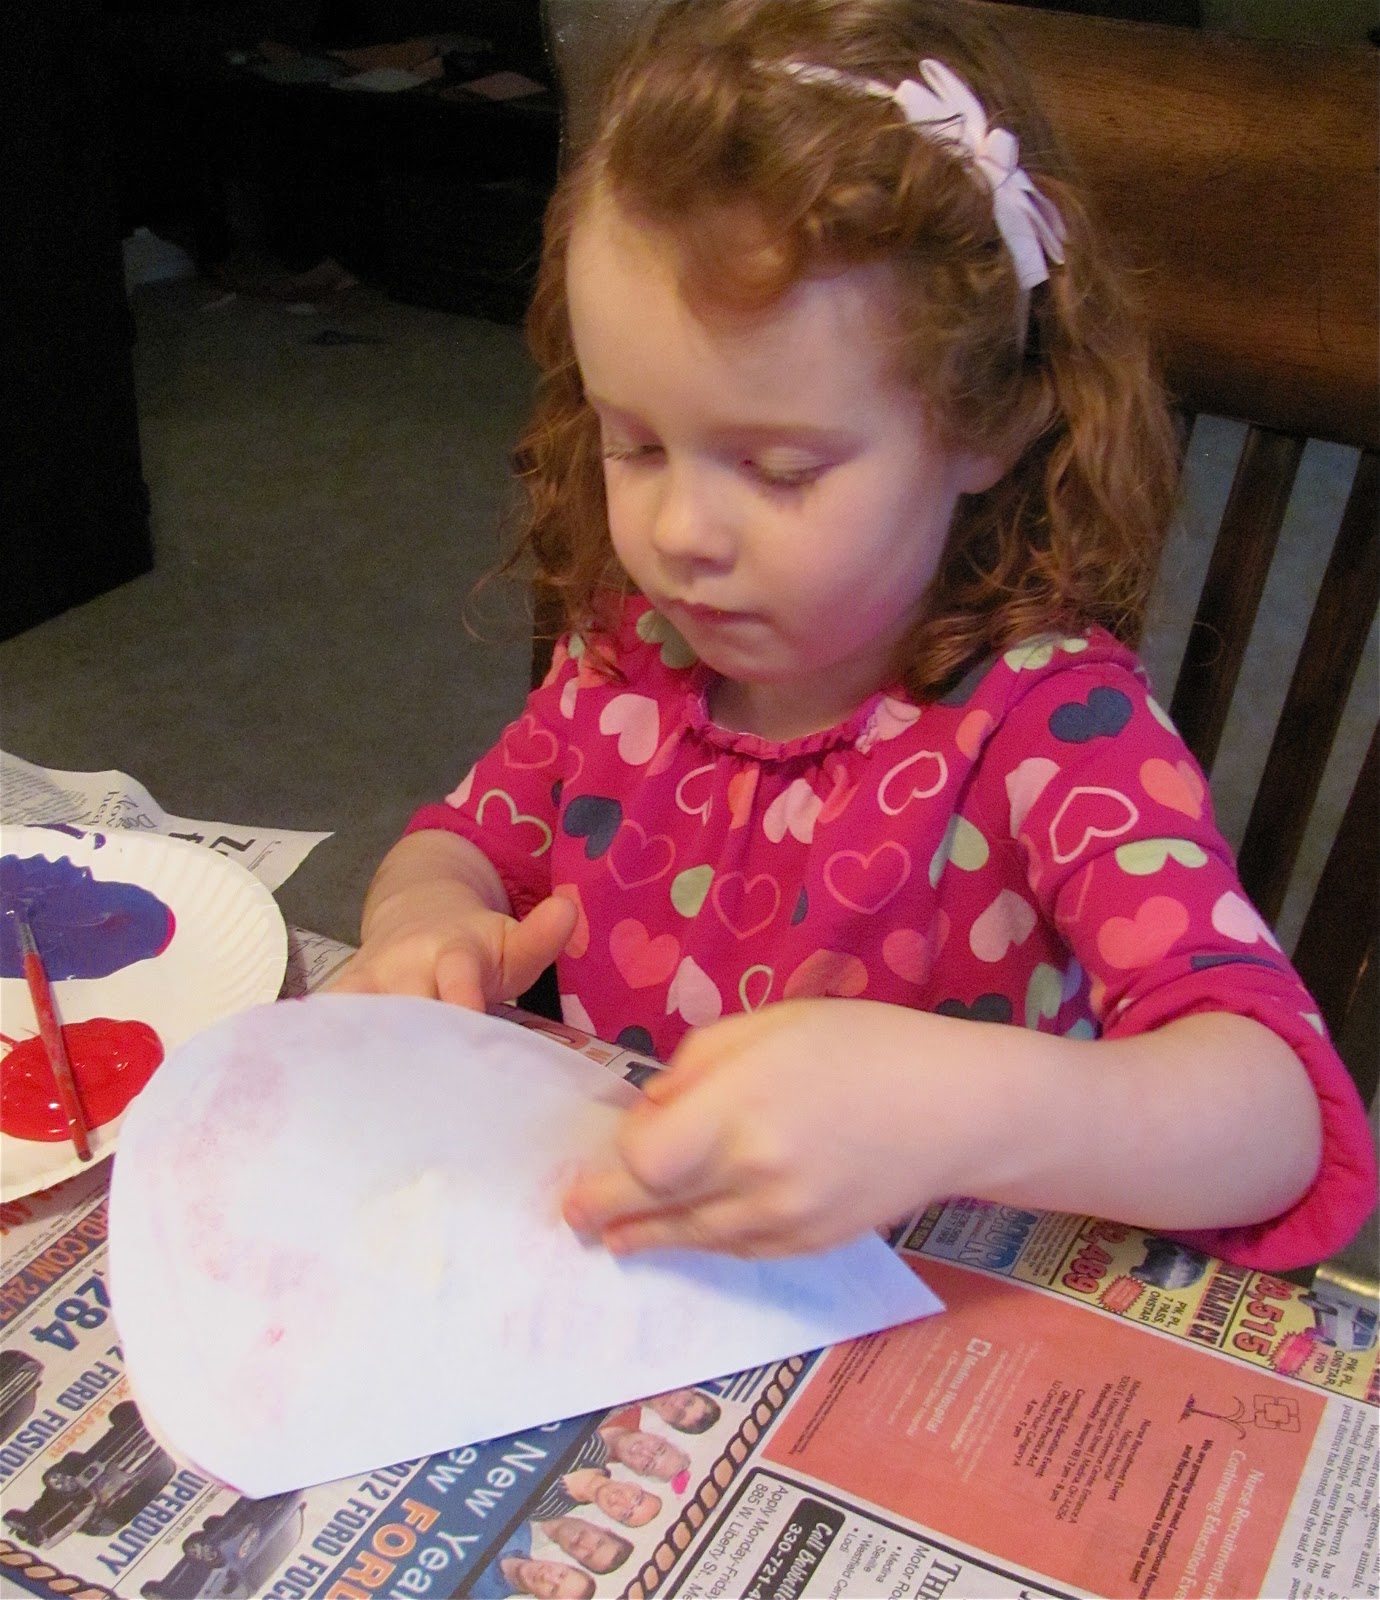
To begin, I first cut apart a larger paper bag so that I could cut two identical paper bag hearts.  You want two hearts: one for the back and one for the front. Then we folded the hearts and created blottos.  First paint on one side of the heart.


Then fold over to transfer to the other side of the heart. You can keep repeating the process until you like what you see.


Here are two hearts that will go together.  Beautiful!


After the hearts are dry,  put a ring of glue on one side,  but leave an opening to later put poly-fil stuffing, newspaper, or even pieces of scrap paper.  Let dry.


Next stuff your heart. You can use a ruler or stick to get all the stuffing back in the tight corners. After finished stuffing,  you can either glue the opening and wait to dry or staple!  We were impatient and just stapled the last bit together.


We wanted to add yarn around the heart,  so first I punched holes all around the heart.  Then C sewed around the heart.  Great fine tuning of motor skills!


When finished sewing with yarn,  tie a knot and create a hanger for the heart.  Here is C holding two of our hearts.  She loved swinging them about....an active girl....no doubt!


Here is another Paper Bag Puffy Heart!  We had a lot of FUN!  You could make any type of stuffed shape....such as a fish, person, or even a cloud shape!   This is C's "Tree Blotto With Red Apples".


Thanks TinkerLab for inspiring us to create with paper bags!  Be sure to check out all the other Great ideas in the linky below!  Please let me know what you think of our idea too!

Wednesday, January 25, 2012

Heart Blotto Valentines

We made Heart Blotto Valentines! They turned out simply gorgeous! (keep reading to see more that we made!) Paint Blottos are always a Fun process and create a Wonderful result!  We created our Blottos on a heart shape since we were going to create them into Valentines.


To create a Heart blotto all you need is:
 Heart Shaped paper
Brushes
Tempera paint


To begin, fold your heart in half so you form a crease in the middle of the heart.  Then use a paint brush to put paint blobs or shapes on one side of the paper.


Then, refold the paper and rub gently over the outside so that the paint transfers to the other side.


When you open the paper you'll have something like this below.  You can keep adding paint each time you reopen the paper. You want to put wet paint blobs so that the paint will transfer.  If the paint is dry tit will not print on the other side.


We made a bunch of hearts of all different sizes.  Making blottos is very addicting! Cassie was having fun using her imagination to tell me what the blottos looked like (lots of faces, trees, angels, and more!)
Paint Cut Paste did a whole post on imagining images in their blottos and naming them! Check out the post here.


After the blottos were dry,  we glued them on red, pink, or any valentine color.  Then we cut around the heart,  but made sure to leave an edge to create a frame around the painted blotto.  As you can see, we used some of our fancy scissors to create a more elegant touch! I LOVE these! What do you think?


I know we'll be creating more Heart Blottos soon!  They make very unique Valentines! You could create a message on the back and send them to all  your valentines!


Blottos are fun to make when creating Butterflies like Tinkerlab did in this post !

Have Fun Making Blottos!


This post is linked to: It's Playtime, Link and Learn, Show and tell