Thursday, March 31, 2011

An Easter Snow Bunny

Yesterday it snowed here, which isn't really that unusual for the end of March.  The minute it began snowing Cassie started singing, "Jingle Bells Jingle Bells", and that really put a smile on my face.  I'm so thankful for my daughter's positive attitude, when most people are grumbling because of this Spring snow. Today we decided to continue being positive and play out in the snow and create this wonderful Easter Snow Bunny! Cassie helped to build the Snow Bunny and we brought out our leftover "snow paint" from when we last did Snow Painting in February. Cassie was so proud of this  Snow Bunny!

Adding some color to the bunny's face that Cassie
made with snow.
Adding color all over!
Using the "pouring" method to add color!
Finished Easter Snow Bunny!

I'm so happy to have this positive girl!
I think we brought a lot of smiles to our neighborhood today!
Hoping to bring a smile to you too!

Wednesday, March 30, 2011

Modeling Clay Stamped Flowers

Today we made our own stamp to print flowers.  Cassie created this simple printed project with modeling clay,  a toothpick,  tempera paint, and markers.  You could also used play dough, but just make sure it is not too squishy and that your little ones don't press too hard so that the stamp gets out of shape! I did try it with play dough and it works!!!!


First we rolled some modeling clay into a ball and flattened it out like a pancake.  Cassie wanted to play with the clay,  but I explained to her that she was going to make a stamp.  It is VERY difficult to convince a child that they cannot play with clay!!!!!!


After flattening the clay, Cassie used a toothpick to draw a simple flower design in the clay. A little challenging at first, but she got the idea once I showed her one I did.


Carved stamp:


Then you'll need some tempera paint on a sponge to make a stamp pad.  You could also paint the stamp or just put some paint on a dish or recycled lid. You'll need your carved stamp too.  The one pictured here has already been used!!


Then Cassie went ahead and began printing her stamp. You have to press down a bit so that all of the flower will print.  My daughter printed the stamp twice each time before using more paint.


More printing to fill up the page and pressing down!


We let it dry for a few minutes and then Cassie used a green marker to add stems and leaves.  Cassie has drawn lots of flowers so she knew to add leaves without me telling her.


Here is my daughter's finished work again. Very nice!  She said she was done.  Lots of short activities lately for this busy girl! There is a whimsical feel to this and I LOVE IT!


This post is linked up to:

KIDS GET CRAFTY
WE PLAY
FUN FOR KIDS FRIDAY
CHILDMADE
FOR THE KIDS FRIDAY
THE PLAY ACADEMY
MONKEYING AROUND
HIGH PAW
AN ARTY CRAFTY PARTY
RESOURCE CENTRE
CRAFT SCHOOLING SUNDAY
NO TIME FOR FLASHCARDS
PRESCHOOL CORNER
MADE BY YOU MONDAY
MADE BY LITTLE HANDS MONDAY
A MARVELOUS MESS
SHOW AND TELL
IT'S PLAYTIME
STRUT YOUR STUFF THURSDAY

Monday, March 28, 2011

Tissue Paper Mache Easter Egg Sculptures

Last week we were working on paper mache Easter eggs using torn tissue paper, glue mixed with water, and balloons. We experimented with larger balloons and water balloons that were left over from last Summer. The large balloons are great for a hanging decoration, but seem way to big for an Easter basket.  The water balloon size could be used for a hanging decoration and for a basket. Here are the large ones:


Cassie helped with the first layer or so, but got bored with the process so I ended up finishing these larger balloons.  If you were going to do this with a preschooler,  I'd recommend using the water balloon size to keep their interest! Some preschoolers may be fine with the larger ballon too.  To start this project, I tore some tissue paper:


I set the ballon in an old container while working on it so it wouldn't roll around.  For the water balloon, we used a small plastic cup.  We used two parts glue to one part water for the the mixture to put the tissue paper on the balloons.


Make sure to get off the excess glue mixture before applying it on the balloon. Cassie was not a big fan of the sticky glue mixture, so I gave her a wet paper towel to keep wiping her hands. Also, do not use bleeding tissue or your balloon or it will look muddy in color. I mention this because a few bleeding tissue pieces got mixed in with the non-bleeding kind.


Do a layer,  let dry,  and repeat this process for at least 2-3 layers.  When they are dry,  you can pop the balloon---Cassie really loved this part!  They may be a little flimsy in some areas, but once the ballon is popped ---I found you could blow air back in to them. Kind of cool! The water balloon eggs were not as flimsy.


Cassie did have fun with the process and was curious about these drying balloons in our kitchen each day! Boy, was our kitchen  an artist's workshop! I envisioned these Paper Mache Eggs to be transparent, with light sparkling through them, but they still turned out beautiful! You could use X-mas lights to put in them,  but I haven't gotten that far! Here are our water balloon size easter eggs:


I want to make more of these water balloon sized eggs.  They are a much better size for a preschooler too! They look beautiful hanging  too! Here are our large eggs again: (Notice there is glitter thrown in too!)


I was looking in the book: Scribble Art by MaryAnn Kohl and noticed the idea of making a starched yarn balloon shape (String Thing) and adding tissue paper over that.....maybe we'll try that too!  That may give us me more of the transparent effect that I was looking for because less layers of tissue paper would be needed!  Check out this site for Mary Ann Kohl books and free activity ideas: http://www.brightring.com/index.html


This post is linked to:


CRAFT SCHOOLING SUNDAY
MADE BY YOU MONDAY
MADE BY LITTLE HANDS MONDAY
NO TIME FOR FLASHCARDS
SHOW AND TELL
SHARING MONDAY
RUNNING WITH GLITTER
FUN FOR THE KIDS FRIDAY
AN ARTY CRAFTY PARTY
PRESCHOOL CORNER
CREATIVE JUICE THURSDAY
STRUT YOUR STUFF THURSDAY
UNDER 100.00
HOOKING UP WITH HoH
WE PLAY
THE PLAY ACADEMY

Saturday, March 26, 2011

Simply Splendid Cake

We've been reading lots of books lately!! Whenever we go to the library we check out about 20 or more books!  Cassie can actually listen to 20 or more books in one sitting and has been able to have this attention for books the past two years!  We happened to come across a great book: The Red Hen by Rebecca Emberly and Ed Emberly. The story is about Red Hen who finds a recipe for Simply Splendid Cake and she goes about asking all the animals if they will help her make this cake. None of them help so in the end she and the crows end up eating the cake. The great thing about this book is that there is a recipe for Simply Splendid Cake at the end. So we both decided to make this cake today! It wasn't difficult to convince Cassie----she jumped right in!


We had all the ingredients on hand which made it easy to do on the spur of the moment! Here is Cassie helping to make the cake batter. My daughter was such a great helper---too bad Red Hen did not have her as a friend to help bake her cake! The recipe in the book has a colorful picture/word recipe to follow which my daughter loved.


The recipe was simple and sweet and the cake tasted wonderful.

The ingredients for Simply Splendid Cake are:
1 cup of sugar
1/2 cup butter
2 eggs
2 teaspoons vanilla
1 1/2 cups flour
1 3/4 teaspoons baking powder
1/2 cup milk

Bake for 30 to 40 minutes in 350 oven
using a 9 inch pan


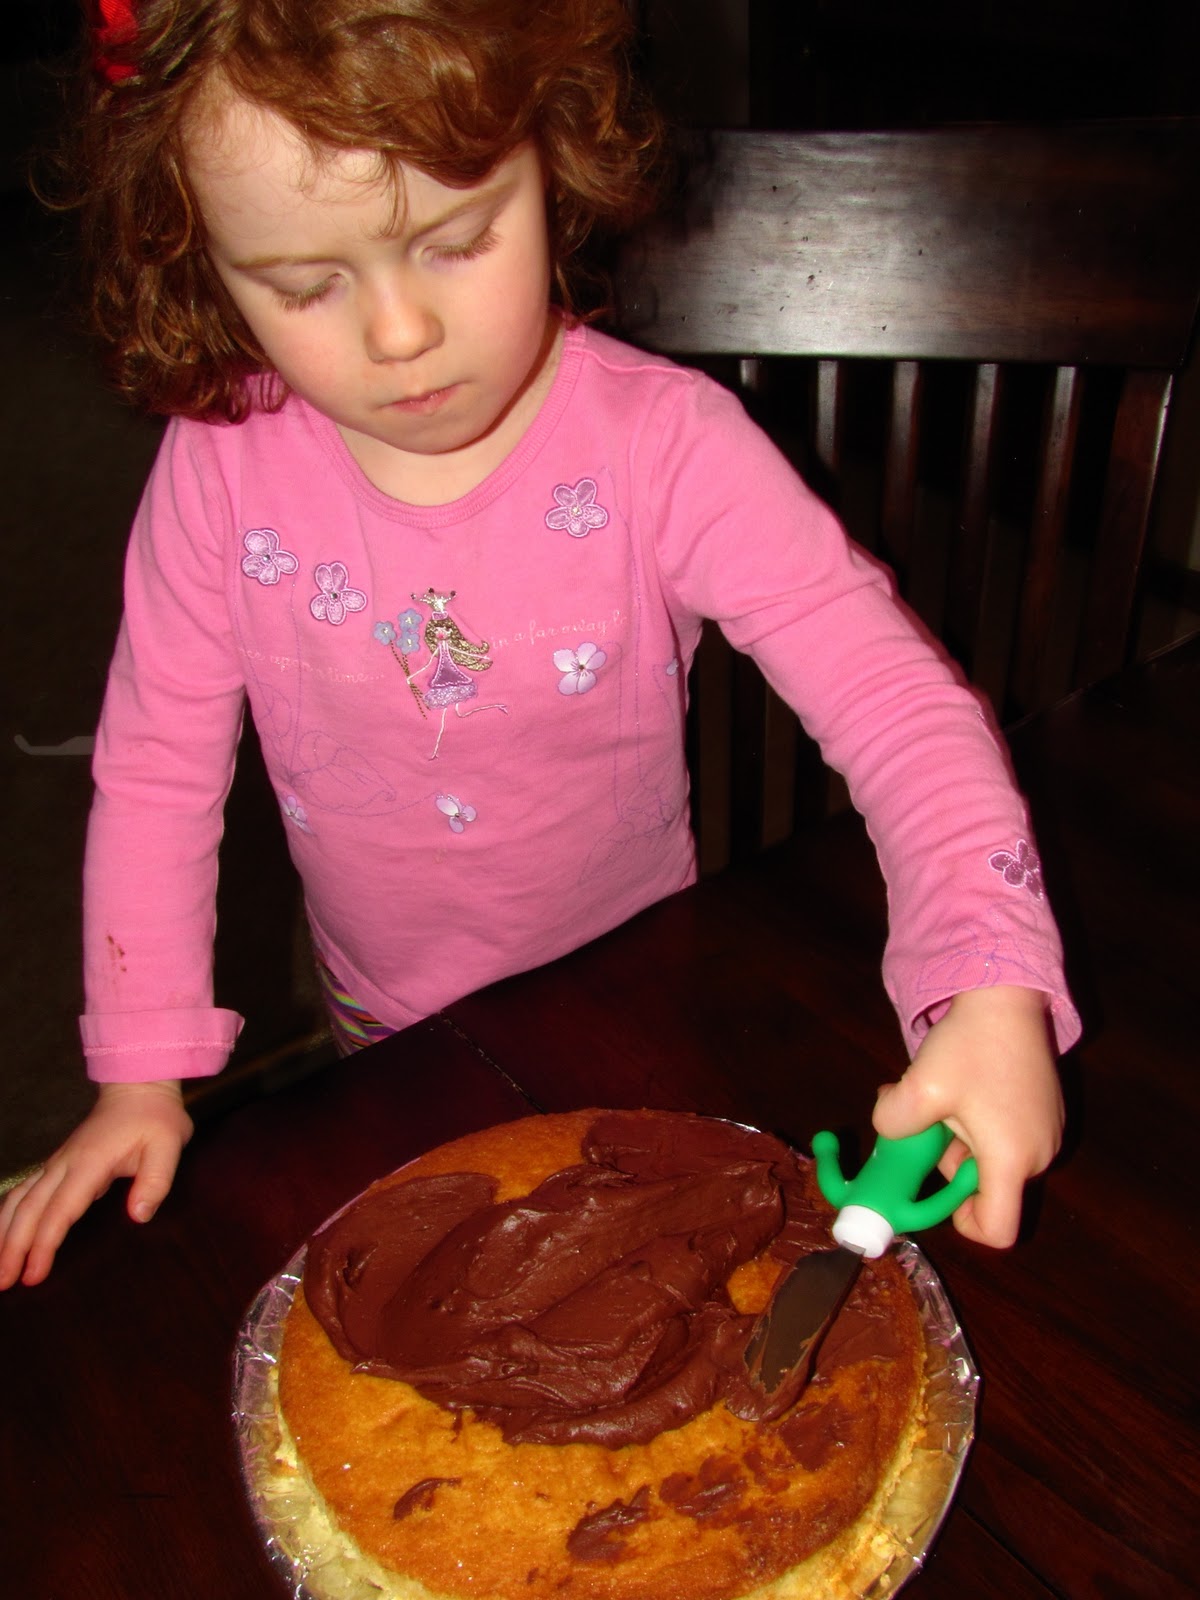
We had to wait for the cake to cook and cool. Then we were ready to frost it.  I used the recipe on the back of Hershey's Cocoa for the chocolate frosting. Red Hen could not get her friends to ice the cake either. Cassie was ready and willing because this girl loves frosting!!!


I finished spreading the chocolate frosting and then we were ready to decorate and no one would help Red Hen with that either.  Poor Red Hen!!


We used the recipe for frosting from the Shamrock Cupcakes that we made. Cassie loved helping to mix the colors into the frosting. We wanted it to be "Splendid" so it couldn't just be plain chocolate!


I didn't have any fancy frosting bags so we just used plastic bags with the corner cut off and that worked really well! Cassie loved to decorate and Eat the frosting!


My daughter really got into this and could have kept doing it for a long time!! We were on our way to a Simply Splendid Cake!!


Uh Oh who is eating the frosting??? (I didn't see that---did you???)


I added some fun curvy lines and polka dots on the side and Cassie continued to decorate and decorate....


We decided to add a few sprinkles and jelly beans to make the cake more "Splendid" and I added a few pink flowers with my old frosting press from my Grandmother.  Cassie wanted to add candles too, but I didn't take a picture of that part.  It may look like a mess to some, but we both thought it looked beautiful and we were very excited to eat it after dinner! It was Simply Splendid!!!!


Another book we have that has a recipe to go along with it is : Pancakes, Pancakes! by Eric Carle. We've made pancakes a million times.


I love these books with recipes. What fun--- and a great activity to do with a book!

Do you know of any other picture books with recipes???

Wednesday, March 23, 2011

Tie Dyed Coffee Filter Easter Eggs

This was a short and sweet little project that we did today. It actually turned out quite beautiful! Sometimes these are the best projects and I'm sure that everyone will have these materials on hand. You'll need coffee filters, newspapers, scissors, water based markers, and a spray bottle with water in it.  Here are our finished products:


First you need a coffee filter and make sure you have lots because no one wants to do just one. Make the egg shape as big as you can. You could make a pattern/tracer for children who can trace and cut themselves.


Cut out the egg shape (I cut them),  but older kids could do this step on their own.  Since coffee filters are so thin, be sure to cut out 3 or more at a time.


Make sure you have a few sheets of newspaper to put under the egg because it will soak through.  Now begin decorating with water based markers (no permanent). Try to leave white spaces between lines and shapes so there will be room for the colors to bleed. Use a lot of colors too! You might have to experiment at first.


Here is one of Cassie's simple designs. We mostly did designs that go across and tried some circular designs where you begin in the middle and branch out.


Then after the marker part is complete, it is time to spray with water. Make sure you have newspaper underneath.  When you spray, use the mist part on your sprayer and spray quickly. Don't get too close or too much of your design will wash away. Cassie loved this part.


Let your creations dry for a couple hours or so and then you'll have these Gorgeous Easter eggs that can be sun catchers too. These are similar to our Heart Snowflakes. What a Lovely way to brighten up a window for Spring/Easter.


When you lift up your eggs you'll notice there is a print on the newspaper because of the colors bleeding through. If you let your eggs dry on white paper you could have two creations in one.


Tuesday, March 22, 2011

Recycled Cars and Tube People

Cassie came home from her preschool the other day with a Great project----a car made of recycled boxes, containers, and lids. I knew that we had to do this again....so today we did! Here is one of our cars. We added in some of our recycled tube people that we made a while back----they seemed to fit right in! Cassie had such a fun time playing these cars-----as you'll see in the last pictures!


So we started out with all these boxes, tubes, containers, and lids. Where to begin??? We actually had more stuff under the table too! Yikes!


So we sorted out some the items.  All items that could be used for wheels or movement:


 Items that could be used for the main parts of the car:


We used other items like: paper cups, straws,, yogurt containers, and bottle caps for details. Use your imagination!


To construct the car, we began with the main part of the car and began to glue. You could use tape, glue, or a supervised glue gun. The reason I say glue gun, is because I just saw a post at The Artful Parent blog interviewing Teacher Tom  about "child led learning" and one of the topics was letting children use glue guns!  He also discussed how the glue gun allowed children to build vertically.  I felt inspired by this, so I thought (very nervously) I would let Cassie have a hand at using a glue gun (sigh). Here she is in action! This glue gun was difficult to use----the trigger kind would be much more user friendly.  She did enjoy pushing the glue out though!  Children do learn a lot when you let them be independent! Since this particular glue gun was difficult to use, I ended up putting the glue on and Cassie pushed the pieces down!


More pictures----so serious!!


Cassie would choose a piece to add and then we would glue it. We went step by step with the glue gun until we had a finished piece! The glue gun  made it easier to build quickly! You could have already torn pieces of tape for children to do this same process too.  Most children Love tape so it would not be a problem.


Here is our first car, but later we did cut a hole in the blue styrofoam tray to make a seat for one of our recycled tube people.  I'm sure there will be other modifications. Cassie named this the "Roomer Zoomer  Airplane Car".  Very Dr. Seussish!


Here is our other car: "The Roomer Zoomer Car".

Roomer Zoomer Car

 The Roomer Zoomer  Car with recycled tube people:


Cassie spent a good half hour playing with these cars!


And then some....


In action!


One happy girl---- proud of her creations!


What are your feelings about painting these creations???

I think they are kind of cool left "as is".