This is a great little project that I wish I could have done with my elementary art students, but then again I could do this with my High School students on a larger scale too. High School kids (and adults) love holiday projects so it could be done with any age! I love pinch pots and making them into little pumpkins makes them even more fun! Keep reading to find out how my daughter and I created Pumpkin Pinch Pots. You could make them for any of the Autumnal Holidays.

First we began with a small ball of Crayola Air Dry clay. This is some amazing stuff.....almost as good in quality as Kiln Fire Clay. If you don't have a kiln or access to one this is a great choice. There is link to Crayola Air Dry Clay at the end of this post.


First we began with a small ball of Crayola Air Dry clay. This is some amazing stuff.....almost as good in quality as Kiln Fire Clay. If you don't have a kiln or access to one this is a great choice. There is link to Crayola Air Dry Clay at the end of this post.

Then we put our thumb into the center of the clay ball.

Next we used our thumb to pinch out the pot to make it bigger.
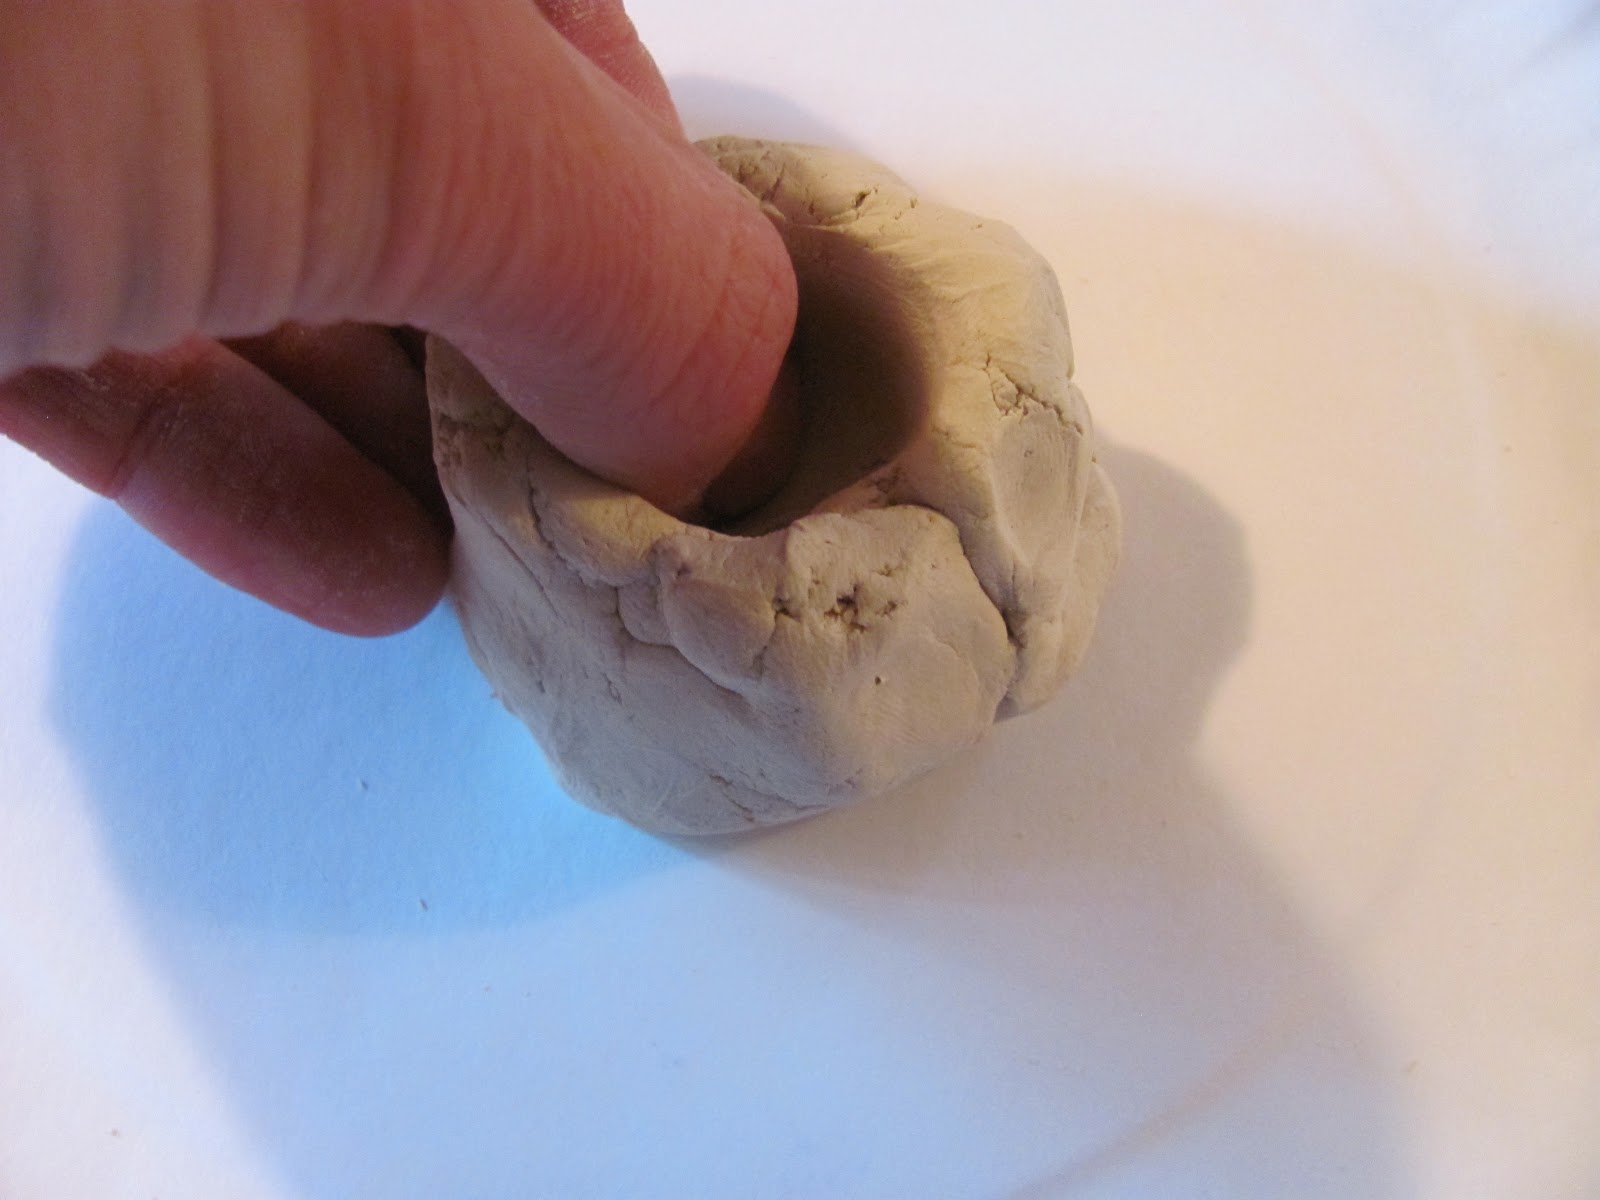
And bigger...

We also fashioned some lids with a pumpkin stem.

After that that, we carved in lines for the ridges for the pumpkins.

Ta da!

And you can even make a jack o' lantern faces.

so cute ! what kind of paint did you use and how did you get it so shiney ?
ReplyDeleteyeah, i have the same question - the post kind of interrupts in the middle :D
DeleteSorry, I need to fix this post! I used tempera and then let it dry. THen put a layer of Mod Podge. (Busy Busy)
DeleteThanks a million! We will go with acrylic and salt dough! :)
DeleteThat should work too! The salt may take longer to dry though so put it by a heater or in the sun.
DeleteI love Crayola Air Dry Clay. LOVE. That stuff is really great when you can't use a kiln. The only thing that I do is keep a cup of water on hand to make it smoother because it does have a tendency to crack a little.
ReplyDeleteIt is great stuff. A cup of water is a great idea. Thanks for the input.
DeleteLove it.
ReplyDeleteThank you Sarah!
Deletevery nice pumpkins! cheerful Halloween at your place too :)
ReplyDeleteThank you!
DeleteWhat a great idea! Very cheerful and fun.
ReplyDeleteTHanks Rashmie.
Deleteto make the lids, did the kids just eyeball the size or was there a trick to making them fit? So adorable, thanks for sharing! :)
ReplyDeleteWe eye-balled the size and set it on the top. Then we shaped the stem. Your welcome!
DeleteI absolutely ADORE these Melissa and will be sharing on my FB page tonight! I have pinch pots on my clay to-do list with the girls soon, but not as cute and wonderful as these!
ReplyDeleteWe did something similar a couple weeks ago but used real clay and flipped them upside down instead of adding the lids. Check out our ghost too. :-) http://smallhandsbigworld.com/pinch-pot-pumpkins-and-a-ghost/
ReplyDeleteLove your lids and the lines you put down the sides and of course, love your blog too. Thank you.
These are wonderful! I love how creative and unique each pumpkin turned out:) Just posted on Craft Gossip!!!
ReplyDeleteHappy Halloween!
http://lessonplans.craftgossip.com/?p=7091
Great! Gonna make these with my kids!
ReplyDeleteWow!! I love how the pumpking came out! Sweet activity for the kids, they always love clay :)
ReplyDeleteCecilia
I thought I commented here:-( missed! They look beautiful! So creative, I like the every detail u added. Reminds me of my high school art projects!
ReplyDelete