Showing posts with label Chriasmas tree. Show all posts

Sunday, December 16, 2012

Glittery Magnolia Pods

When were on Thanksgiving Break in the South of the US we gathered some magnolia pods as we always do to add to our continuous nature collection. They are vey similar to Pine Cones, but have a large stem on them.  I've seen many others put glitter on pine cones,  so I thought why not put some glitz on Magnolia Pods and dress them up for the holidays? So that is what we did.
Here are the Magnolia Pods before glitter.


Paint some glue on the pods.

Then either sprinkle and shake the glitter on the pods...

Or place them in a small box and roll them around in the glitter for less mess.


You could fashion some ribbon onto your pods or pine cones.

Hang them as ornaments or garland.

Or just lay them out or place them in a decorative bowl for the holidays or anytime.

Pin It

Happy Glittering!

Friday, November 30, 2012

Contact Paper Ornaments

Want a quick way to make ornaments with your children? Well,  make some Contact Paper Ornaments. They are so easy to make.  My daughter loves to draw so this was a fun way to incorporate her drawings into some fun tree decorations.


For Contact Paper Ornaments you'll need :

-White paper or card stock
-markers or crayons
-contact paper
-hole puncher
-wire or pipe cleaners

First, start drawing lots of fun Holiday or Winter themed ideas onto white paper or card stock. We did this together.  I started to draw,  and then my six year old joined in.  Lots of Christmas trees and candy canes.


Santa and reindeer.


Then after you have a bunch of drawings, cover each side of the drawing with contact paper.

Lastly, cut around the drawings,  punch a hole, and then add wire or pipe cleaners for hanging. They are ready to hang or to be given as unique gifts that I know many people will truly LOVE!

Pin It

Thursday, December 1, 2011

Origami Christmas Trees

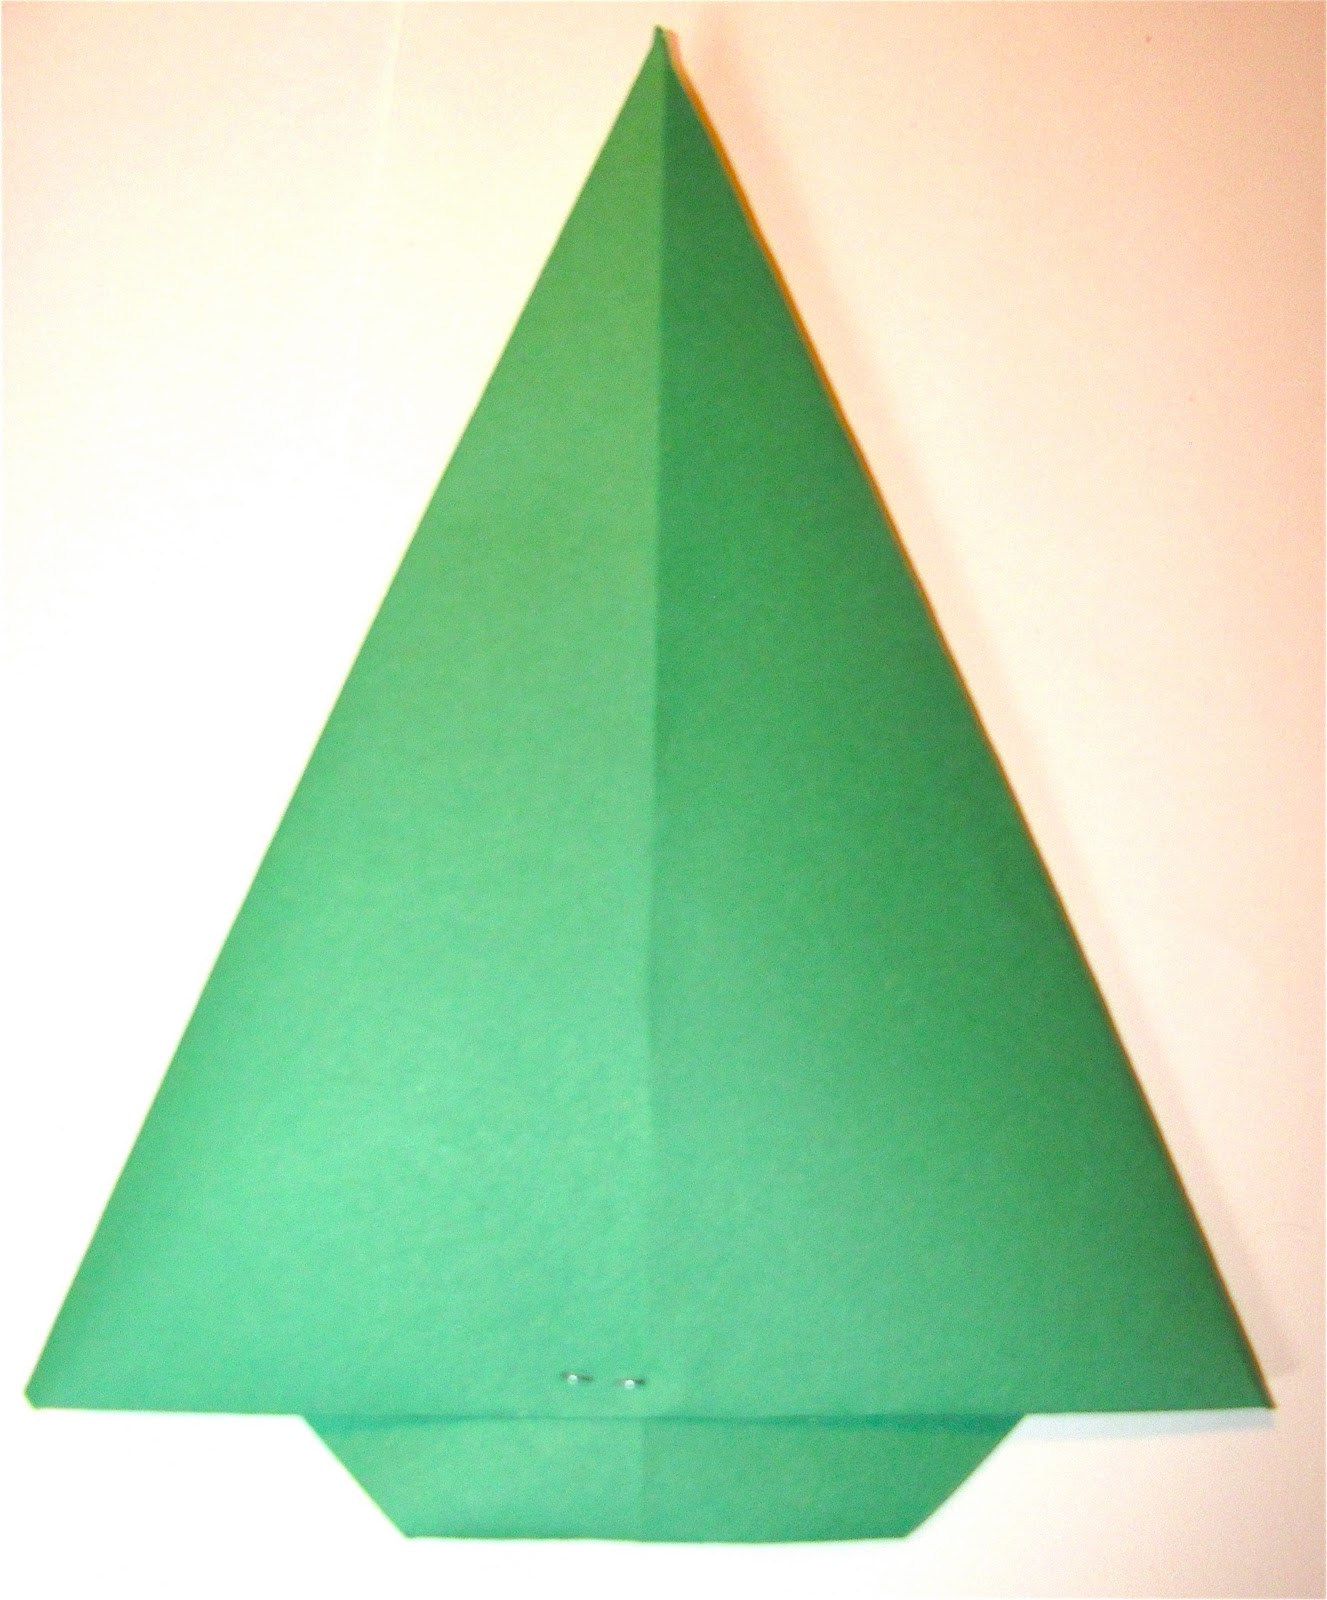
We created some origami Christmas trees! I thought they turned out pretty cute and C especially enjoyed decorating them. Here is her finished origami tree!


We used about a 9 inch square piece of construction paper,  but if you have origami paper or thinner paper that may work a little easier! I found some metallic origami paper here, which would be really pretty for X-mas!!!
 1. The first step is to position the paper like a diamond.


2. Then fold like this.


3. Open it back up.


4. Then, fold both sides to meet the center crease....this is the kite base in Origami terminology.


5. Now fold up the bottom point.


6. Fold that bottom point (from above) a little more than half way down.


7. Then, fold bottom point to meet the fold above. I stapled it at that point because with construction paper it kept popping out of shape.  If you use origami paper or a thinner paper you wouldn't have to staple it!


Turn it over... and time to decorate!!!


This was C's favorite part! Who doesn't love glitter, sequins and spangles?  The children in my art class considered them gold and treasure! Notice I forgot to put newspaper down?... and glitter is everywhere on our kitchen table now!  We just used dots of glue for the spangles.  We added yellow paper stars.


Here is C's tree again!


Here is mine! 


Stay tuned for some more X-mas tree projects in the coming weeks!!!


Check out all these Different Origami Christmas Tree ideas from my Google image search here! (You'll be inspired!...I am!)