Wednesday, November 9, 2011

Simple Sock Puppets

C has been wanting to make sock puppets for a long time and we finally made some! This is Sock Puppy and Sock Bear.  I think they turned out pretty cute.  I think sock puppets are a great project for any age. Actually, I think Puppet Projects of any kind are a WONDERFUL project!


To create our sock puppets, we gathered some mismatched socks from Dad's sock drawer and then just brought out wide array of collaging type materials that all kids LOVE!  Buttons, feathers, yarn, ribbons, scraps of fabric, and pom poms.  And of course,  some scissors and white glue!  You could also sew your sock puppets.


I had to show C how to fold over the sock to create the mouth and where to put the eyes and tongue,  but that was about it!  You could create the mouth however you want it if you have a better way! After that, you can add hair, fur, clothes, hats, or whatever you choose!


Before C decided to create a dog she kept saying, "Sock Puppy,  Sock Puppy...." and that is why she ended up with a Puppy!  I think it is so adorable!


Here is Sock Puppy and Bear again! So sweet!


These sock puppets were FUN to play with for a day of pretend play and imagination!!! C even wanted to sleep with them.


Have you made any puppets lately? They are always so FUN!

Monday, November 7, 2011

Outdoor Fall Leaf Art

Fall seems to be coming to an end in this neck of the woods.  Mostly all the leaves have fallen and there are a few isolated trees that have some color on them.  Winter will be here before you know it so we decided to take advantage of this past beautiful weekend to enjoy a little hike through one of our local parks.  Whenever I am out in the woods I think about the Land artist Andy Goldsworthy and am tempted to create something with the surrounding natural elements.  Usually I can get C to get involved because it seems to come natural for children to create with what is ever around them!!!  Also, we have done quite a bit of Land Art here and here and here so it didn't take much inspiration.  Here is our creation:


Placing the stems of each leaf into the bark of the tree.


Admiring our creation and wondering if we should add more leaves?


Or not...?


It was a simply BEAUTIFUL day!


C had a lot of fun jumping and running through the woods!
Do you see she lost one of her front teeth??


We LOVE Fall just in case you haven't noticed!!!

Sunday, November 6, 2011

Painting In Bottles

I saw this irresistible idea for painting inside bottles at Irresistible Ideas For Play Based Learning and knew we had to try it!!!! When I told C about the idea she instantly wanted to participate in this endeavor! Again, it was irresistible!  Here are our bottles soon after we painted the insides of our bottles.  I think it was a lot of fun and a completely new experience!


First, we poured paint into bottles and experimented with different amounts of paint for each bottle we used.  C really enjoyed pouring the paint into the bottles.


Then, we shook, shook, shook the bottle.  C completely LOVED this part!  Good for a child that doesn't like to sit too long!  This activity would make a GREAT color mixing activity too!


We tried glow in the dark paint in one bottle.  The colors looked cool at first, but the mixing of glow in the dark paint wasn't very pretty.  We tried looking at this bottle in a dark room,  but it didn't seem to glow? Hmmm.... don't know why?


C seemed to like the side to side motion of shaking the bottle the most.  She liked to watch the paint slowly drip down after most of the paint was thinned out.


I wish that we had more bottles to experiment with because it would be really neat to see the effect of using different sizes of bottles. You can see all the color mixing that occurred inside the bottles.  Pretty cool,  huh?  Unfortunately the colors didn't really stay as vibrant because most of the paint ran off after a day,  but either way it was a worthwhile activity.  Remember it is the process that truly matters and this is definitely one of those instances!!!


Maybe next time we will paint on the outside of bottles! Stay tuned.

What painting methods have you been experimenting with???

Thursday, November 3, 2011

Simple Leaf Prints

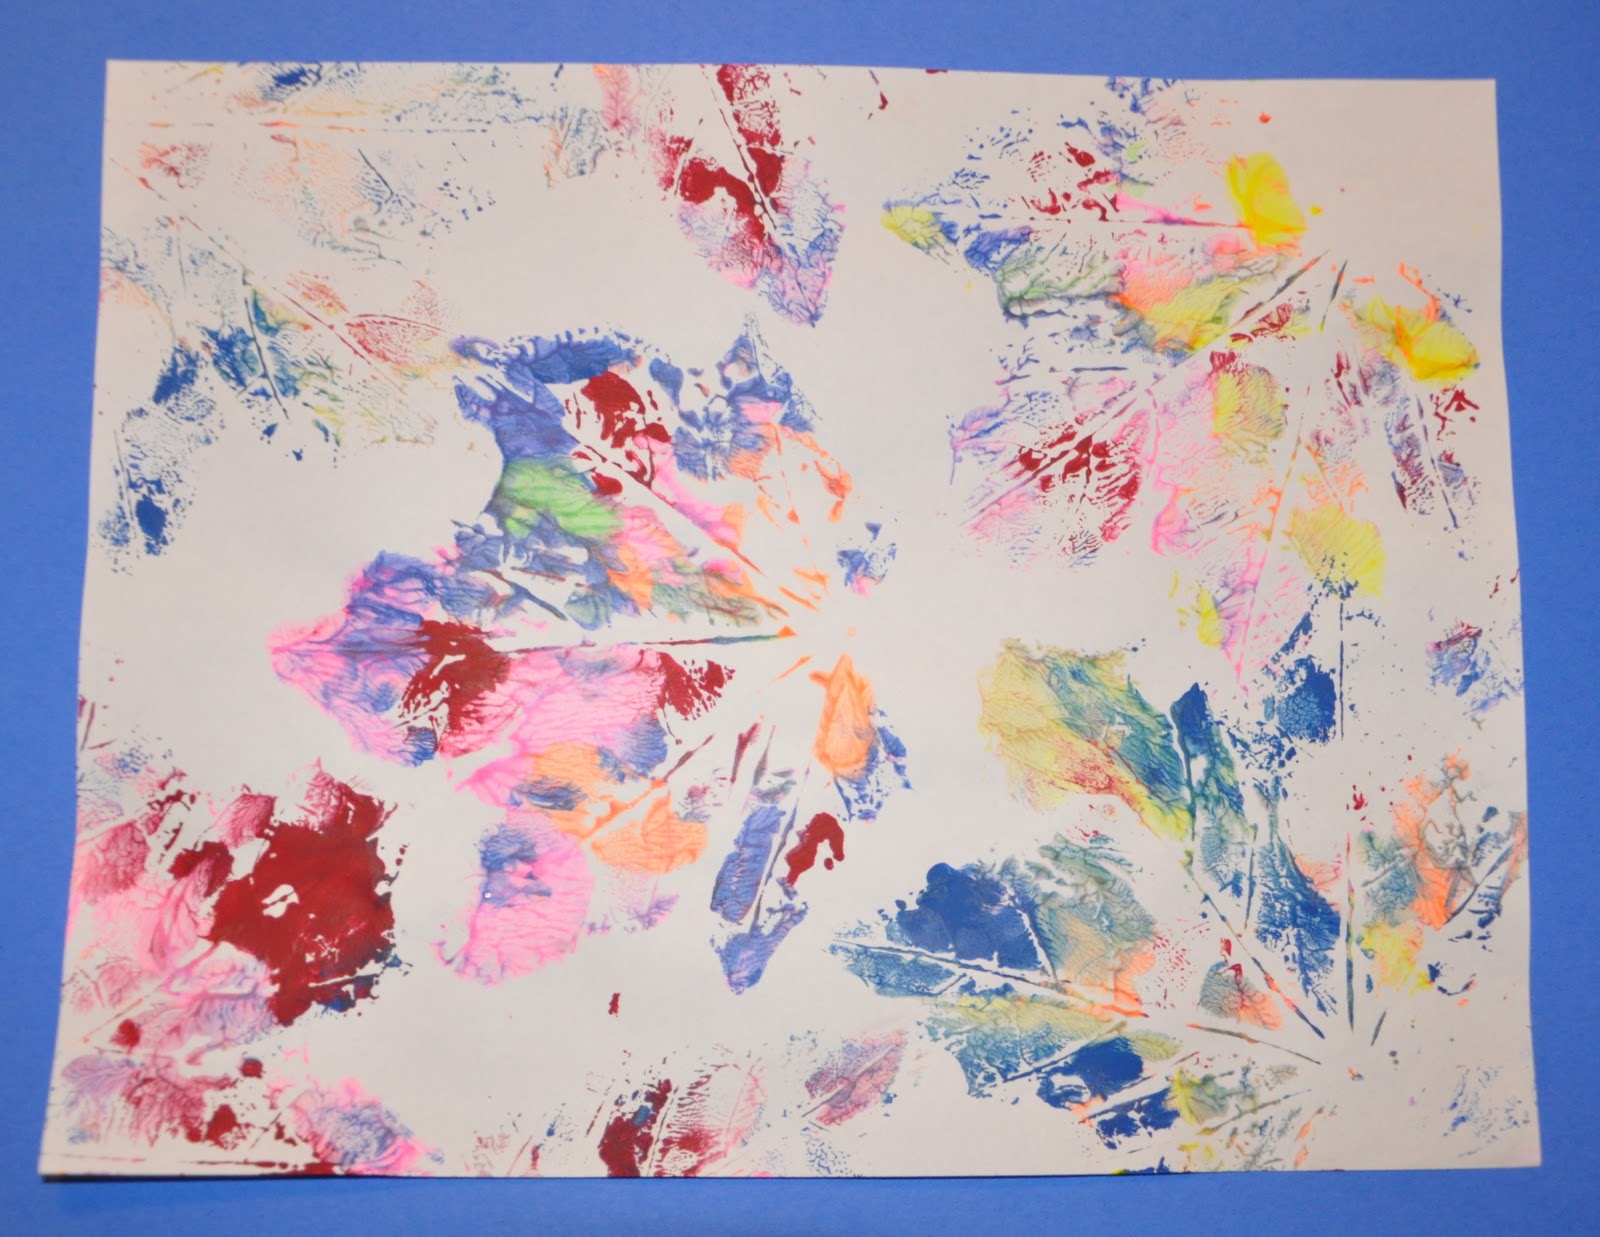
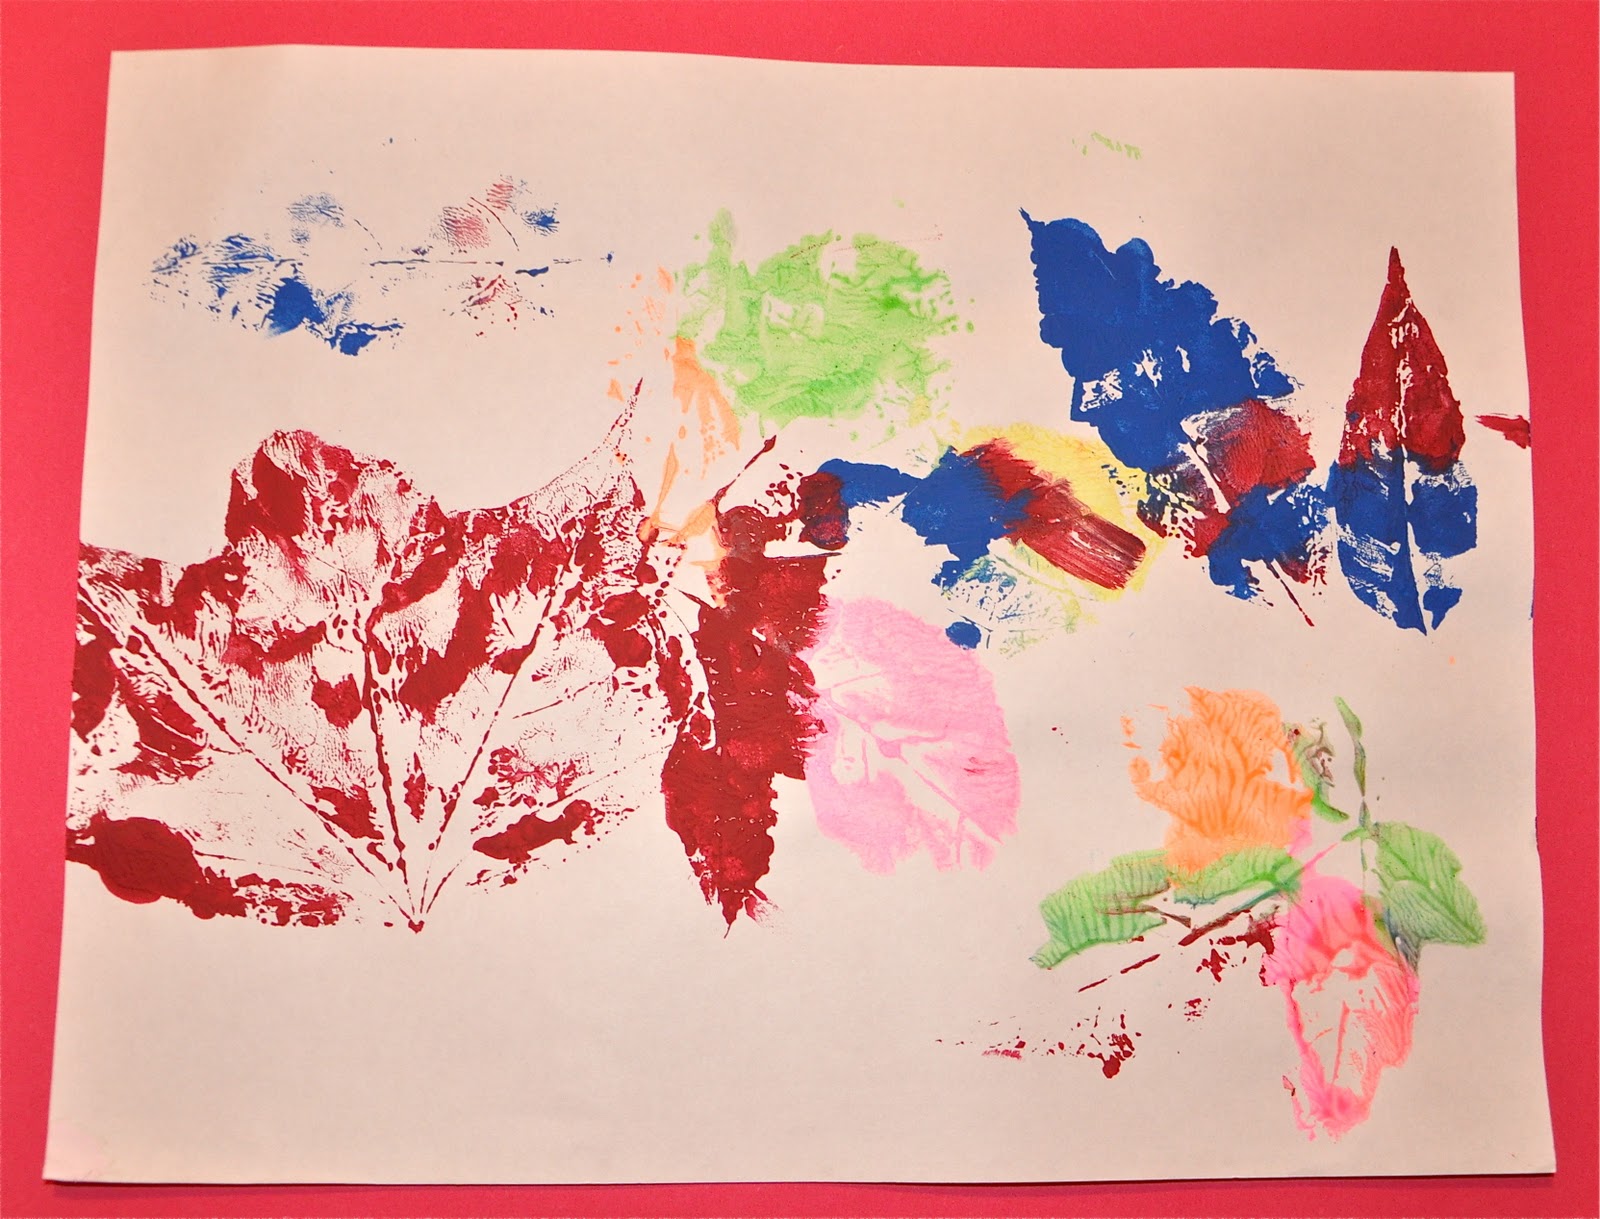
We did some FUN leaf prints!  C enjoyed this and didn't want to stop!  We were doing this before dinner so we just did a few prints and had to stop!  We will do more another day!!!


The process is pretty self explanatory: Paint on the bumpy side of the leaf.  Turn leaf over and rub on the unpainted side.  You can even put a piece of paper on top of the leaf and smooth your hand over the paper. You can print as many as you like or just a few.


I like the multicolors.


The brighter colors are glow in the dark paint!


I'm not sure if the leaves would look better in Fall colors like green, orange, yellow, red, and brown?

What do you think?

Wednesday, November 2, 2011

Leaf and Flower Petal Tissue Collage

This is definitely a unique idea that I had never seen until this year.  This idea comes from C's Teacher and I think it is Fabulous!  I was able to help the day they did this so I got a "sneak peek" to the process!  Here is C's project from the day and we did it again at home so I could show you the process and plus these collages make such a Gorgeous gift!  I think the collage has the look of Handmade paper.  What do you think?
You'll need:
Pressed Leaves and Flower petals (you could use pressed flowers too)
A large Easel or Flat paint brush
A mixture of 2 parts white glue and 1 part water
Piece of white Tagboard or Scrap book paper (thicker)
Facial Tissue (one layer of the three+a piece of another one)
***C's teacher used Extra Large tissues from Kleenex (one layer of the three) (larger than normal)
Background paper if desired


First and foremost when creating this project, you need leaves and petals...or any other natural item.  The leaves/petal/nature must be flattened in a book for a couple days!!!! Lovely Leaves! (I heart Fall)
In preparation,  separate your facial tissues into three thin layers.  Again, I used regular size tissues + added the piece of another one to make it the Extra large size.  C's teacher used Extra Large Tissues from Kleenex and made that the size of the project.  I found these tissues on Amazon.com here,  but they may be in your Grocery Store.


Your tagboard should be the size of the facial tissue that you will put on top of the leaves in a later step.   Now, take your 2 part white glue to 1 part water mixture and brush it over your tagboard.


Place your leaves and petal over the glue mixture and make sure they are sticking!  Also, you may want to cut off the bumpy end on the stem of all your leaves so they lay flat.


Now carefully (with an adult's help),  place the thin facial tissue over the leaves and press down a little.  You can see I used a whole regular tissue plus a little more from another (see the rough edge on the right) Make sure the edges are rough if you are joining 2 pieces together because then you won't notice the two separate pieces as much!


***You don't just brush over the normal way...so STOP and pay attention closely!  You dip the brush in the glue mixture an carefully roll the brush part over the top of the tissue.  Basically you are flattening the tissue a little and letting the glue seep through so it will stick.  Make sure to go over everything!  Do not rush because the tissue may tear and it may tear either way...but it can be repaired! (no worries!)


As you can see there is a small tear in the top middle and it can be fixed!  Just tear a small piece from the one layer of tissue and roll the brush over the area with the glue mixture.  When done,  let dry!!!


Frame it with a colored piece of construction paper (or not) and you are finished! Pretty!


Here is a close up view in which you can see all the great texture!


We made a few extra.... so they will be gifts that I'm sure others would love to frame!

What Do You Think???

I absolutely LOVE this! (thank you to C's teacher!)