Tuesday, March 20, 2012

The Transparent and Bouncy Egg Experiment

If you haven't heard.... Rachelle from TinkerLab and I are both presenting an amazing egg activity each day for Egg Week.  Are you joining in late?  Be sure to check both of our posts from yesterday. Today I am presenting what turned out to become 2 Egg Experiments and you'll understand why once you get to the end of this post.  The ending experiment is AMAZING!

We began with the intention of creating a Bouncy Egg from a raw egg and a hard boiled egg.  This idea intrigued my daughter immensely. I asked her: "What do you think happens when you put an egg in vinegar?"She wasn't sure and I didn't know either because this experiment was new to me.  I told her that according to the directions  here that the vinegar was suppose to create an egg that would bounce. Keep reading to find out how we made our bouncy eggs. 


For this Experiment you'll need:

2 glass jars or plastic containers with covers
1 raw egg
1 hardboiled egg
vinegar (enough to cover both eggs)

First,  put the eggs in the jars and label them (I just labeled the raw egg).  Then pour the vinegar in the jars to cover the eggs. Cover the jars and put them somewhere away from the sun. They should be left in the vinegar for 2 days (48 hours). 
After an hour or so the eggs started bubbling on the outside. The explanation to why vinegar and an egg shell bubble is similar to what happened in our Baking Soda and Vinegar Experiment.  The egg shell has calcium carbonate in it which reacts the same as vinegar and sodium bicarbonate (baking soda).


The hard boiled egg seemed to sink and turn at times. My guess is because it is more dense and the bubbling caused it to move.


The raw egg seemed to float probably because it is composed of just liquid.  C observed that the raw egg got bigger too.  Later I read that the raw egg absorbs the vinegar which makes it bigger.


We observed the shell was coming off by the next day.  With a white egg it would be more difficult to tell unless you touched the egg.


The next step was to rinse the eggs in cold water to remove any shell and then bounce them. After two days we observed the eggs to have totally lost their shell and both seemed to look soft and rubbery.  It did seem to be bouncy, but not extremely bouncy so we left the egg in the vinegar (maybe it needed more time?) You'll never guess what happened to the raw egg.....


I decided to let it bounce on the counter and it did a couple times.....then OH NO!!!! SPLAT! The egg broke open.  I though to myself.....WHAT DID I DO WRONG???  Then later I read here that the raw egg only has a thin membrane (the stuff to the left of the egg) holding it together.....that makes sense now.  The directions I was following here did not say anything about this happening....it just said it would bounce.


I decided that I needed to try this experiment again (still thinking I did something wrong!) When I read further about this experiment with a raw egg here I realized I did everything correctly.  The experiment done with a raw egg is sometimes called: The Transparent Egg Experiment.

The Transparent Egg Experiment

 For this experiment you'll need:

a raw egg (you may want to do a few in case your egg breaks)
vinegar
glass jar or plastic container with lid

Place your raw egg in a jar and cover it with vinegar. You will notice the reaction of the egg shell with calcium carbonate and vinegar.  It will bubble for the first day (as above) The second day you need to change the vinegar. After 48 hours we carefully rinsed the raw egg and noticed it was transparent! Cool! Isn't it amazing? Basically it is an egg without a shell! 


Here you can see that it is flexible because of the membrane.  The membrane thickens with the vinegar and holds the raw egg together.


The Naked raw egg bounces,  but don't bounce too high or too hard or you'll have an egg splatted on the counter top.


Here is the naked raw egg and a hard boiled bouncy egg.  We added blue to the vinegar for the second time we did the bouncy egg.  Both eggs did bounce because of the membrane around the egg.  We noticed the raw naked egg was much larger than the hard boiled bouncy egg. The reason the raw egg is larger is because the egg absorbed some of the vinegar.


This was quite an experiment and we learned a lot.  I hope I have given you some tips so that your experiment is successful.

Have you tried any of these experiments before?
(let me know how your experience goes)

Be sure to check out the amazing egg activity that TinkerLab has in store for you today here.  Make Your Own Egg Tempera Paint

Monday, March 19, 2012

Bleeding Tissue Easter Eggs

This is is going to be an exciting week! My friend Rachelle from Tinkerlab and I have joined forces to give you 10 Egg Activities for Egg Week.  Monday through Friday we will both be posting a different egg activity so be sure to check out both places for some fun ideas. Today we have our Bleeding Tissue Easter Eggs to show you.  Here are a few of our beauties.  My daughter especially enjoyed this egg decorating activity.


For Bleeding Tissue Easter Eggs you'll need:

hard boiled white eggs
scissors
coffee filters or paper towels
spray bottle
newspaper
egg carton or baking cooling rack
To begin,  I cut up the bleeding art tissue in 3 different types of shapes: tiny squares, tiny strips, and a variety of shapes in one group.  My hope was that the different shapes would transfer to the egg.


Next,  lay down a paper towel or coffee filter and spray it with water.


Then sprinkle some bleeding tissue shapes on the wet coffee filter.


Then,  spray the top of the egg and sprinkle some bleeding tissue shapes on top of the egg.  I asked my daughter what she thought would happen?  She noticed the tissue already beginning to bleed so she guessed correctly.


We wrapped the egg in the coffee filter with the tissue paper to ultimately open the wrapped eggs like little presents.  C loved the whole procedure of this of spraying, sprinkling, and wrapping the eggs.


We rested the wrapped eggs in the egg carton, but you could put them on a baking rack too.  Who doesn't love surprises?


We let them dry for a half hour...we couldn't wait.  Perhaps the effect would be brighter if left to dry? Next time we'll try that.  I think they turned out wonderful.  I'm always a big fan of this sort of effect.  One egg has the tiny squares, another the mixture, and the last has the strips of tissue on it.  Pretty cool.


One close up view.


My intention was to use paper towels, but we didn't have many so I thought to use coffee filters.  In the back of my mind I was thinking that the bleeding tissue would transfer to the coffee filters too.  So now we have art on our eggs and coffee filters!


What do think about this process?

What should we make with these colorful coffee filters?

Hope you enjoyed this idea,  but I'm sure you'll enjoy TinkerLab's egg experiment too.  Be sure to stop on over to see what amazing idea Rachelle has to share here. Walking On Raw Eggs!

Thursday, March 15, 2012

How to Make a Sailboat: by C

My daughter always asks me if she can make her own project for The Chocolate Muffin Tree and this is one of them: "How to Make a Sailboat".  I've even let my daughter take pictures of her own projects step by step (but the photos didn't turn out.....we're still working on that).  She sees me documenting the steps of everything all the time and sometimes I wonder what kind of effect will have on her? Maybe it means we just need to create without documentation of everything (we are working on that)....the spontaneity gets lost sometimes. Here is one of her adorable construction paper sailboats.

For this project you'll need:
2 Sheets of Construction Paper
Scissors
Tape
Markers


Take it away C:

First you fold up the corner on a piece of construction paper like this.


Then you cut of the part that is showing and even it out.


Then fold it again on a corner. (Are you getting all this?) Then cut off the part that is showing again. This  is the sail of the boat.


It should look like this.


Now take a different color of construction paper and fold it the short way. This is the boat.


Now take the sail and make sure it is folded together.


Place the sail on top of the boat and use clear tape for this, not glue.....!


Now, add stripes (or no stripes) on the sail with marker and add yourself and your name on the boat part and you are done!


Finished boat!


Here is another sailboat that I (C) made. 


What do you think of C's self designed project and instructions?


Are you blogger that writes about the things you do with your children? 

If so, what challenges do you face with blogging and your children?

Tuesday, March 13, 2012

Shaving Cream Marbled Rainbows

I've said it before, but I just LOVE Marbling with Shaving cream.  It is such an easy way to marble paper with lovely results.  Rainbows have been quite popular the past month, so we decided to create some Shaving Cream Marbled Rainbows.  It is the same process as our Shaving Cream Marbled Hearts, but I will still go over the steps to review.


First, spread out some foamy shaving cream on a flat surface or in a tray or pan.  Smooth it out a bit.


Then use either food colors or liquid watercolors and put blobs of color with a paint brush or eye dropper.   We made the colors in Rainbow order: Red, Orange, Yellow, Green, Blue, and Violet.  Liquid Watercolors give the most vibrant color!


Next swirl/marble the colors with a stick.  We used a kebab stick.  You could use a toothpick, popsicle stick, or even a stick from outdoors. If you had a fancy comb you could use that too.


Gorgeous color!


Now put a piece of paper on top of the swirled colors and press down and smooth your hands over the paper.


Lift up the paper.


Then use a flat edge to scrape the shaving cream off the paper.  You could use a lid cut in half or even a piece of cardboard with a straight edge.


Scraping off the shaving cream reveals Gorgeous Rainbow Marbled Paper!


This is a lighter version when the shaving cream and pigment have mixed up.  If you want brighter results put a brand new clean layer of shaving cream and add the Liquid watercolors.


What would you create with this Rainbow Marbled Paper?


Friday, March 9, 2012

Top 10 Favorite Art Materials from MaryAnn F. Kohl


What are your Top 10 Favorite Art Materials? I asked this of MaryAnn Kohl who is the author of many many Children's art books and an expert on children's art supplies.  In case you missed it, I interviewed MaryAnn a few posts ago if you want to check it out here.  Within the interview she described her Top 10 Favorite Process Based Art Projects too. There is also a GIVEAWAY of one of her books: Storybook Art along with the interview.  To enter, make a comment on the post here.  It is a wonderful book.  Now for the list:

MaryAnn's Top 10 Favorite Art Materials:


1. Liquid Watercolors *** top-favorite-can't-live-without-it-art-material

2. Plasticine Play Clay (Colored Modeling Clay, non-drying)

3. Glitter, Sequins, and other Sparklies

4. Art Tissue (white, and in colors)


6. White Glue (so many ways to use it!)


Most surprising art material?

 *Mud!*
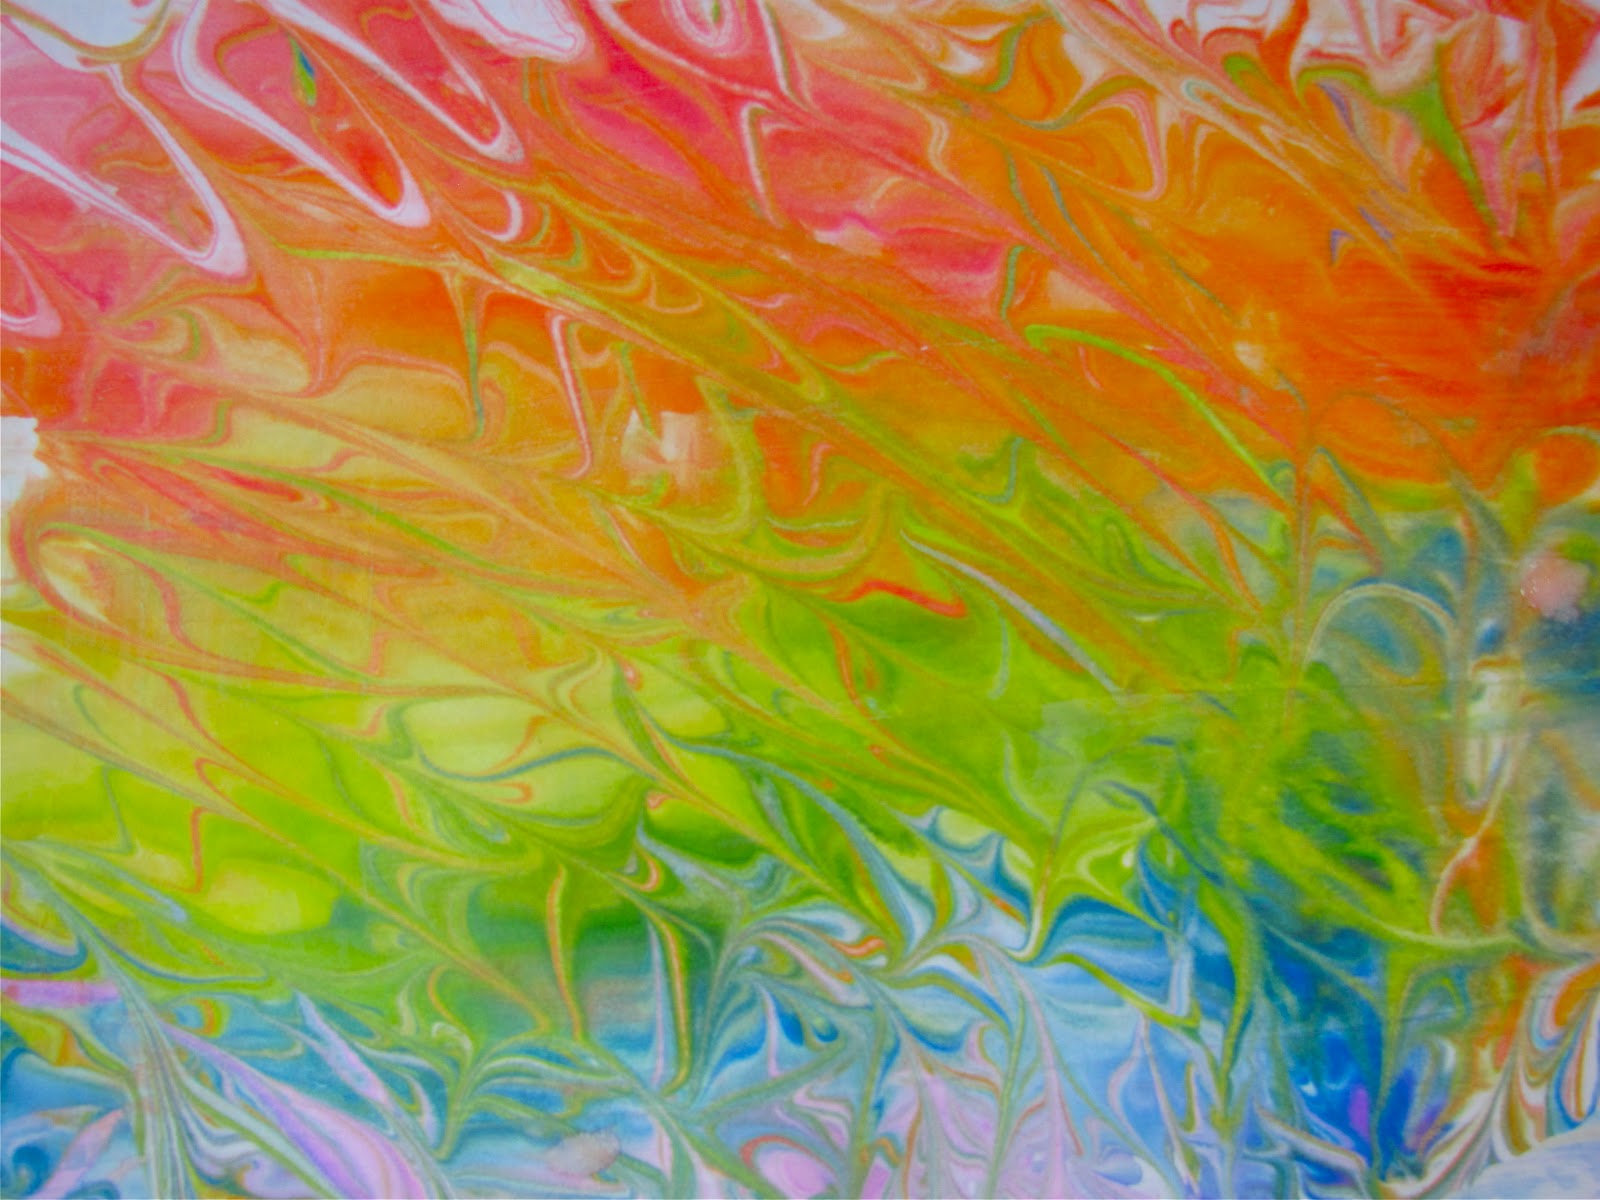
Mix it with water and paint on heavy white paper or fabric. Surprise! It's beautiful.


Are you surprised by anything that MaryAnn has on the list?

What would your Top 10 Favorite Art Materials include?


To enter the GIVEAWAY,  click here for your chance to WIN a MaryAnn F. Kohl Book: Storybook Art.

***To add,  MaryAnn has a monthly newsletter (ArtsyKidsNEWS) filled with all kinds of Artsy Ideas.  If you want to subscribe,  go to the lower right corner of her website.  Here website can be found here or go to: http://www.brightring.com