Showing posts with label St. Patrick's day. Show all posts

Saturday, March 16, 2013

Rainbow Crayon Resist

Crayon Resist activities are always fun and when you add rainbows to the mix that even adds more enjoyment for kids. This is always a magical activity for kids,  and why not think about pairing it up with St. Patrick's Day or Spring Weather activities?
Pin It

Materials Needed:
Crayons (white always works best!)
Watercolors in rainbow colors
Paint brushes
White paper

First,  draw with crayons with firm pressure onto white paper.  White crayons always look coolest! Then paint with rainbow watercolors over the crayon drawings. SO simple an Magical every time!

I always enjoy this activity and my daughter does too! 

We made Crayon Resist Easter Eggs last year!

Sunday, March 10, 2013

Rainbow Coffee Filters

This is a simple activity to create beautiful rainbows for Spring. We always seem to drag out the coffee filters to draw or color on.  I think I have a zillion posts about coffee filters so at the end of this post you can click on the links to see them.
Pin It
Materials Needed
Coffee Filters
Water-based Markers
Newspaper
Spray Bottle with water

Make sure to lay down some newspaper on your work area. Then begin coloring and drawing rainbows on coffee filters.

After you have filled up your coffee filter with marker colors, then spray some water and make sure newspaper in underneath because the color will bleed through. Also, not to much water or the colors will completely disappear!

Ta da! Happy Rainbow Making...we may make a garland of these...

Coffee Filter Ideas:


Tuesday, March 13, 2012

Shaving Cream Marbled Rainbows

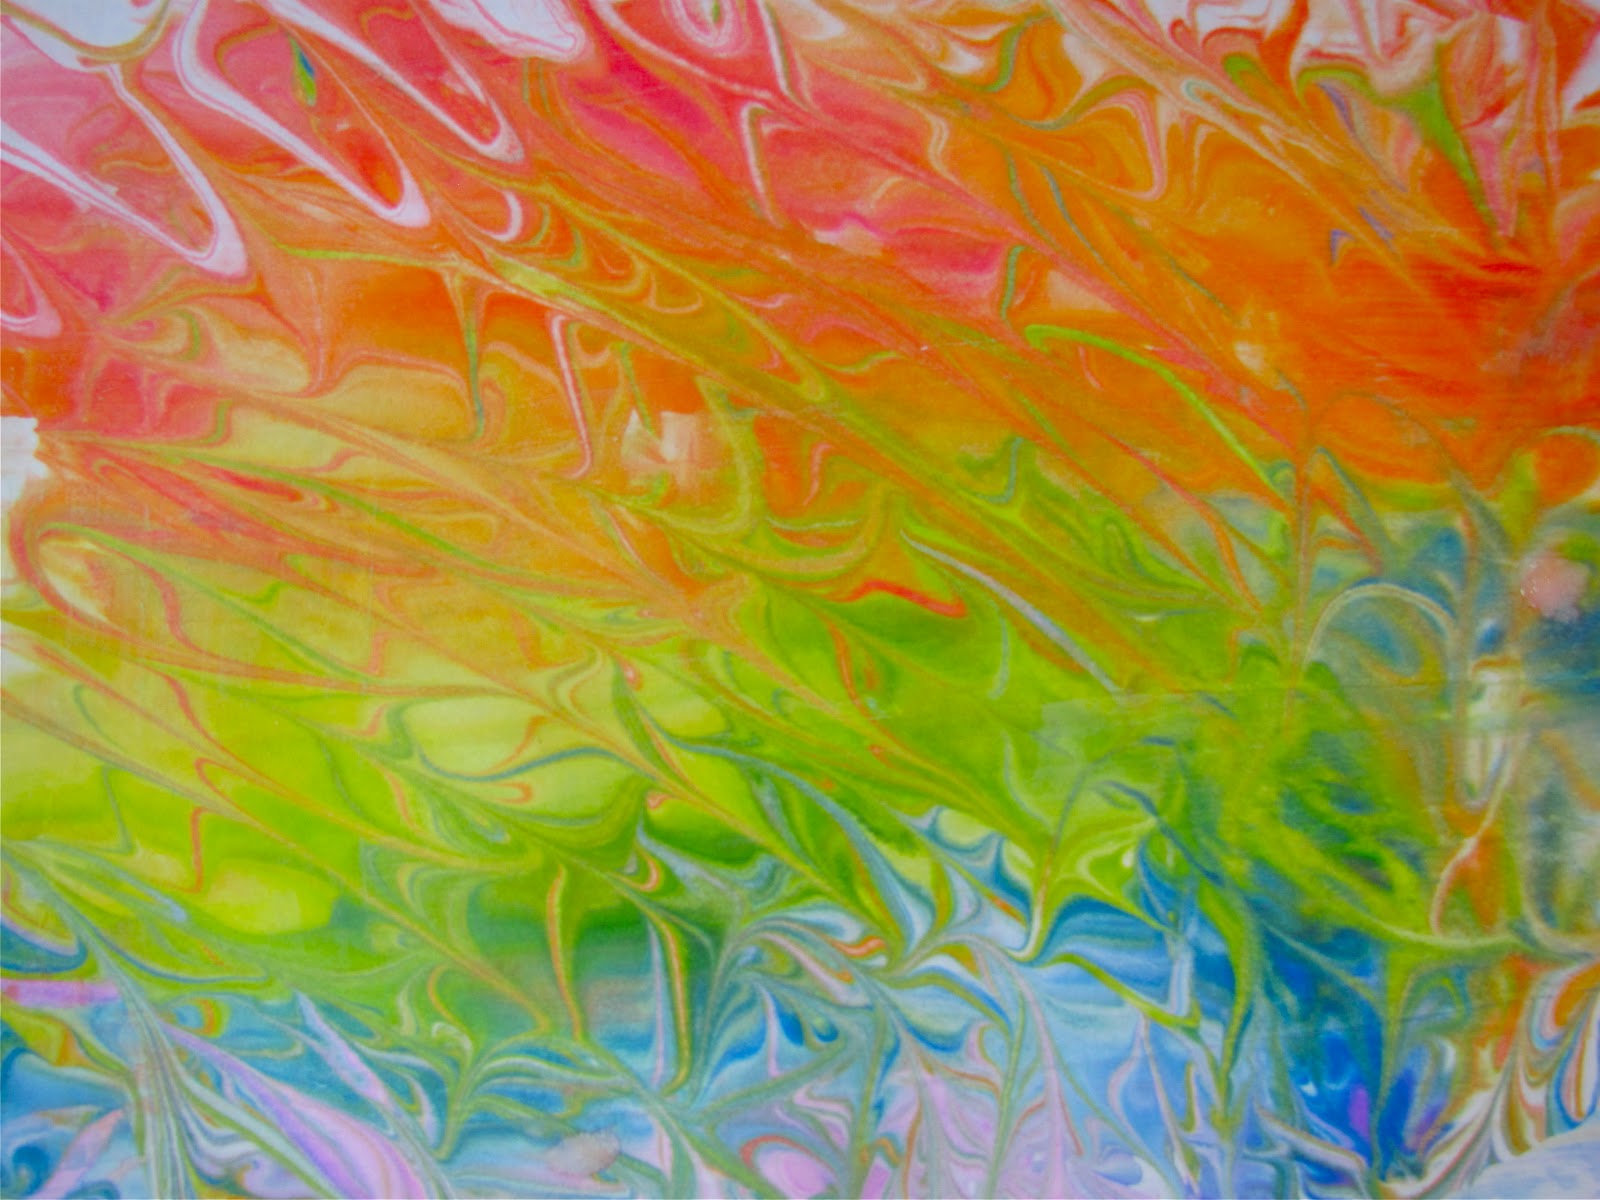
I've said it before, but I just LOVE Marbling with Shaving cream.  It is such an easy way to marble paper with lovely results.  Rainbows have been quite popular the past month, so we decided to create some Shaving Cream Marbled Rainbows.  It is the same process as our Shaving Cream Marbled Hearts, but I will still go over the steps to review.


First, spread out some foamy shaving cream on a flat surface or in a tray or pan.  Smooth it out a bit.


Then use either food colors or liquid watercolors and put blobs of color with a paint brush or eye dropper.   We made the colors in Rainbow order: Red, Orange, Yellow, Green, Blue, and Violet.  Liquid Watercolors give the most vibrant color!


Next swirl/marble the colors with a stick.  We used a kebab stick.  You could use a toothpick, popsicle stick, or even a stick from outdoors. If you had a fancy comb you could use that too.


Gorgeous color!


Now put a piece of paper on top of the swirled colors and press down and smooth your hands over the paper.


Lift up the paper.


Then use a flat edge to scrape the shaving cream off the paper.  You could use a lid cut in half or even a piece of cardboard with a straight edge.


Scraping off the shaving cream reveals Gorgeous Rainbow Marbled Paper!


This is a lighter version when the shaving cream and pigment have mixed up.  If you want brighter results put a brand new clean layer of shaving cream and add the Liquid watercolors.


What would you create with this Rainbow Marbled Paper?


Tuesday, March 15, 2011

Shamrock Shaped Cupcakes

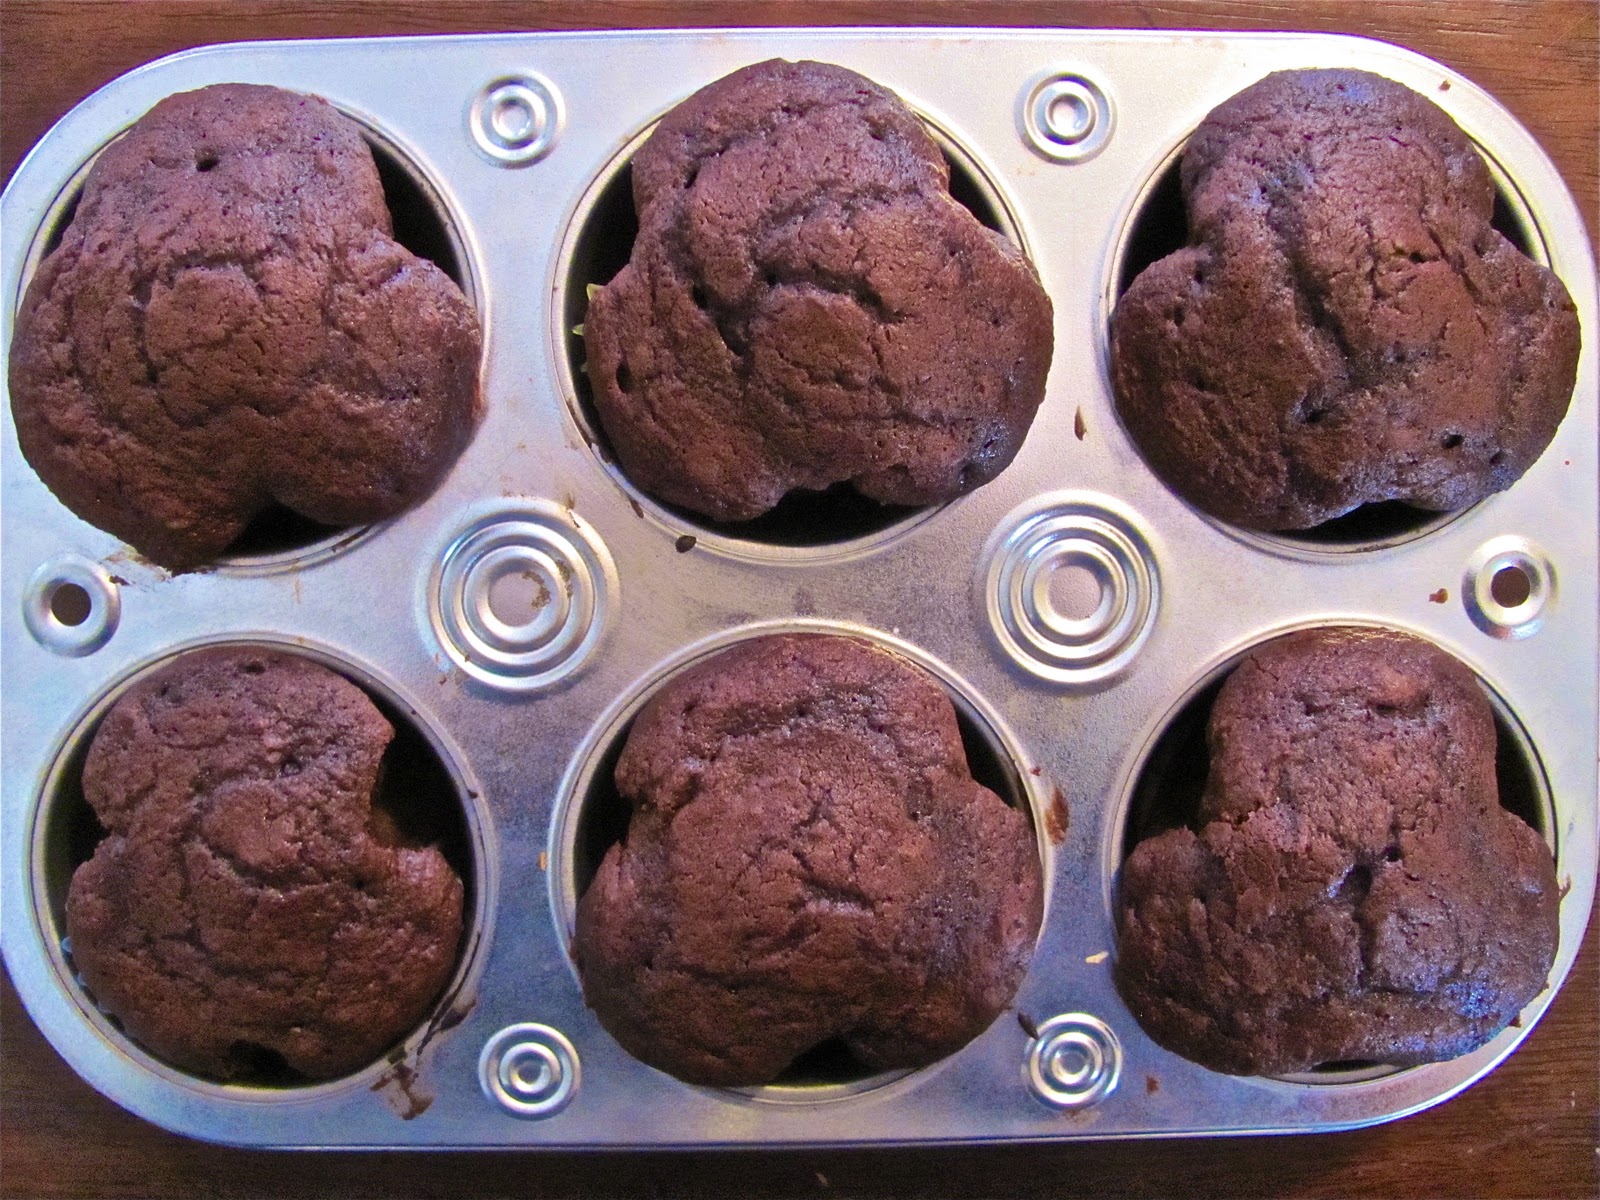
I had seen this recipe from Family Fun magazine from 2007 and never made them until now! Here is how the shamrock shaped cupcakes turned out:


First of all, you need to make some cupcake batter.  I just used a  chocolate cake mix, but I did use homemade frosting. Use cupcake liners to put in your muffin tin and only fill them halfway with batter. To get the shamrock shape, you need to form foil balls about 2/3 inch in diameter and tuck three of them around the edge of the muffin liners.  I think I made the foil balls a little too small.


Then bake them according to the package or recipe directions, but for a few minutes less because you are using less batter.  I think I filled the batter too high, but they seemed to work out.


Now, you need to let let them cool before frosting them.  My daughter had no interest in making the cupcake batter, but came around for making the frosting!!  For kids, this is the best part!!!


I love making homemade frosting because it tastes so much better.  Don't you agree?  
For the frosting we used:
!/3 cup of softened butter
3 cups powdered sugar
1 1/2 tsp. os vanilla
2 Tbsp. of milk
1 tsp. green food coloring 

I used an electric hand mixer to beat all the ingredients together.  Cassie just waited around for the frosting covered beaters at this point! I spread the cupcakes with the green frosting and added vein lines for the shamrock leaves with a toothpick.  Lastly, we used gummy sour apple ring candy cut in half for the stems because I couldn't find any green licorice!


Here is Cassie putting on the stems. She loved this part!


Finished Shamrock Shaped Cupcakes!  We shared them with friends today and they were delicious! I think they turned out pretty cool! 


HAPPY ST.  PATRICK'S DAY!
Now,  I think I have had enough green and pots of gold for a while!

This post is linked up to:

Wednesday, March 9, 2011

Green Guacamole For St. Patrick's Day!

I think it is so important to create in the kitchen with your children.  I've been letting my daughter help me in the kitchen since she could hold a spoon! She loves to help and always pulls up a chair to the counter and wants to at least see what I am doing! We've made so many recipes together. Our most recent endeavor has been to make this incredible guacamole recipe from my brother! (YUM!) My daughter loves avocados, but hasn't really acquired a taste for guacamole yet, but she enjoyed helping to make it!!!!! I let her slice the avocado (after it has been halved, seeded, and peeled) with a butter knife and it is so easy for a young child to cut because it is so soft! She loves avocados sliced with Italian Dressing!

Cassie mashing all the ingredients together
You'll need:
4 avocados halved, seeded, and peeled, then cut up a bit

juice of one lemon (or more to taste)
1/2 of a small onion, chopped
handful of cilantro, chopped
1 tomato, chopped
1 tsp. cumin
1/2 tsp. chili powder

(a clove of garlic could be added too)


Mix and mash all the ingredients together with a potato masher :
Cassie in action!

Finished Green Guacamole!
Serve with tortilla chips!!

Tuesday, March 1, 2011

Shamrock Apple Printing and Other Stuff!

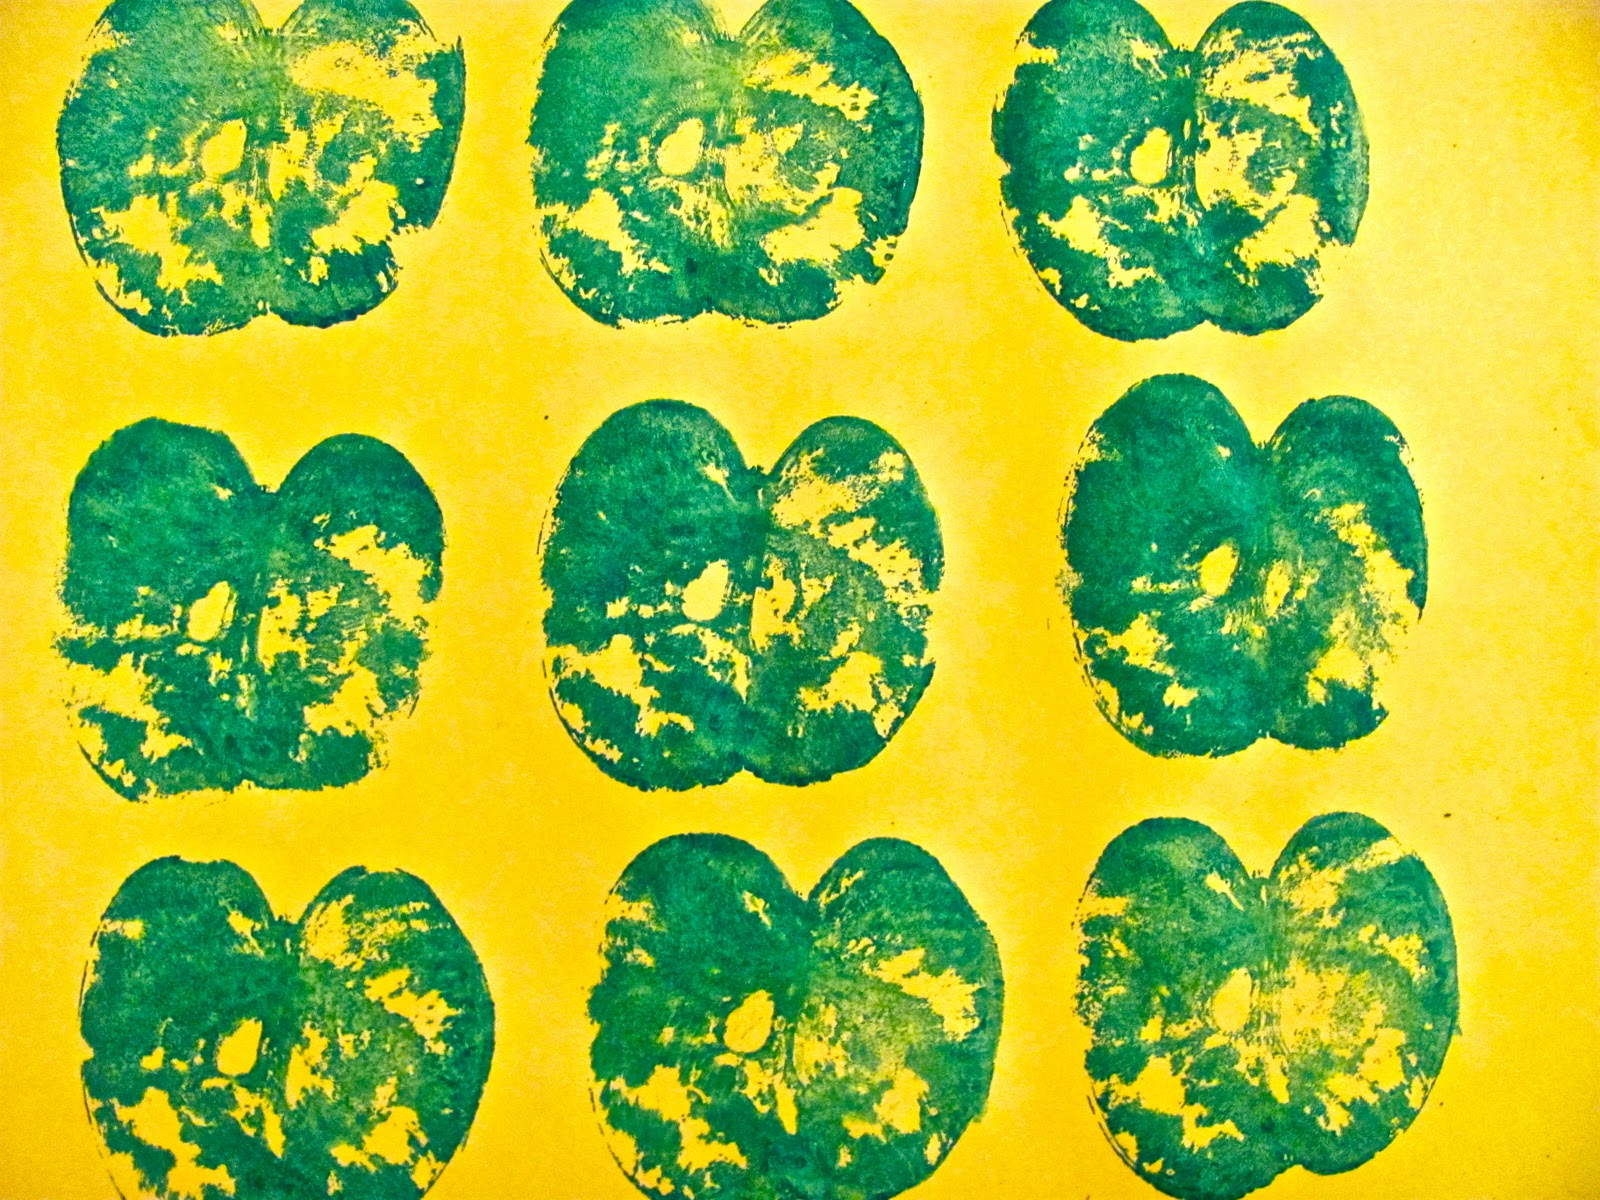
I don't know if anyone has ever done this before, but I was cutting apples and thought of this! I love apple printing in the Fall,  but what about using an apple to create a shamrock or four leaf clover for St. Patrick's Day??? Here is my example:


These are the supplies you will need: an apple, green paint (tempera or acrylic), a paint brush, and sponge to be used as a stamp pad:


First,  I dabbed the green paint on the sponge and spread it with a brush to cover a surface big enough for the apple. Test it to see if there is enough paint on the sponge before you do a final print!


Cut the apple in half very evenly or it will be difficult for a child to get the whole apple printed!! If you don't cut it straight,  you will have to rock the surface of the apple back and forth for it to print the whole surface of the cut apple. If you don't have a sponge you could alternately paint the cut apple surface and print it that way too.


We tried printing shamrocks (3 leaves) and four leaf clovers and just added a stem with a brush!  The tricky part is making sure to turn the apple so that it is the same direction all around! Have fun and don't worry if it isn't perfect!  That is the beauty of printmaking!


Here is our lucky four leaf clover again:


Just plain apple prints: (I was thinking older kids could cut these out to form shamrocks too!)


We experimented with using our fingerprints as the leaves of shamrocks too!  That was definitely FUN! Cassie really enjoyed this too! We used green marker for the stems. Don't you love the Mardi Gras mask?


FInished fingerprint shamrocks: What kid doesn't love using their fingerprints to create Art?


We also learned about drawing shamrocks.  Make one circle on top and two on the bottom and add a stem.  My daughter has been drawing these like crazy all over the place.  Also,  we added a little learning about rainbows and the proper order of the colors  ROYGBIV! Red, orange, yellow, green, blue, indigo, and violet. I set out the markers in the proper order and she followed along to create this precious rainbow!  Check out the children's group: They Might Be Giants and their: Here Comes Science DVD/CD combo that has a great song about Roy G. Biv.  It is a great science resource. It actually was nominated for a Grammy too!! Roy G. Biv is a colorful man.........don't get me singing this! I posted the video for this in my next post!!!

Isn't this BEAUTIFUL?????
HAPPY ST. PATRICK'S DAY!!
This post is linked up to:
FRIDAY FUN FINDS
SHOW AND TELL
KIDS GET CRAFTY
MONKEYING AROUND
NO TIME FOR FLASHCARDS
CHILD CENTRAL STATION
PRESCHOOL CORNER
WE PLAY
FEATURE YOURSELF  FRIDAY
FUN FOR KIDS FRIDAY
NO TIME FOR FLASHCARDS
MADE BY YOU MONDAYS
PRESCHOOL CORNER
HODGEPODGE FRIDAY
TRENDY TREEHOUSE
CRAFT SCHOOLING SUNDAY
MAKING MONDAY MARVELOUS
TOT TUESDAY
FOR THE KIDS FRIDAY
FUN TO CRAFT
MAGIC ONIONS
TATER TOTS AND JELLO
SATURDAY NIGHT SPECIAL
SUNDAY SHOWCASE
TRANSFORMATION THURSDAY
SHOW AND TELL WEDNESDAY
GET YOUR CRAFT ON
MADE BY LITTLE HANDS MONDAYS
TIP ME TUESDAYS
HANDMADE TUESDAYS
St. Patrick's Day Linking Carnival
St. Patrick's Day Party
LUCK OF THE IRISH PARTY
Lovefeast Table