Showing posts with label Sun Catcher. Show all posts

Thursday, June 20, 2013

Puffy Paint Plastic Lid Sun Catcher

We've made about a zillion sun catchers and this just adds to our list.  I think this will be a favorite among them all. These were made purely by chance and those always seem to be the best projects.  My daughter C had an art kit with puffy paint and there was quite a bit left so we decided to use our always abundant supply of plastic lids to create these wonderful sun catchers.
Pin It

Clear Plastic Lids
  Puffy Paint
String for hanging

You can purchase dimensional puffy paint at amazon.com  or any craft store and is usually labeled as "fabric paint".  We gathered our clear plastic lids on white paper so we could see the paint better on our dark colored table.  Then after this, simply design what you would like on your plastic lids. We chose radial designs or circular designs which go very well with the lid shape.  Next, let the paint dry overnight,  punch holes for string, attach string,  and hang on your window.  Enjoy the Sun and beautiful Art....

.

Friday, June 22, 2012

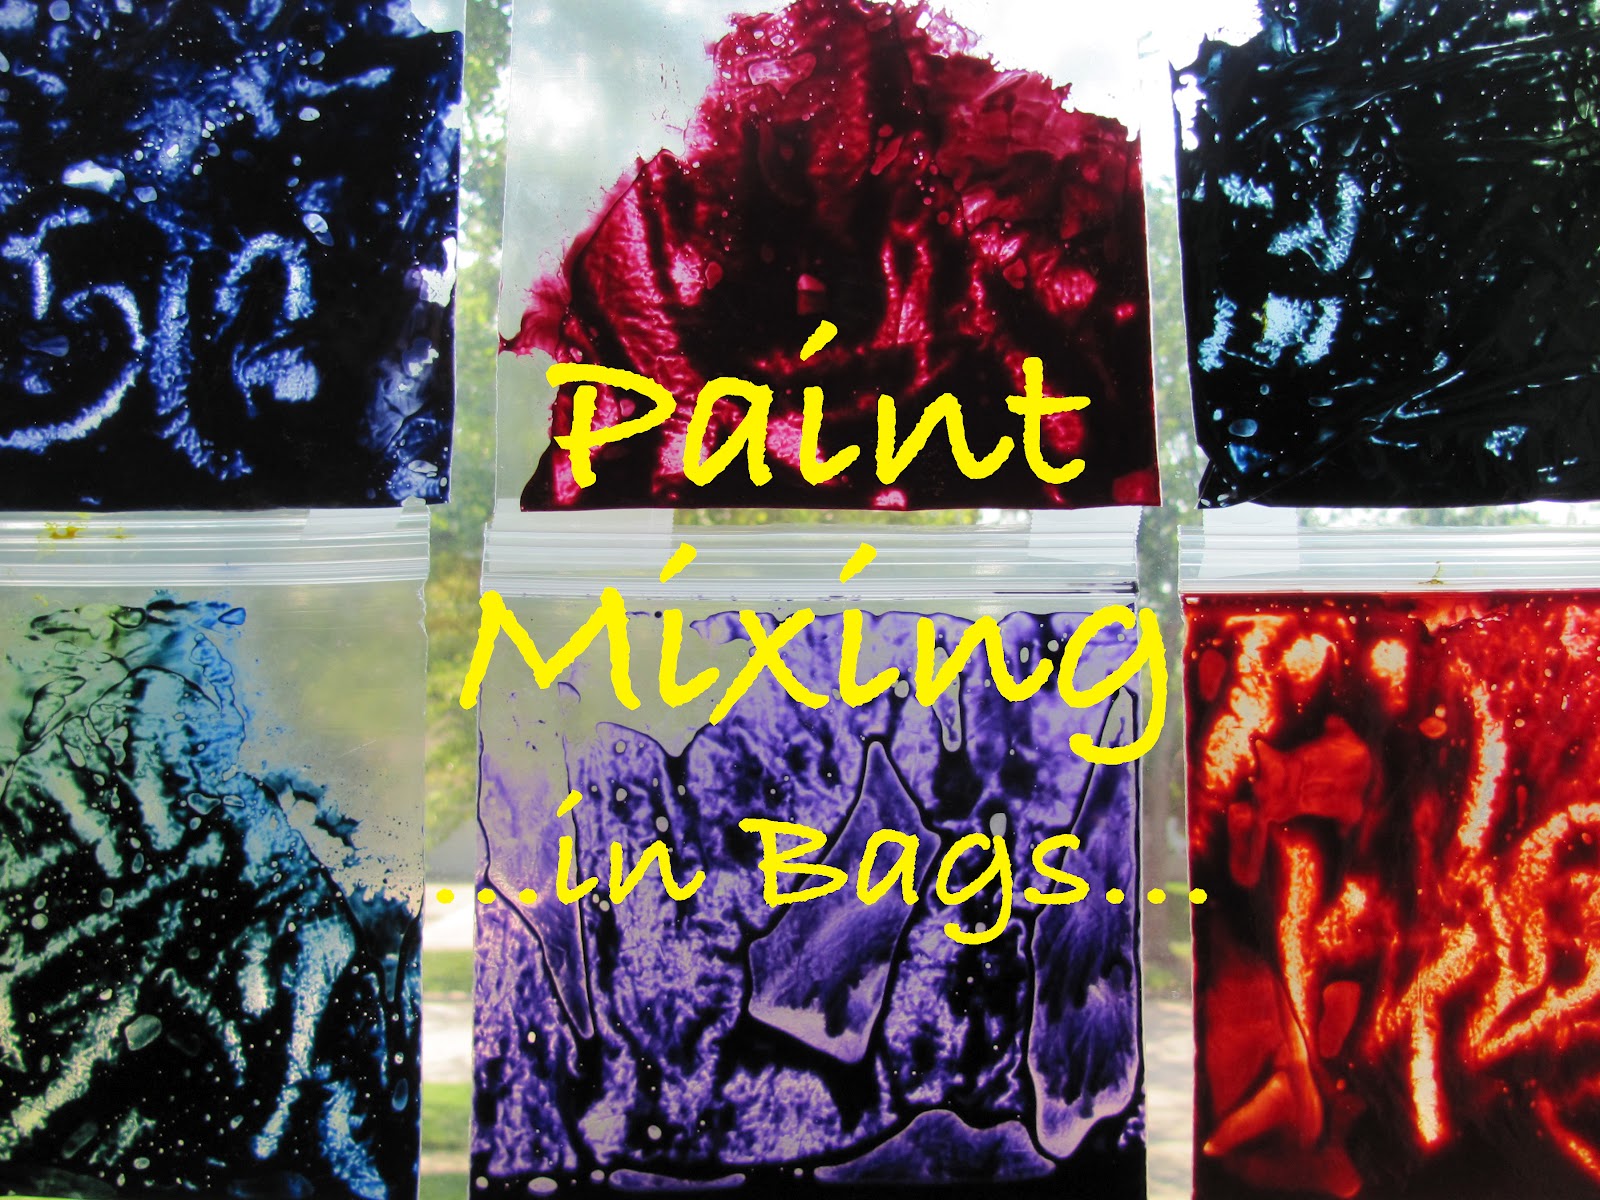
Paint Mixing In Bags

I know this is nothing original, but it was a huge hit with my daughter and the neighborhood kids.  All we did was mix paint colors in plastic baggies. The great thing is.....there is no mess!  I hung some of the paint mixing bags on the window like sun catchers. I love how they look!


To create Paint Bags you'll need:

Baggies with the zipper top
Paint like tempera or acrylic


Place the paint in the bag.


Squish the paint together.


 A great way to experiment with mixing colors without the mess...


We did a lot!


You can draw over the paint.


Make no-mess handprints.


Pretty cool?


No mess printing with objects...


Results....


My favorite is when I hung them on the window..... Paint Bag Sun Catchers!!!!!


Again, something so simple always has so many possibilities.....try mixing other things in bags...let me know the results!

If you don't have paint you could use shaving cream and food colors.


What projects have you done with Plastic Bags?

Friday, January 6, 2012

Snowflakes From Recycled Water Bottles

Today I'm guest posting over at The Artful Parent!!! I'm truly honored to be on Jean's blog since her blog is one of the main reasons I started The Chocolate Muffin Tree.  I started following The Artful Parent in 2009 after seeing it recommended in Parent Magazine.  I hope you can pop on over to find out how we made these Snowflakes From Recycled Water Bottles here.  We had a lot of FUN and they turned out GORGEOUS!
Thanks to The Artful Parent for her continued inspiration...hope you enjoy the post!!!


Friday, September 30, 2011

Plastic Bag Aquarium

We made plastic bag aquariums!  This is such an incredibly easy project and FUN too! All you need is a plastic bag with a zipper top,  permanent markers, and some hair gel.   Here is one that Cassie did! There is something satisfying about squooshing your fingers across the gel!


First place your plastic bag over a white piece of paper so you can see what you are drawing.  Then start drawing a fish scene with your permanent markers.


When you are done with your drawing, add some blue hair gel in the bag.  You could also use clear hair gel and add a few drops of blue food coloring! (that is what we did!)  Here is my fish bag creation.


You could also add some glitter to give it some sparkle!  We had a lot of FUN and they look great on our white refrigerator! You could also hang them as sun catchers on the window!!!  Here is Cassie's fishy bag again!


Hope you enjoy creating your own Fishy Bag Aquariums!
This post is linked to:

Thursday, September 15, 2011

Tie Dye Coffee Filter Fall Leaves

I'm so ready for the Fall colors.... so we decided to bring some beauty to our window a little bit earlier!!!  We created Tie Dye Coffee Filter Fall Leaves!!!   We did these leaves very much the same way as our Tie Dye Coffee Filter Easter Eggs.  All you need for this project are some coffee filters, water based markers in Fall colors (the ones that work the best are: Mr. Sketch Markers ), scissors, newspaper, water, and Metallic Markers.


First, create a simple leaf shape on your coffee filter.  To create variety,  I created some different sizes of leaves too.  Cut out the leaf and place it on layers of newspaper so the markers or water won't soak through to your table!


Now color the leaf shape with water based Fall color markers like brown , red, orange,  and yellow.  We made patches of colors rather than just one color.  You can leave a little white showing.


Here is an example of one leaf that C did.  Some were colored with smaller patches of color too.


After coloring,  make sure the leaf is placed on the layers of newspaper and spray with a mist over the leaf to make the colors run.  Don't put too much water or the colors will fade away too much! (C loves this process!)

After done spraying,  let the leaves dry for a few hours.  We let them dry over night.  


After the leaves were dry,  we used metallic markers to add veins to our leaves. Adding the veins gave the leaves  a finishing touch that they needed!


Here are our leaves again.  They make great sun catchers too! 


Happy Fall!


This post is shared with: It's Playtime, The Play Academy, Come Together Fall Fun,             Thanksgiving Link-up

Tuesday, August 23, 2011

Plastic Lid Sun Catcher

I have a thing for sun catchers if you haven't noticed yet! If you have been following me a while you would know! Here is yet another sun catcher project done with a clear plastic lid and colorful permanent markers! Here is C's fabulous flowery sun catcher! (notice the ants too?) This girl is still obsessed with Ants! (Ant Art Projects post)  Love how this turned out! Too simple!!!


First, gather some plastic lids from berries, vegetables, or bakery.....or whatever you can find. The tricky part is finding a lid without any stickers or labels.


Grab some permanent markers,  and your ready to draw!  I found it was easier to see what the Artist was doing if a white piece of paper was placed underneath the lid!


Here is the artist working hard!  It helps to draw the picture in black marker first and fill in with color to make the drawing stand out better!


The Artist finishing up!


Lastly, punch a couple of holes at the top and string a ribbon and then it is ready to hang!!! Easy and beautiful!


Tuesday, June 7, 2011

Contact Paper Rose Window

We created a contact paper rose window or stained glass.  Rose windows are the windows you see in older churches and cathedrals. All you need for this project is black paper, colorful tissue paper, contact paper, and scissors. Cassie loved this project because she loves cutting snowflakes and you have to know how to fold and cut and she loves both! She especially enjoys projects that involve scissors!


Here is the South Rose Window of Notre Dame Cathedral in Paris, France for some inspiration.


First we traced a plate on some black paper.  We used some thin construction paper that was easy to fold and to cut through! If your paper is too thick it will  be too difficult to fold and cut!


Then Cassie cut out the circle. She is an expert at cutting circles! In her preschool class she was the best at this! So serious in this picture!


Once cut out, it needs to be folded in half like a taco or semicircle.


Then fold the paper again to look like a piece of pizza (1/4).


If you able to fold again, then fold and begin to cut small triangle shapes on the edges. Cassie cut mostly triangles, but you could do any shapes that you desire.


Once you have all the cutting done, lay your "black snowflake"on the sticky side of some contact paper that has been peeled. This paper had brown on the back (in case you were wondering?).


I chose to use contact paper so it would be east to attach the tissue paper. Cassie just put small pieces of tissue paper over the holes of the cut paper so there was no messy glue! The contact paper made it much more simple to attach the tissue paper.


I put another piece of contact paper on top of the back and cut around the circle. Beautiful!


We did quite a few!


Here is our array of rose windows!


I really enjoy looking at them!
Older children could get  a lot more detailed with their cutting!

Have Fun!

Click here if you would like to see more rose windows for inspiration!
They are Gorgeous!

Tuesday, May 3, 2011

Mother's Day Sun Catcher

Since Mother's Day is right around the corner, why not create a heart shaped (or any shape) Contact Nature Collage Sun Catcher! My last post is on how to create a Contact Paper Nature Collage so check that out first if you don't know what I am talking about! Here is my heart idea:


After you have a Contact Paper Nature Collage completed, then use construction paper or tag board to create a heart frame. Create two that match to put one on top of the other and the Contact Paper will be in between the two frames.


Then cut out the frame part.


Place the heart frame over the nature collage and cut to fit. Then tape or glue it.


Put another heart on top and use glue or tape to adhere the two hearts together.


You could just tape it on the window or add some yarn or ribbon for hanging to make a nice Mother's Day gift!

Be sure to check out my Contact Paper Nature Collage post here!

HAPPY MOTHER'S DAY!!!