Showing posts with label tissue paper. Show all posts

Monday, March 19, 2012

Bleeding Tissue Easter Eggs

This is is going to be an exciting week! My friend Rachelle from Tinkerlab and I have joined forces to give you 10 Egg Activities for Egg Week.  Monday through Friday we will both be posting a different egg activity so be sure to check out both places for some fun ideas. Today we have our Bleeding Tissue Easter Eggs to show you.  Here are a few of our beauties.  My daughter especially enjoyed this egg decorating activity.


For Bleeding Tissue Easter Eggs you'll need:

hard boiled white eggs
scissors
coffee filters or paper towels
spray bottle
newspaper
egg carton or baking cooling rack
To begin,  I cut up the bleeding art tissue in 3 different types of shapes: tiny squares, tiny strips, and a variety of shapes in one group.  My hope was that the different shapes would transfer to the egg.


Next,  lay down a paper towel or coffee filter and spray it with water.


Then sprinkle some bleeding tissue shapes on the wet coffee filter.


Then,  spray the top of the egg and sprinkle some bleeding tissue shapes on top of the egg.  I asked my daughter what she thought would happen?  She noticed the tissue already beginning to bleed so she guessed correctly.


We wrapped the egg in the coffee filter with the tissue paper to ultimately open the wrapped eggs like little presents.  C loved the whole procedure of this of spraying, sprinkling, and wrapping the eggs.


We rested the wrapped eggs in the egg carton, but you could put them on a baking rack too.  Who doesn't love surprises?


We let them dry for a half hour...we couldn't wait.  Perhaps the effect would be brighter if left to dry? Next time we'll try that.  I think they turned out wonderful.  I'm always a big fan of this sort of effect.  One egg has the tiny squares, another the mixture, and the last has the strips of tissue on it.  Pretty cool.


One close up view.


My intention was to use paper towels, but we didn't have many so I thought to use coffee filters.  In the back of my mind I was thinking that the bleeding tissue would transfer to the coffee filters too.  So now we have art on our eggs and coffee filters!


What do think about this process?

What should we make with these colorful coffee filters?

Hope you enjoyed this idea,  but I'm sure you'll enjoy TinkerLab's egg experiment too.  Be sure to stop on over to see what amazing idea Rachelle has to share here. Walking On Raw Eggs!

Tuesday, December 13, 2011

Newspaper and Tissue Paper Ornaments

We created these beautiful newspaper and tissue paper ornaments over the weekend! What do you think? I like the funky shape of them and that they are not perfectly round in shape!!! They are a little messy,  but I think they had nice results!  To make these you'll need:

Newspaper
(preferably non-bleeding kind)
Paper clips or wire
masking tape
paint brushes
glitter (or not)
ribbon


First crinkle about a page of newspaper into a ball.  Try to make them hold their shape as best as you can.


Then take aper clip or piece of wire (or even ornament hanger) and shape it into a triangular shape like this.


Try tucking or embedding the paper clip into the wad of newspaper and tape it into place.  I added making tape on the top to so it would stay in place.  Tissue paper will cove over this so it doesn't matter if you can see the masking tape now.  If you don't like the appearance of the ball,  you can use more masking tape to help make the shape more "round".


We tore up some tissue paper into small pieces first.  Then take your brush and put some mod podge on the newspaper and place pieces of tissue paper over it.  Make sure to brush over the tissue paper too with the mod podge.  It gets rather messy!


As you can see the mod podge is covered all over.  My daughter C needed some help to get some of the spots smoothed out.


We put all the ornaments on a foil lined tray so they could dry and not stick to anything!!! We added gold and green glitter to add some sparkle! Everything needs some SPARKLE! Don't you think?


After they were dry,  I added some ribbon as a finishing touch! Now they are ready to be given as gifts!
They remind me of our Tissue Paper Mache Easter Eggs.  I guess we could have used little balloons too?


I think they look fabulous on our Christmas Tree!!!  I like the glossy shiny look of them! Can't wait to give them as gifts! I hope everyone will enjoy them!


What Are Your Favorite Christmas Ornaments?

Tuesday, October 4, 2011

Fall Tree Birthday Cards!

Remember the tissue scraps we had left over from our Bleeding Tissue Fall Leaves? We couldn't just throw them away,  so we made Fall Birthday cards for Daddy!  He always enjoys Fall because his  birthday is in October and it is his favorite season.... so these were the perfect cards for him!


To make the cards we first folded some paper into cards and then drew some trees without leaves.  Then added some grass!


Next we simply glued our tissue scraps and used them as Fall leaves for our Trees!   Cassie made two and I made one! So FUN!


Here is our array of cards that we made.  Daddy LOVED them all!


And he especially LOVED his sign made by C !!!


What other ideas do you have for Tissue scraps?

Sunday, June 19, 2011

So Easy Kaleidoscope!

We created a kaleidoscope out of a Pringles can! This great idea came over from a link that Jen from Paint Cut Paste suggested after her post on Creating A Kaleidoscope.  The link she suggested is on a site called MakingFriends.com and the link is here if you want their instructions. We don't usually have pringles, but saved the can for a school project that C had missed. Here is C looking through her newly made kaleidoscope!


Before constructing the kaleidoscope we had to decorate the outside of the can, so we sponged acrylic paint over the can with different colors! The acrylic paint worked well to cover the glossy can and it won't chip off like tempera paint might! You could decorate the can with scrap paper or stickers if you don't want to fuss with paint.


Here is the finished can.....very pretty! We also mixed up some glue and glitter to paint on to give it a glittery finish! We let the paint dry for the next steps.


Next we needed to make a small hole to look through on the metal side of the can. We used a hammer and nail to do this. I had to steady the can so C could do this.


Here is the hole so you can see how small it is. This is the hole you look through for the kaleidoscope.


You'll need some small pieces of cut up colorful tissue paper to glue on the plastic lid and for a piece of contact paper.


I mixed up some glitter, white glue, and a pinch of water so C could paint the pieces of tissue paper on to  the plastic pringles lid. We painted them on outside part of the lid.


Here is the finished lid part with tissue paper and our homemade glitter glue! Let this dry. This is the part you twist to make the kaleidoscope move.


Next, we used a piece of contact paper for the part that won't move on the kaleidoscope.  C put the small pieces of colorful tissue paper on the sticky side of the contact paper and I put another layer on top (no glue needed).


This shows the tissue paper in between the layers of contact paper. I took the pringles can and roughly traced around it because this part will be glued on the open end of the can. Now cut the circle out!


Put some glue on the edge of the opening. I used stronger craft glue.  I tried a glue gun and that did not work because you want the surface to be smooth so the lid can be turned. Let both parts dry before working the kaleidoscope!!!


Here is how the open end with the contact paper will look. You may want to trim the edges of the contact paper if it is hanging off the edge. This will allow the lid part to turn more easily. Let dry!


Now put the the lid on the end like this and your kaleidoscope is ready to go! The lid part is what you turn. So make sure it can turn easily or the contact paper may come off.


Here is C enjoying her kaleidoscope! She is not turning it here! I think she just likes looking through it without making it turn! Either way it was a fun process to create a simple kaleidoscope without mirrors! It looks pretty too!


What Do You Think?

More simple Kaleidoscope ideas:

How to Make a Kaleidoscope for Preschool

How to Make a Kaleidoscope for a Science Project

Recycled Kaleidoscopes from Mrs. Bearden's Art Room

This post is linked to:
Sunday Showcase
No Time For Flashcards
Craft Schooling Sunday
The Play Academy
Made By Little Hands Monday

Thursday, April 14, 2011

Egg Shaped Lanterns

Ever since we did our Tissue Paper Mache Eggs from a previous post I've been toying with this idea and have finally completed it.  I really wanted the Tissue Paper Mache Eggs to be transparent, but we had to do a few layers so they did turn out beautiful, but they were opaque.  I was looking through Scribble Art
a great kid's art book by Mary Ann Kohl and noticed an idea for the yarn eggs, but at the end of the idea it mentioned putting tissue paper over it for an extension.  This was my light bulb moment and this is how these Egg Shaped Lanterns came to be!!! I Love how they turned out! I'm so pleased with these!


To begin,  cut some 12 inch yarn pieces----about 8 pieces or so.  You'll need white glue in a container--enough to soak the yarn in!


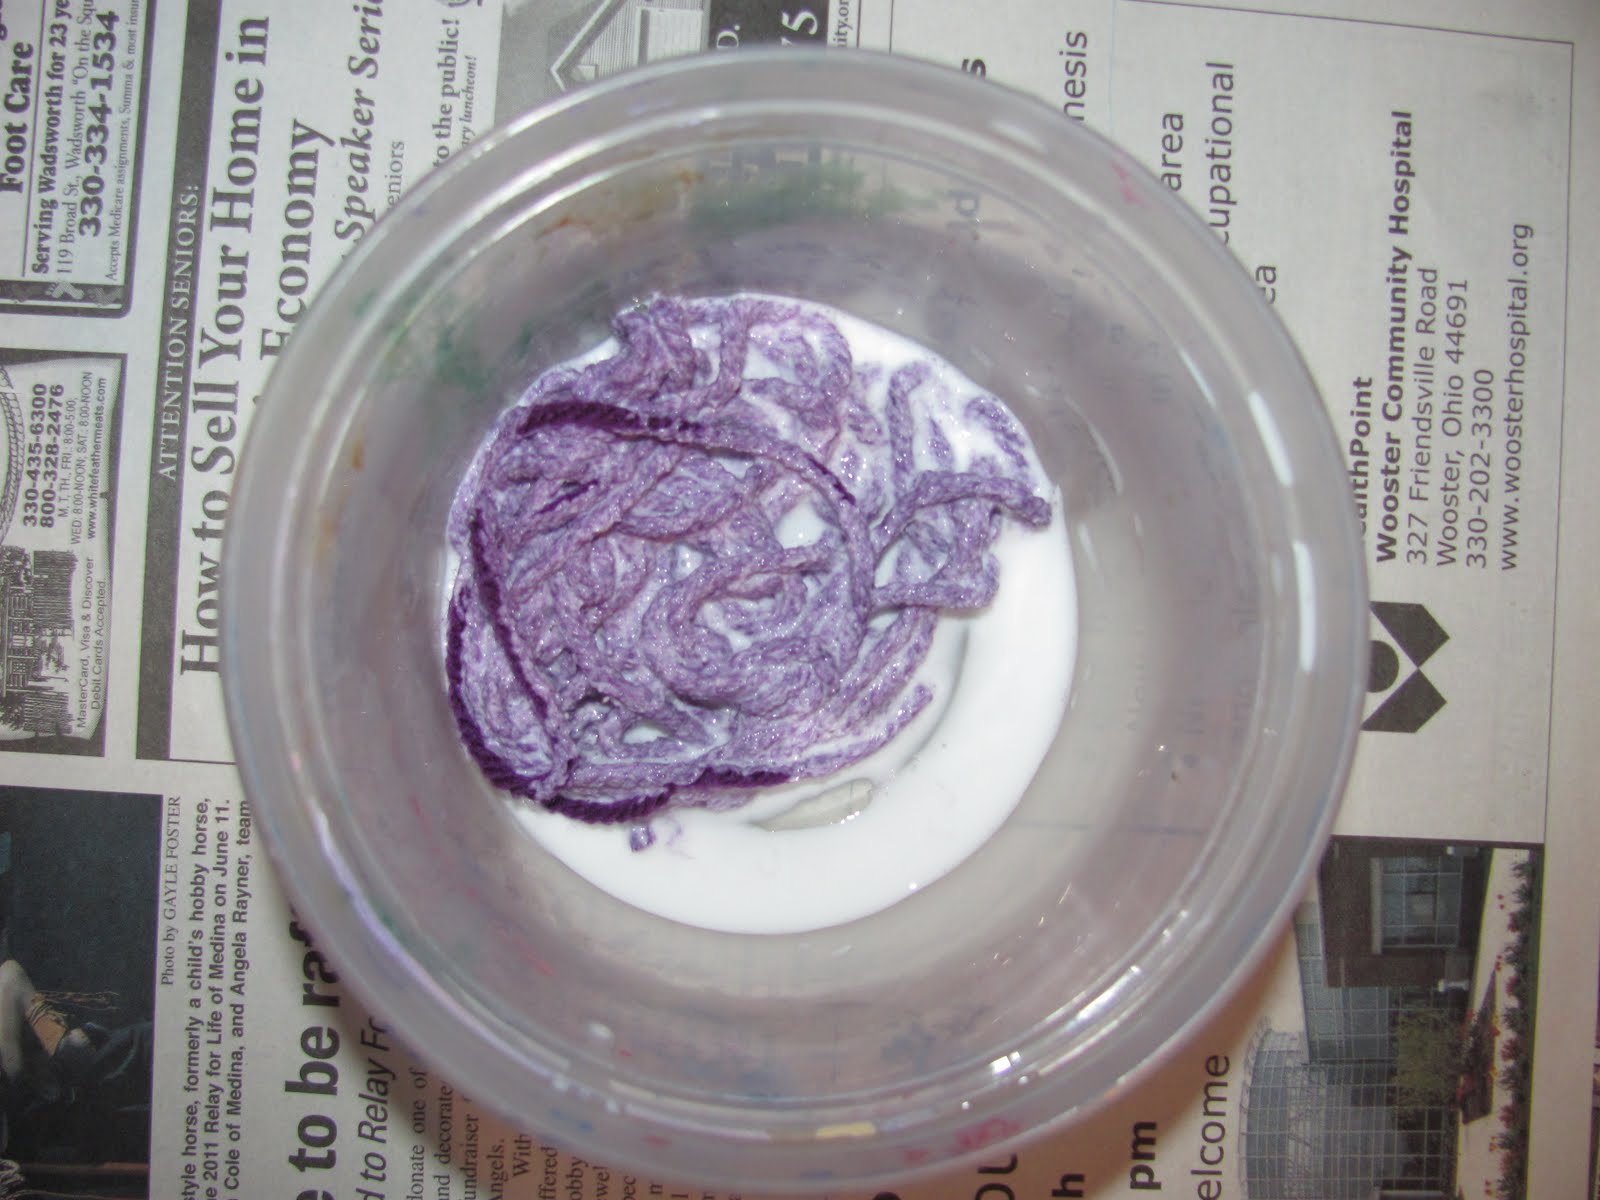
Soak the yarn in the glue for a few minutes. I spread out the pieces for Cassie because she cannot stand being sticky!!!


Set a water balloon in a cup (I cut down a yogurt container to fit) and you are ready to wrap yarn around the balloon.  You can take some glue off between your fingers, but leave most of the glue on the yarn!


Here is Cassie wrapping the yarn on the balloon. I had to help pick the balloon up to get it all around or it will easily fall off the balloon!


Here is our yarn wrapped balloon---we did 2 of these at a time!


Now for the tissue paper part---make sure it is not bleeding tissue!  I cut up some squares in put them in a pile.  Make  a mixture of 2 parts glue to 1 part water to apply the tissue paper.  We placed the tissue paper on the yarn balloon and went over it with a brush (Thank you Imagination Tree for the tip!) which made it so much easier to handle because your hands didn't have to get as sticky!


All you have to do is one layer and cover the balloon so that  it will be transparent.  Don't forget to throw some glitter on too!  The great thing is that this only took a day or so to dry and you are ready to pop the balloon and hang!  Love this idea!


I punched holes in the tissue paper and attached the yarn or you could attach it to the yarn of the balloon too! This seems like a great indoor patio decoration! 


WHAT DO YOU THINK?

This post is linked to: