Showing posts with label Art. Show all posts

Monday, September 10, 2012

More Printed Tape Creations

Over the summer we purchased some amazing printed and colored tape from Target. You can read my post about it here: Printed Tape Creations . We had a lot of fun with it then and just recently C and her buddies had even MORE FUN with this tape.  Keep reading to find out all the creations that were made.


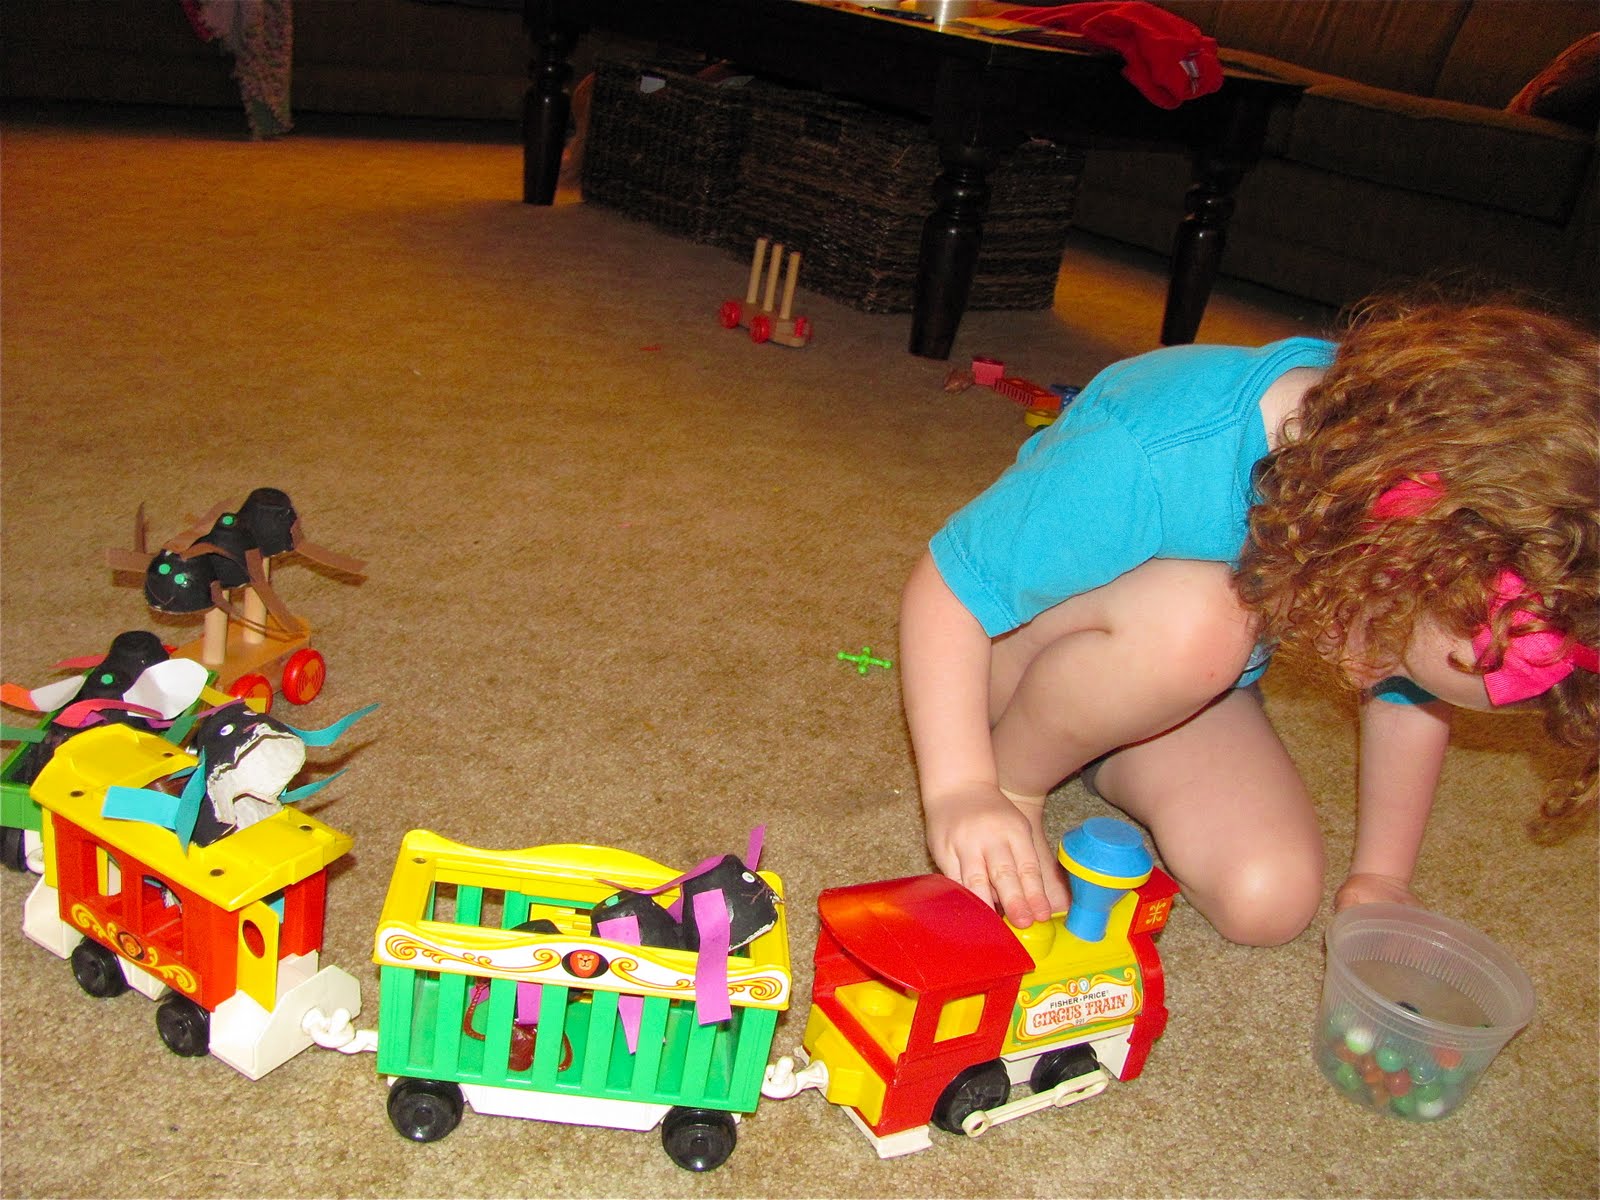
Here are C and her buddies hard at work with all the printed and colored tape.


One of the creations up close.


Wrapped tape creations with sticks.


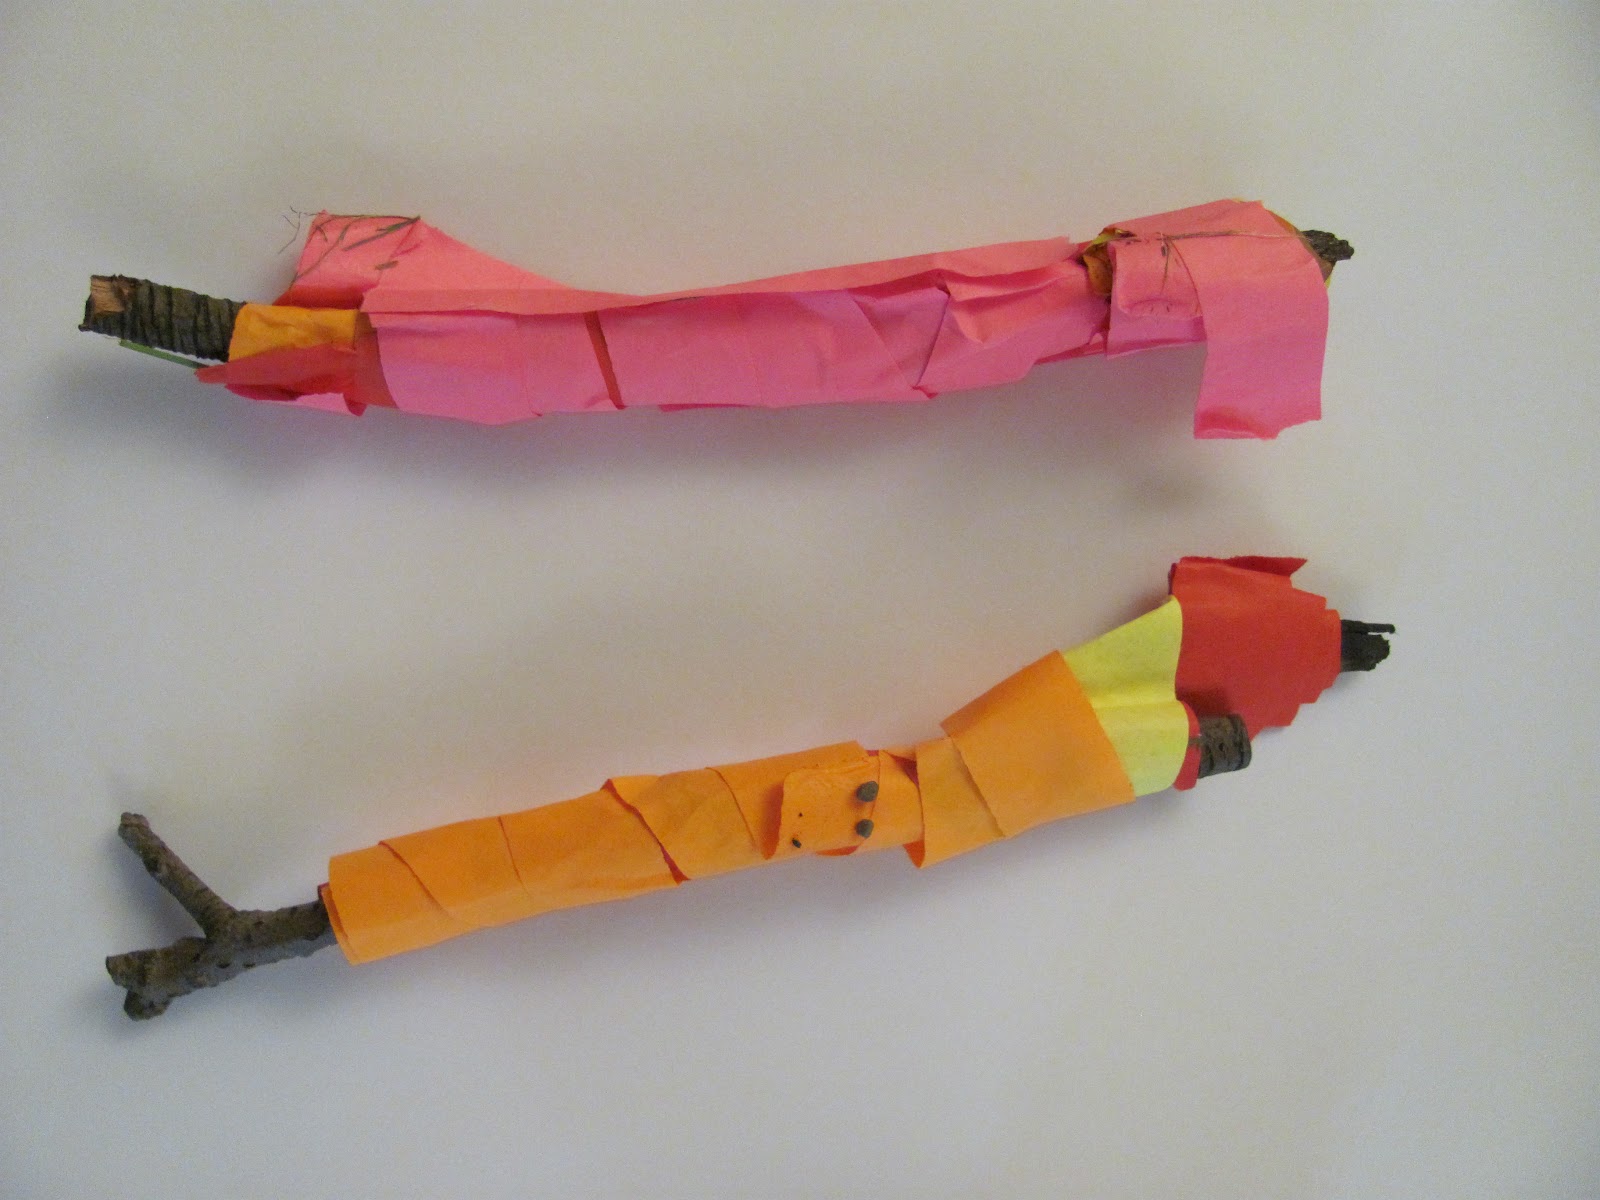
Another creation with stick, colored tape, yarn, and a hosta leaf.


A magic wand made with tape and a stick.


They went a little crazy and started decorating my whole porch. (without me knowing!) I should of took more pictures, but I had them take it down because I didn't want the tape to remove the paint from our house. (yikes!)


A tape ball created with all the tape leftover from the porch decorations.


They had a great time and I can't wait to see all the future creations that they come up with!


Pin It

Tuesday, June 7, 2011

Contact Paper Rose Window

We created a contact paper rose window or stained glass.  Rose windows are the windows you see in older churches and cathedrals. All you need for this project is black paper, colorful tissue paper, contact paper, and scissors. Cassie loved this project because she loves cutting snowflakes and you have to know how to fold and cut and she loves both! She especially enjoys projects that involve scissors!


Here is the South Rose Window of Notre Dame Cathedral in Paris, France for some inspiration.


First we traced a plate on some black paper.  We used some thin construction paper that was easy to fold and to cut through! If your paper is too thick it will  be too difficult to fold and cut!


Then Cassie cut out the circle. She is an expert at cutting circles! In her preschool class she was the best at this! So serious in this picture!


Once cut out, it needs to be folded in half like a taco or semicircle.


Then fold the paper again to look like a piece of pizza (1/4).


If you able to fold again, then fold and begin to cut small triangle shapes on the edges. Cassie cut mostly triangles, but you could do any shapes that you desire.


Once you have all the cutting done, lay your "black snowflake"on the sticky side of some contact paper that has been peeled. This paper had brown on the back (in case you were wondering?).


I chose to use contact paper so it would be east to attach the tissue paper. Cassie just put small pieces of tissue paper over the holes of the cut paper so there was no messy glue! The contact paper made it much more simple to attach the tissue paper.


I put another piece of contact paper on top of the back and cut around the circle. Beautiful!


We did quite a few!


Here is our array of rose windows!


I really enjoy looking at them!
Older children could get  a lot more detailed with their cutting!

Have Fun!

Click here if you would like to see more rose windows for inspiration!
They are Gorgeous!

Thursday, June 2, 2011

Glue Prints!!!

Today you get two Chocolate Muffin ideas for the price of one!!! I have a  post today featured on Moms by heart  that is part of their Summer Staycation Series of activities to do with kids! My post featured on Moms by heart is titled Salty Watercolor and Glue Paintings. My post on the blog today is about Glue today too! We made Glue Prints!


For this project you'll need:

White Glue
Matte board or scrap cardboard 
tempera paint
paint brush
paper

To begin you need to get some thick cardboard. We used some scrap matte board which you can easily get a frame shop.  You could use cardboard from cereal or pizza boxes too! Now grab some white glue and draw with the glue to create a picture. Cassie did about three glue drawings of people. 


Here is one of Cassie's finished glue drawings! I just adore it! ***Now--- you need to let the glue drawing dry for at least over night. Thicker area may take longer!***


After the glue drawing is dry, you will need to paint over the glue drawing with tempera paint. You could use a roller, but we chose to try it tis way.  A roller works better with thicker paint like acrylic or printmaking ink.


Once we covered the cardboard and glue, I carefully took a paper and put it on top of the painted glue drawing. Then Cassie used her hands to rub all over the paper so that the paint would print.


Carefully peel back the paper and you have a print! This print was a little light, but the whole idea of printmaking is to print many times and experiment---so that is what we did!


The next print was done in blue. A little darker!


Next time we used both magenta and blue to create purple.  


I liked this print because not only did the colors mix to make purple, but also you could still see other layers of the separate colors.  It gave it more dimension!


We printed a bunch as yo can see! It was fun to see how they came out so differently!


Have Fun! Experimenting is the key to successful prints!

***Be sure to check out my other post today: Salty Watercolor and Glue Painting on Moms by heart here!!!  Let me know what you think?
This post is linked to:
IT'S PLAYTIME
FOR THE KIDS FRIDAY
FUN FOR KIDS FRIDAY
NO TIME FOR FLASHCARDS
CRAFT SCHOOLING SUNDAY
SUNDAY SHOWCASE
RESOURCE CENTRE
KIDS CAN CRAFT

Tuesday, May 31, 2011

Ant Art Projects

We've been obsessed with ants lately if you haven't heard! Check out my last post on Ant Explorations here along with a great book.  We've made egg carton ants before, but came across this great post from Adventures of An Art Teacher here.  She made egg carton ants with her students and used construction paper and hole punched eyes that were so cute! Here is our version of her ants crawling across the kitchen floor! So appropriate since we've had ants in our kitchen...but not this large...thank goodness!!!


I cut the egg cartons into three body part sections: head, abdomen, and thorax! Cassie wanted to paint them all black!


After finishing painting her ants, we used the leftover black paint to create fingerprint ants! We used black marker for the six legs!


Working on the ants!


Finished fingerprint ants! So cute! Notice the "one" Queen Bee (the one with the wings!)


After the egg carton ants were dry we used construction paper strips for legs and antennae. Hole punched eyes were added too! She wanted to add a breathing hole on the top of some of the ants! We actually read that ants have breathing holes all over their body! She added this before knowing this fact!


Cassie wanted to make a Queen ant so this one has wings and rainbow legs and antennae.


Ants invading our kitchen!


These egg carton eggs even inspired some imaginative play with the cooties form Cassie's Cootie Game!
Who would have ever thought....?


Egg Carton Ants riding on the Antique Fisher Price Train! Woo Hoo! Egg Carton Ants never had so much fun!


***Be sure to check out our Ant Explorations post here!

***One of my readers (Dawn) suggested another great Ant themed book: Ant Cities By Arthur Dorros.


***Another reader (Mary) suggested the book The Ant Bully by John Nickle.
***Can't wait to check them out!***

***Don't forget the great book I suggested in my last post too:
Two Bad Ants by: Chris Van Allsburg.

Monday, May 16, 2011

Pine Cone Sculptures

We have such a huge collection of natural items, especially pine cones and sweet gum pods, I knew we could eventually incorporate these into some sort of Art! So we created sculptures with them today. Cassie was excited to involve her collections into a project so she was highly motivated! Also, the fact we were using a glue gun got her psyched up too! Again if you are hesitant about using glue guns with little ones, check out this post by Teacher Tom here.  He is the reason I have started using them with my daughter. The glue gun allows for building more vertically and at a faster rate! Kids learn how to be safe with glue guns very quickly! Use your own judgement to what you think is right for your child!


Here is some of Cassie's collection that we used for our sculptures.


Here is our Low temperature glue gun and some scrap cardboard/ matte board that we used for our sculptures. We need to get a glue gun with a trigger, but Cassie seems to have gotten the hang of this one!


Here is Cassie using the glue gun very successfully to create her sculpture.


More building and concentrating!


Cassie really took charge of this project! She said that we were working as a team, but she did a Great deal of it by herself!


Here is Cassie looking very satisfied!!! She kept going with this sculpture for a while!


Completed Pinecone Sculpture:


Cassie created another Sculpture too:


What Do You Think?

What other natural items could you use to create a sculpture?
This post is linked to: