Showing posts with label valentines. Show all posts

Sunday, January 26, 2014

Celery Printed Rose Valentines

We made printed roses from the bottom ends of celery stalks.  I think these turned out so lovely.  I've been wanting to try this for ages and finally did. Keep reading to see how we made these Celery Rose Printed Valentines.
Pin It


To Create Roses from Celery you'll need:
Bottom ends of celery stalk cut off
Dish or paper plate for paint
Red, Pink, and Green tempera paint
Pink and White Construction Paper (any color you choose!)
scissors

First cut off the bottom ends of celery stalks as straight as you can to make a good printing surface. We only had small stalks, but you could use larger stalks for bigger roses too.

Prepare your paper,  cut hearts, use folded paper to create cards, or use plain paper too.


 Get your paint ready on a paper plate or dish and smooth out to print more easily.

Then print however you like.  I like the more random look to create overlapping rose shapes.

We added other cut out hearts to frame and accent the hears.  You can also use green paint for leaf accents on the roses too.

I think we'll be doing more of these. Please share your results with this process.  

Happy Valentine's Day!

Monday, February 4, 2013

Bubble Printed Valentine Hearts

My all time most popular post on the The Chocolate Muffin Tree is Bubble Printing and we revisited this technique just recently to create some Valentine Hearts. They turned out beautifully.
Pin It
Materials Needed:
(Per color you need)
1/2 cup water
2 Tablespoons tempera paint
few squirts of dish soap
containers
straws
paper

We made Bubble Prints in this post here if you want to follow the tutorial with pictures. Basically you mix up the ingredients above in each container per each color. Then you blow into the mixture like you were blowing bubbles in milk (watch that little ones don't suck up the soapy mixture) and place a paper over the colored bubbles to create a print. The print is created as the bubbles pop. Each time you'll need to blow more bubbles to create more prints.


After you have a bunch of bubble printed papers, you can use them to create heart shapes.  We used construction paper in Valentine colors to frame our hearts. You could make these hearts into Greeting Cards or even Heart Garland.

Tuesday, February 14, 2012

Chocolate Sugar Cookie Hearts

Happy Valentine's Day! I've enjoyed sharing all our Valentine/Heart ideas the past few weeks!  We've been very busy the past fews day preparing for the big day! Mostly we've been working on making edible treats to share with friends, family, and neighbors.  Yesterday we made these wonderful Chocolate Sugar Cookie Hearts!  They are identical to our  Chocolate Christmas Sugar Cookies except for the shape and color of them! We followed the recipe here at Myrecipes.com !  We also made our Super Easy Chocolate Covered Strawberries from last year! (My absolute FAVORITE for Valentine's Day) Hope you have wonderful Valentine's Day and may it be the beginning of Loving of all those around you!  A simple smile to a stranger might be the best Valentine gift you give!!!

"Not all of us can do great things.  But we can do small things with great love." -Mother Teresa

"I have witnessed the softening of the hardest of hearts by a simple smile."  -Goldie Hawn


YUMMY!

Super Easy Chocolate Covered Strawberries

What Valentine gifts did you make?

Give a smile today to those around you!

Monday, February 6, 2012

Paper Bag Puffy Heart

We are taking part in TinkerLab's Paper Bag Challenge along with many other bloggers.  Hope you check out all the ideas other blogs have done with paper bags after this post!  We've made a few things with paper bags before,  including our Fandango Inspired Paper Bag Puppets and Paper Bag Self Portraits...hope you check those out too.  Paper Bags are so versatile and the great thing is that you can cut them apart to create a surface to paint on or create a sculpture too!  We did both!  Since Valentines and hearts have been our minds, we decided to make a three dimensional version of our Heart Blotto Valentines that we did a couple weeks ago and we also did Heart Blotto T-shirts too!!  Here is one of our Paper Bag Puffy Hearts floating on a cloud of poly-fil stuffing.


To begin, I first cut apart a larger paper bag so that I could cut two identical paper bag hearts.  You want two hearts: one for the back and one for the front. Then we folded the hearts and created blottos.  First paint on one side of the heart.


Then fold over to transfer to the other side of the heart. You can keep repeating the process until you like what you see.


Here are two hearts that will go together.  Beautiful!


After the hearts are dry,  put a ring of glue on one side,  but leave an opening to later put poly-fil stuffing, newspaper, or even pieces of scrap paper.  Let dry.


Next stuff your heart. You can use a ruler or stick to get all the stuffing back in the tight corners. After finished stuffing,  you can either glue the opening and wait to dry or staple!  We were impatient and just stapled the last bit together.


We wanted to add yarn around the heart,  so first I punched holes all around the heart.  Then C sewed around the heart.  Great fine tuning of motor skills!


When finished sewing with yarn,  tie a knot and create a hanger for the heart.  Here is C holding two of our hearts.  She loved swinging them about....an active girl....no doubt!


Here is another Paper Bag Puffy Heart!  We had a lot of FUN!  You could make any type of stuffed shape....such as a fish, person, or even a cloud shape!   This is C's "Tree Blotto With Red Apples".


Thanks TinkerLab for inspiring us to create with paper bags!  Be sure to check out all the other Great ideas in the linky below!  Please let me know what you think of our idea too!

Wednesday, February 1, 2012

Heart Blotto T-shirts and {The Heart Project}

Remember our Heart Blotto Valentines? We made some lovely ones in this post last week! Well, now we have created some Beautiful Heart Blotto T-shirts based on this same idea! Take a look.


To create some of your own Heart Blotto T-shirts you need:

Fabric paint (we used.... Tulip Dimensional Fabric Paint )
paper in heart shapes
plenty of newspaper
a t-shirt or two

First,  cut the size of heart you want from some fairly sturdy paper.  Fold the heart in half and get your fabric paint and newspaper ready.  Also have your t-shirt(s) ready with a piece of cardboard or newspaper (or cardboard) inside the shirt so the paint won't leak to the other side.


Paint on one side of the heart with the fabric paint.  


Then close up the painted paper heart so that it transfers to the other side. Rub the paper.  You may want to put newspaper on top just in case the paint squirts out. (I forgot to take a picture of the paper folded....so here it is before it is folded!)


Then open up the heart and you have a beautiful Heart Blotto. If there is too much paint (as you can see there is!)  print one heart on  a piece of newspaper so some will transfer off.


Now take the heart and carefully flip it to where you want it on your t-shirt!


Then take a piece of clean newspaper and put it on top while smoothing over the painted heart blotto.


***Our newspaper had paint on it so we got mess around the heart....oops! Carefully remove the painted heart from the shirt too!


Since we had this (oops!), I improvised and painted around the heart! C loved it ! This was a good lesson in how mistakes can makes things more beautiful or how they can force you to be more creative! Here is C's shirt again.


Here is my shirt without the Lovely design around it.


Which heart design do you prefer? 

**********************************************************

NEWS FLASH: the heart project


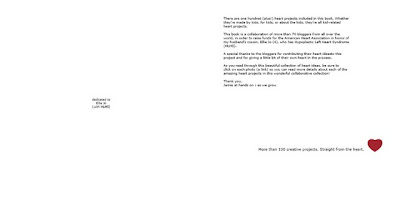
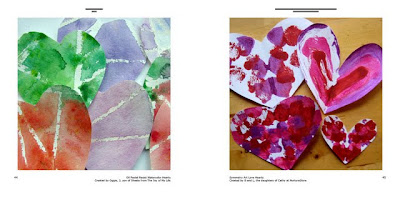
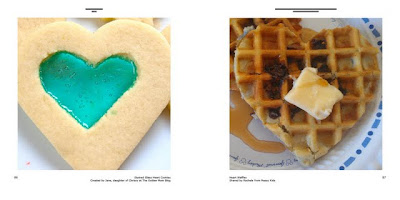
Speaking of Hearts.... my friend Jamie from hands on: as we grow is having a fundraiser for the American Heart Association called The Heart Project with 70  bloggers (including me) involved.  Bloggers from around the world have submitted over 100 Creative "Heart" projects for a book called: the heart book.  It is available in e-book format as well as in print form to purchase.  The proceeds of this book will go directly to The American Heart Association.


You can make a $5.00 donation to The American Heart Association and receive the heart book (ebook). The ebook includes links to the projects that you see on the pages of the book.  For every book purchased this month, CraftProjectIdeas.com will be donating $1.00 (up to $500.00) on behalf  of The American Heart Association.

Add to Cart

You can also purchase the soft cover book for $20.00 (+shipping).  The soft cover book is full of beautiful color images and is 8.5" x 8.5".  For every book purchased $5.00 will be donated to The American Heart Association.

US $20.00
Order the Printed Version

This book will only be available through the month of February!

Preview of the book:


If you would like to simply make a donation to The American Heart Association, without purchasing the book feel free to do so here:
Check out Hands On: As We Grow here for more information about this project!
Including: Information about Fundraiser Auctions from Sponsors, Special Giveaways, and a list of all The Contributing Heart Project Bloggers!

Wednesday, January 25, 2012

Heart Blotto Valentines

We made Heart Blotto Valentines! They turned out simply gorgeous! (keep reading to see more that we made!) Paint Blottos are always a Fun process and create a Wonderful result!  We created our Blottos on a heart shape since we were going to create them into Valentines.


To create a Heart blotto all you need is:
 Heart Shaped paper
Brushes
Tempera paint


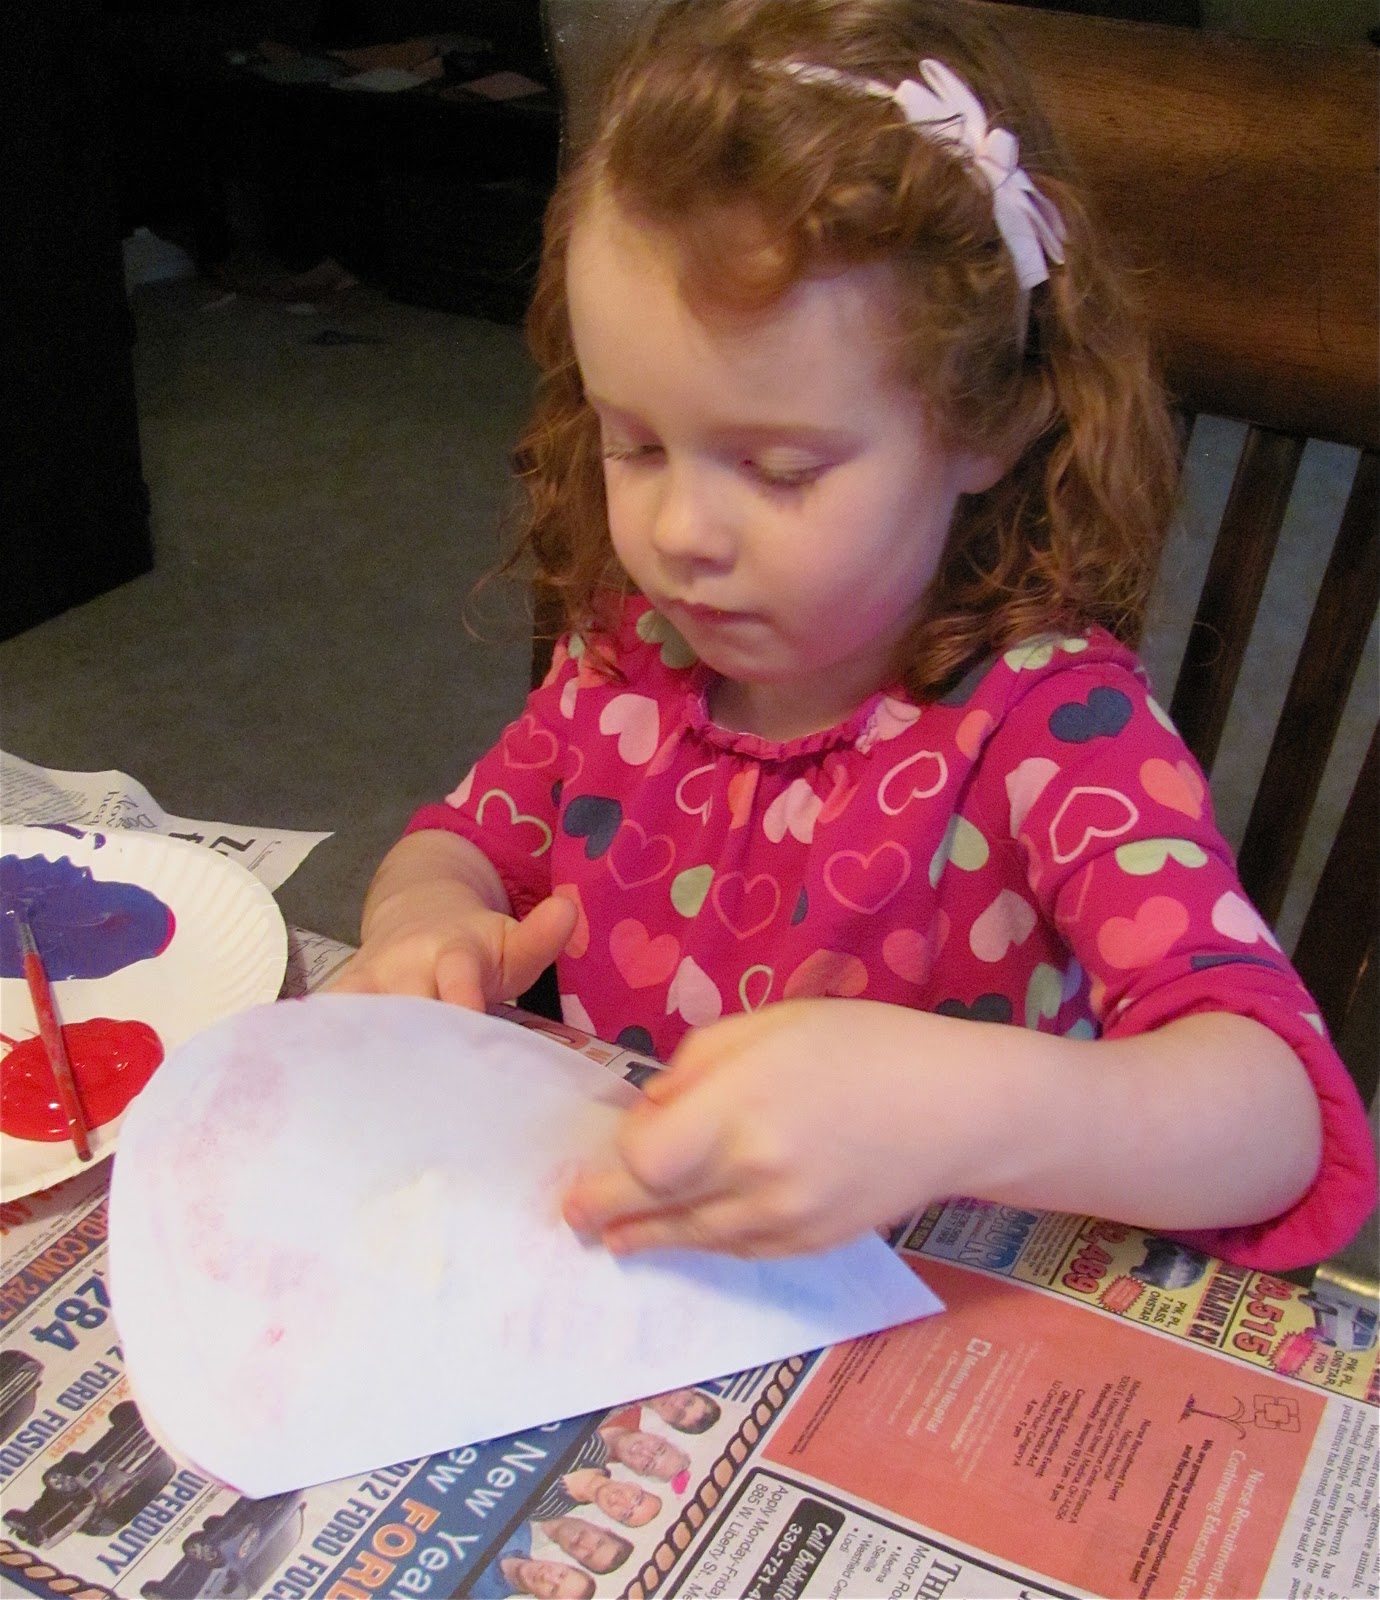
To begin, fold your heart in half so you form a crease in the middle of the heart.  Then use a paint brush to put paint blobs or shapes on one side of the paper.


Then, refold the paper and rub gently over the outside so that the paint transfers to the other side.


When you open the paper you'll have something like this below.  You can keep adding paint each time you reopen the paper. You want to put wet paint blobs so that the paint will transfer.  If the paint is dry tit will not print on the other side.


We made a bunch of hearts of all different sizes.  Making blottos is very addicting! Cassie was having fun using her imagination to tell me what the blottos looked like (lots of faces, trees, angels, and more!)
Paint Cut Paste did a whole post on imagining images in their blottos and naming them! Check out the post here.


After the blottos were dry,  we glued them on red, pink, or any valentine color.  Then we cut around the heart,  but made sure to leave an edge to create a frame around the painted blotto.  As you can see, we used some of our fancy scissors to create a more elegant touch! I LOVE these! What do you think?


I know we'll be creating more Heart Blottos soon!  They make very unique Valentines! You could create a message on the back and send them to all  your valentines!


Blottos are fun to make when creating Butterflies like Tinkerlab did in this post !

Have Fun Making Blottos!


This post is linked to: It's Playtime, Link and Learn, Show and tell