Showing posts with label Clay. Show all posts

Sunday, November 18, 2012

Turkey Pinch Pots

This is a fun clay project that can be done with fire clay, air dry clay, or even play dough. We've done it with all kinds of clays and doughs and it works well.  I've made them with elementary art students in the past and most recently with my daughter C.  These Turkey Pinch Pots make great Thanksgiving Day decorations and gifts.


To create Turkey Pinch Pots you'll need:

Clay or Play Dough (We use Crayola Air Dry Clay)
A pencil or a pointy object for adding detail
Acrylic or Tempera paint
Mod Podge if a shiny finish is desired


First,  begin with a small golf ball size of clay or smaller.


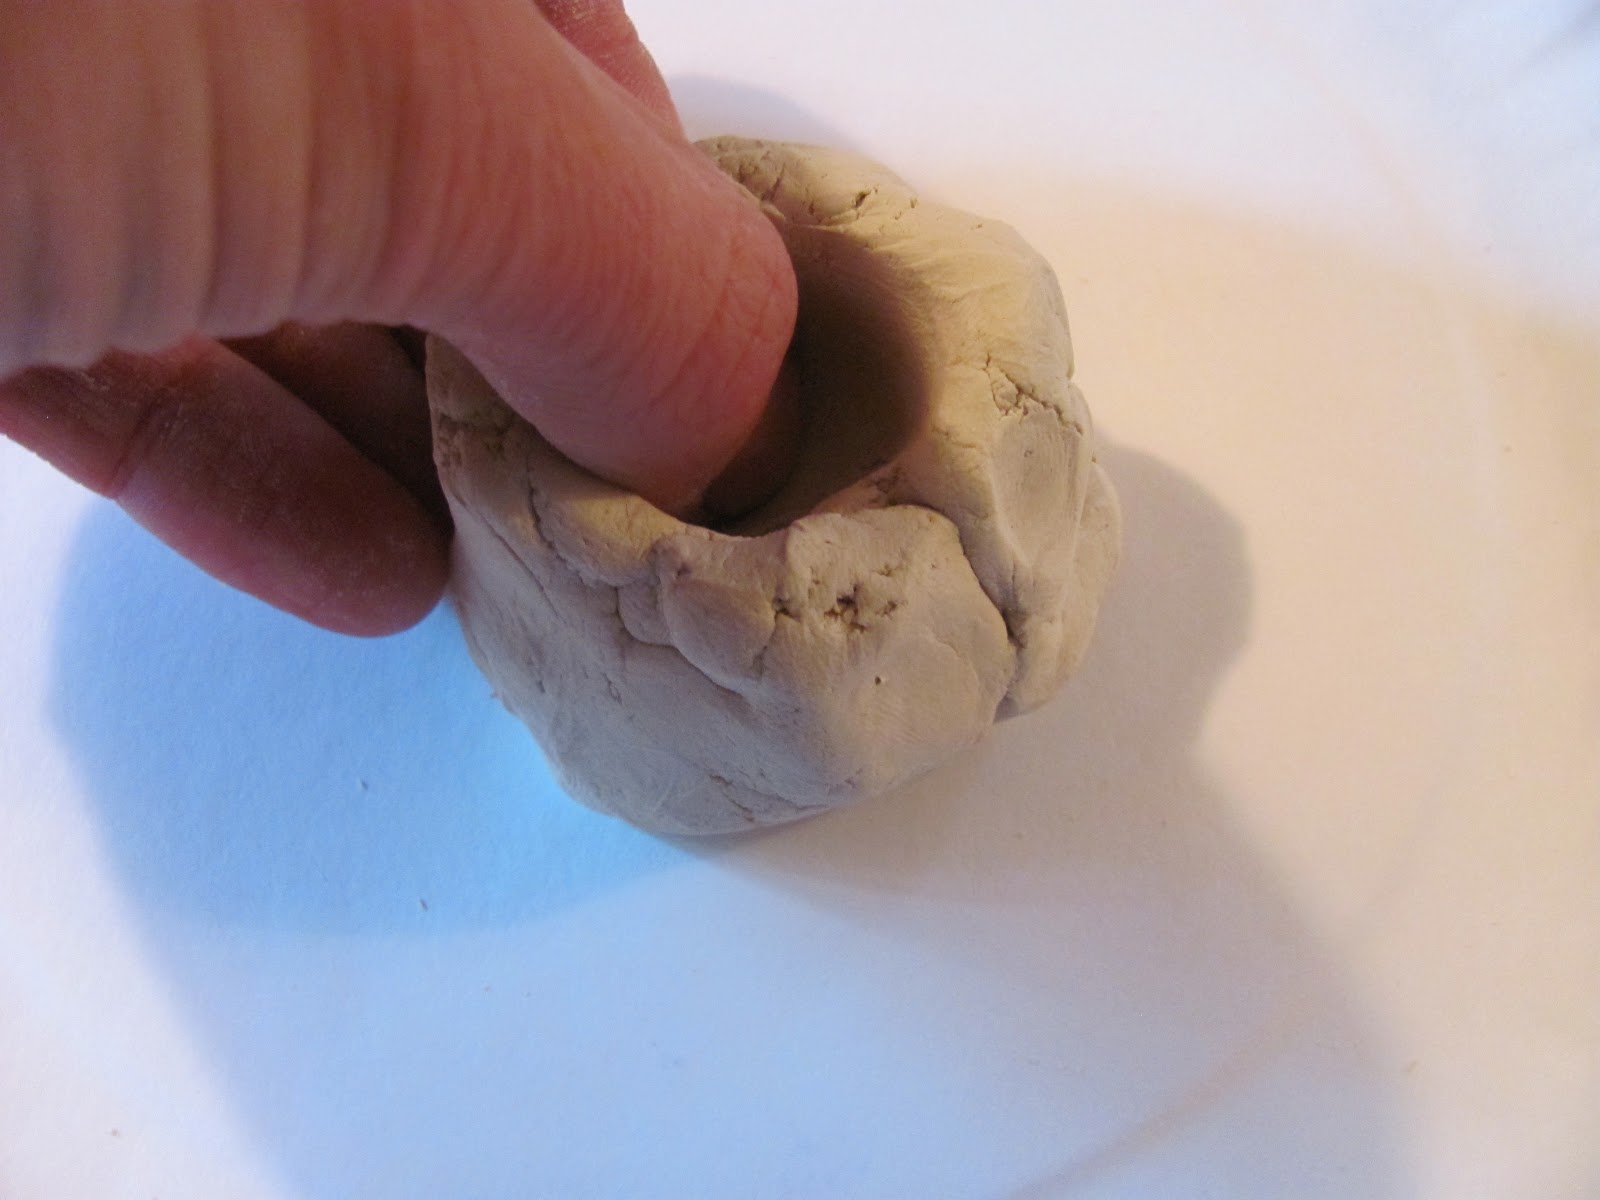
Use your thumb to create a hole, but not all the way through.


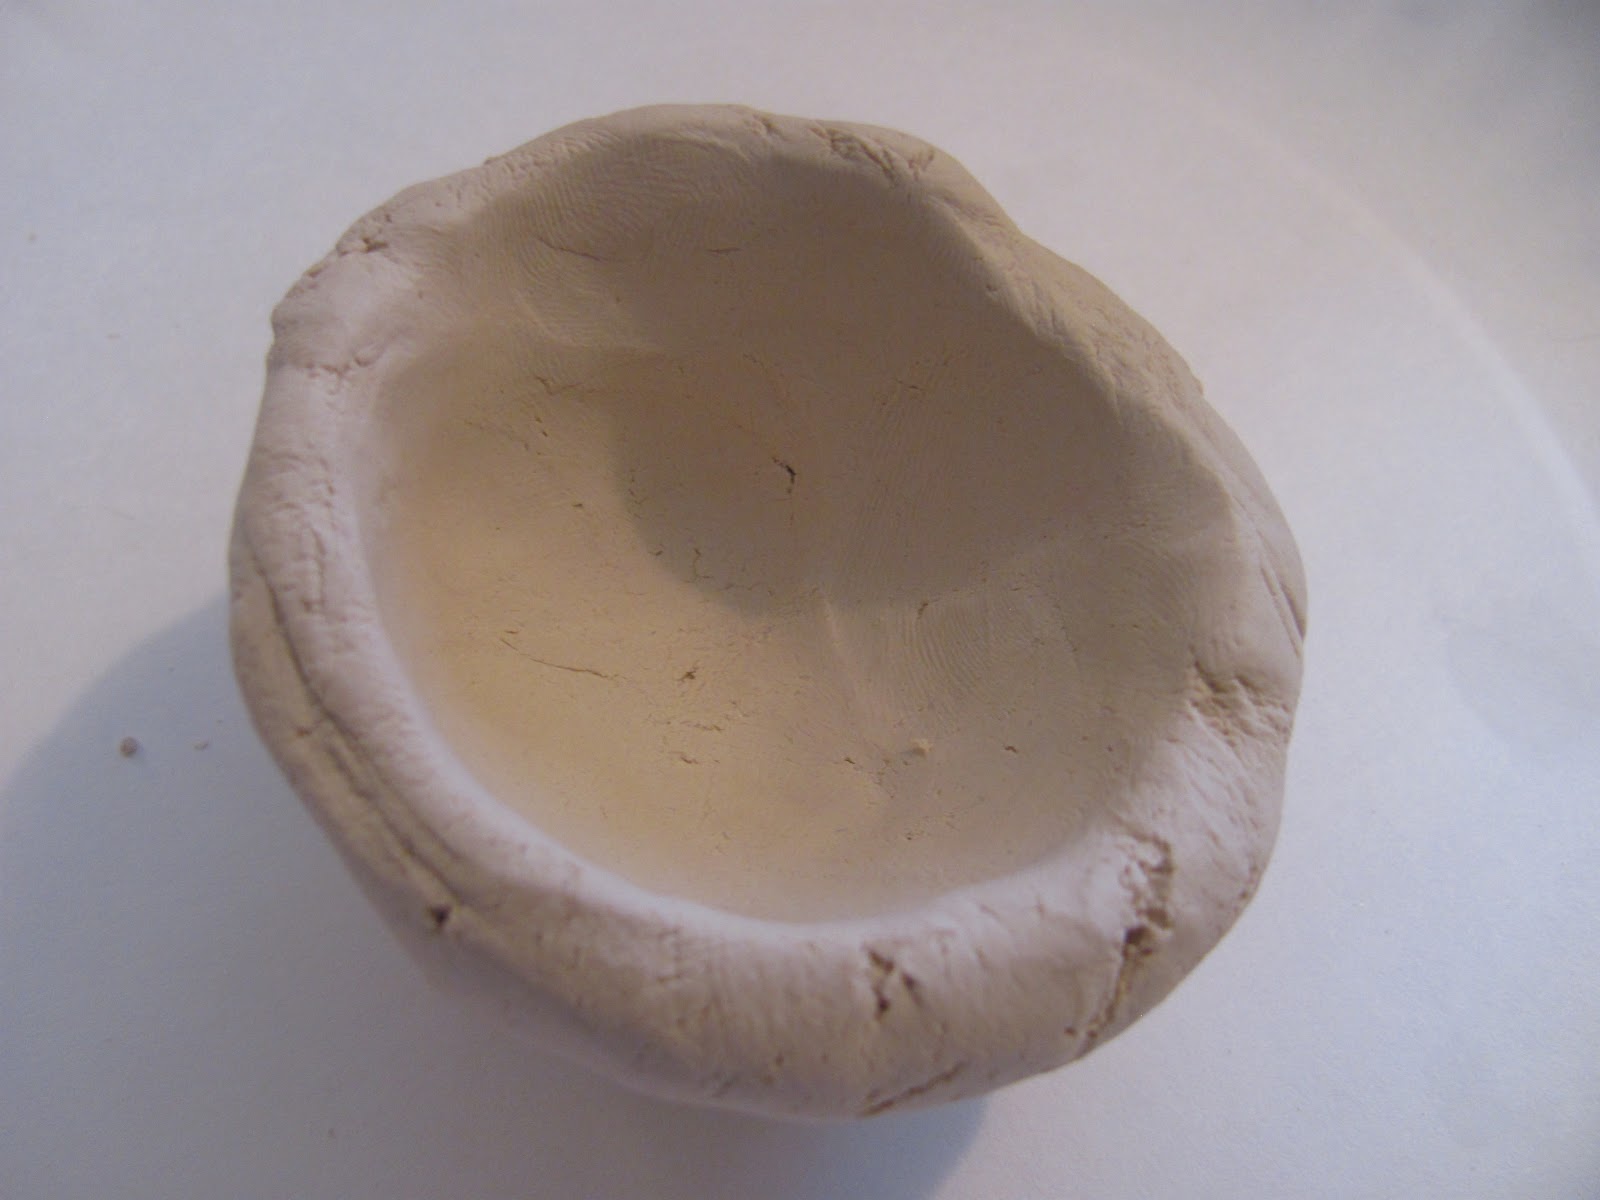
Pinch out the hole more by turning it.  Don't make it too thin because you want to add the head and tail later.


Pinch out the head and wattle.


Then pinch out the tail.


Use a pencil or toothpick to add eyes, wings , and detail on the feathers.  Now let dry for a few days if air dry clay.  If play dough, just have fun creating turkeys and make new ones the nest day.


Now,  paint the turkeys.  We used brown, orange, yellow, and red.


Then display or give as gifts.


Pin It

HAPPY THANKSGIVING!

Enjoy your family and friends this week and be thankful for them too!

Wednesday, October 17, 2012

Pumpkin Pinch Pots

This is a great little project that I wish I could have done with my elementary art students, but then again I could do this with my High School students on a larger scale too.  High School kids (and adults) love holiday projects so it could be done with any age! I love pinch pots and making them into little pumpkins makes them even more fun! Keep reading to find out how my daughter and I created Pumpkin Pinch Pots. You could make them for any of the Autumnal Holidays.


First we began with a small ball of Crayola Air Dry clay.  This is some amazing stuff.....almost as good in quality as Kiln Fire Clay.  If you don't have a kiln or access to one this is a great choice. There is link to Crayola Air Dry Clay at the end of this post.


Then we put our thumb into the center of the clay ball.


Next we used our thumb to pinch out the pot to make it bigger.


And bigger...


We also fashioned some lids with a pumpkin stem.


After that that, we carved in lines for the ridges for the pumpkins.


Ta da!


And you can even make a jack o' lantern faces.


Pin It

Thursday, October 20, 2011

Cute Little Clay Pumpkins

We created tiny little pumpkins!  I can imagine them in a little pumpkin patch....especially on this brown table.  Maybe we'll add some green leaves and vines later!!! They were a lot of fun to make and they will add to our Fall decorations to display each year!  For our pumpkins we used Sculpey Clay,  which you can bake in your oven.  You could use any type of clay you want!   Be sure to hollow out the bottom of the larger pumpkins or they will not bake well.


To create the pumpkins we formed a ball with a little stem to start.


Then we used a pencil to add the lines in the pumpkin.


Then Cassie kept making more and more.... and more!!!!  She really enjoyed making them!  Then it was time to bake them! For Sculpey,  you bake them for about 20 minutes at 275 degrees and longer for the larger ones.


Now it was ready to paint them!  C enjoyed painting them even more than making the pumpkins!  First we painted all the orange parts.


Then we painted the green stems!


Here they are drying!  Pretty Darn Cute!


Finished Cute Little Clay Pumpkins!


Aren't they such a cute Fall Decoration???

What sorts of things have you made with clay lately?
This post is linked to: It's Playtime, Sunday Showcase

Sunday, May 1, 2011

Spiral Heart Pendant Necklaces

We created these wonderful clay heart pendant necklaces with the intention of them being Mother's (or Grandmother's) Day gifts.  My gift will be the mostly red and purple one, but whatever one Cassie chooses will be fine with me! The other two will be for her two Grandmother's! I first saw this idea as a Valentine necklace on the blog Art Matters and knew I wanted to try it, even though it was too late to make for Valentine's Day so Mother's Day seemed to be a perfect time! Or if not, these will also make great Christmas gifts for Mom.  Here are our finished necklaces:


You could use any kind of clay that you put in a kiln (oven for cooking clay) or a self hardening clay.  Since I already had some Crayola Air Dry Clay that is what we used and it claims to dry in two days!  You could also use Sculpey (a polymer clay) which you have to bake in your oven or even a Homemade recipe using flour, water, and salt. The homemade self hardening clay recipe (click on the link) dries in about two days with this small size of a project. FYI: This homemade clay has taken longer than two days! The first step is to roll out a ball of clay smaller than a golf ball.


Then after we rolled out a ball, you need to make a snake and Cassie is a pro at that!


Next, using our Snail making skills from my Play Dough Snails Post, we made a spiral!


After the spiral, you need to shape it into a heart by pushing an indention for the top of the heart anywhere on the spiral and then pinching the area below to create the bottom point.  This was a little tricky,  but after practice Cassie could do it!


On the heart we used a toothpick to carve some simple designs and I used a straw to create the hole for the string.  Here is some serious concentration from Cassie! After this step, we had to wait a couple days for the clay to dry to paint the pendants.


We used watercolors to paint the hearts. Cassie really enjoyed this part and painted both sides! Watercolor dries very quickly because it soaks right in! No need to really wait for them to dry!


Here are Cassie's finished hearts---along with a snail too! She wanted to create just a snail because of our recent fun with making play dough snails! You could add Modge Podge over the painted pendants to give them more of a glossy look! If you were using the homemade recipe, Modge Podge would help protect it from getting wet and deteriorating!


After the hearts were dry, we used a small piece of pipe cleaner for the loop on the heart and a piece of yarn for the necklace part. You could add beads, colored pasta, or clay beads to the yarn too.


Once again here our wonderful Spiral Heart Pendants.  I think they could make a great gift for Mother's Day, Valentine's Day, or even a Birthday gift! I think they are wonderful! Be sure to check out  Art Matters to take a look at their pendants too.


If you are a Mother, would you like to receive this as a gift?

What has been your favorite homemade gift from a child?


This post is linked to:
NO TIME FOR FLASHCARDS
CRAFT SCHOOLING SUNDAY
MADE BY LITTLE HANDS
PRESCHOOL CORNER
IT'S PLAYTIME
SHOW AND TELL
MADE BY YOU MONDAY
ART FOR LITTLE HANDS
KIDS GET CRAFTY