Wednesday, May 9, 2012

DIY Chalk Paint Revisited

We continue our tradition, once again, of making our own chalk paint.  We made some with the neighbor kids and they had a blast.


If you didn't catch my post from last year check it out here: DIY Chalk Paint.  It is terribly simple to make. Basically you put some chalk in a plastic bag and crush it with a hammer until it is in tiny pieces. You could also use a large stone to crush the chalk too.  Add some water, stir and you have chalk paint. Grab some paint brushes and you are a good to go.


Here is C and some neighborhood friends chalk painting away.


C has gotten quite good at this chalk painting! (4 years straight)


A painting of C and a ladybug.


I'm sure we'll be doing more chalk painting....the neighborhood kids have asked me to bring it out countless times.  This all puts a smile on my face.


Monday, May 7, 2012

Super Easy Paper Baskets

What would you put in these cute little baskets? We made these paper baskets with some construction paper, liquid starch, and pipe cleaners. They could be May Baskets, Mother's Day, Teacher gifts or for Easter.


For these baskets you'll need:

Square paper of any size (we used 6"x6" and 9"x9")
Paint Brushes
Tin Cans
Rubber bands or Elastics 
Pipe Cleaners

Lay the square paper on some newspaper and brush the liquid starch over the paper.  Turn the paper over and do the other side too. 


Now put the wet starchy paper over a can.  I used a large stewed tomato can, but you could use some thing like a coffee can too. Place a rubber band around the paper like this.  Let the starch dry.


Then when the basket is dry, you can punch holes on the sides and twist pipe cleaners together to form the handle. Pretty simple!


Then place whatever you want in your basket.  Maybe natural items, trinkets, or coffee filter flowers like we did below.  To find out how we made the coffee filter flowers click here.


What kind of baskets have you made?

Friday, May 4, 2012

Colorful Bird Nest Creation

We created a bird nest last week with mud, sticks, flower petals, pine needles, grass, leaves, and water.
Our bird nest creation was a real hit so we decided to create a nest in a different way. This time we made a more colorful artsy bird nest as pictured below.


To create our colorful artsy bird nest we gathered:

shredded colorful paper
feathers
yarn
tissue paper
glitter
poly-fil stuffing
white glue


I made up a mixture of 2 parts white glue and 1 part water and put all the materials above into it. The materials should be covered.


Then I covered the bottom of a plastic bowl with plastic wrap and set it on a plate so any glue dripping would land there.


Then we just started spreading the mixture over the plastic wrap covered bowl.  Cover the bowl the best you can and press down and shape the materials around the bowl.


Once covered we let it all dry out in the sun or somewhere warm (like near a heater). It took a couple days  to dry.  You may want to put plastic wrap over the plate so that the nest won't stick to the paper plate!


Finished empty nest.  I love the glitter added in for  a sparkly touch!


Nest from the bottom.


I think it turned out fantastic. We are very happy with our Artsy Colorful Bird Nest!


What would you put in our Bird Nest?

Other bird nest posts that we have done:


Lots of Birds in a Nest  collage and painting

Wednesday, May 2, 2012

32 Ways To Play With Water Beads

There are so many ways that you can play and explore with Water Beads!  I collected 32 ideas, but there are so many more if you keep searching. Water Beads are definitely a sensory experience, but I wanted to group the play activities into "6 categories of ideas" that seemed to be the most popular: (1)Exploring With Light, (2)Creative Sensory Bins, (3)Painting, (4)Shaving Cream, (5)Science, and (6)Plastic Eggs.  So here are all 32 Ideas. Have Fun!


Exploring Water Beads and Light


Water Bead Exploration 0n a Light Table (photo above) TinkerLab


Glowing Water Beads Growing A Jeweled Rose

Water Beads in the Dark Preschool Projects


************
Creative Sensory Bins with Water Beads


Water Bead Seaside Sensory Tub (photo above) The Imagination Tree


Monster Sensory Tub I Can Teach My Child

Hidden Diamonds Sensory Bin  Play Create Explore


Bubblegum Scented Water Bead Play Cachey Mama's Classroom

Water Beads and Slime The Chocolate Muffin Tree


************
Painting With Water Beads


Water Bead Painting (photo above) Growing A Jeweled Rose

No Mess  Finger Painting with Water Beads Our Feminist {Play School}


************
Water Beads and Shaving Cream


Water Beads and Shaving Cream (photo above) Dirt and Boogers

Water Beads ~ and Shaving Cream 3G=Growing Godly Girlz

************
Water Bead Science

Water Bead Science NurtureStore


Dehydration of Water Beads Fit Kids Clubhouse

Preschool Science: Water Beads Raising Lifelong Learners

Water Bead Goop A Little Learning For Two


************
Water Beads and Plastic Eggs


Water Bead Eggs (photo above) Modern Parents Messy Kids


Easter Egg Water Bead Discovery Dabbler Mom


Do You Have More Ideas to Share?

Here are some more:

Frozen Water Beads


This post is shared with: It's Playtime, Fit Kids Clubhouse


Tuesday, May 1, 2012

Experiment: Growing And Shrinking Water Beads

Water Beads are truly Amazing!  We've played with them and used them for sensory experiences,  but this time we really observed up close the most amazing part of water beads: how they start so small and grow so big in just 4 hours! Here is our documentation:

Observing Growing Water Beads:

Starting out very tiny.


Then growing right before our very eyes.....within minutes.


Look at how lumpy they look as they are  growing or (absorbing water). 


More growth.


Here you can see the so tiny to full size water beads! 


On average they grow to about the size of marbles as you can see,


Now Observing Shrinking Water Beads:

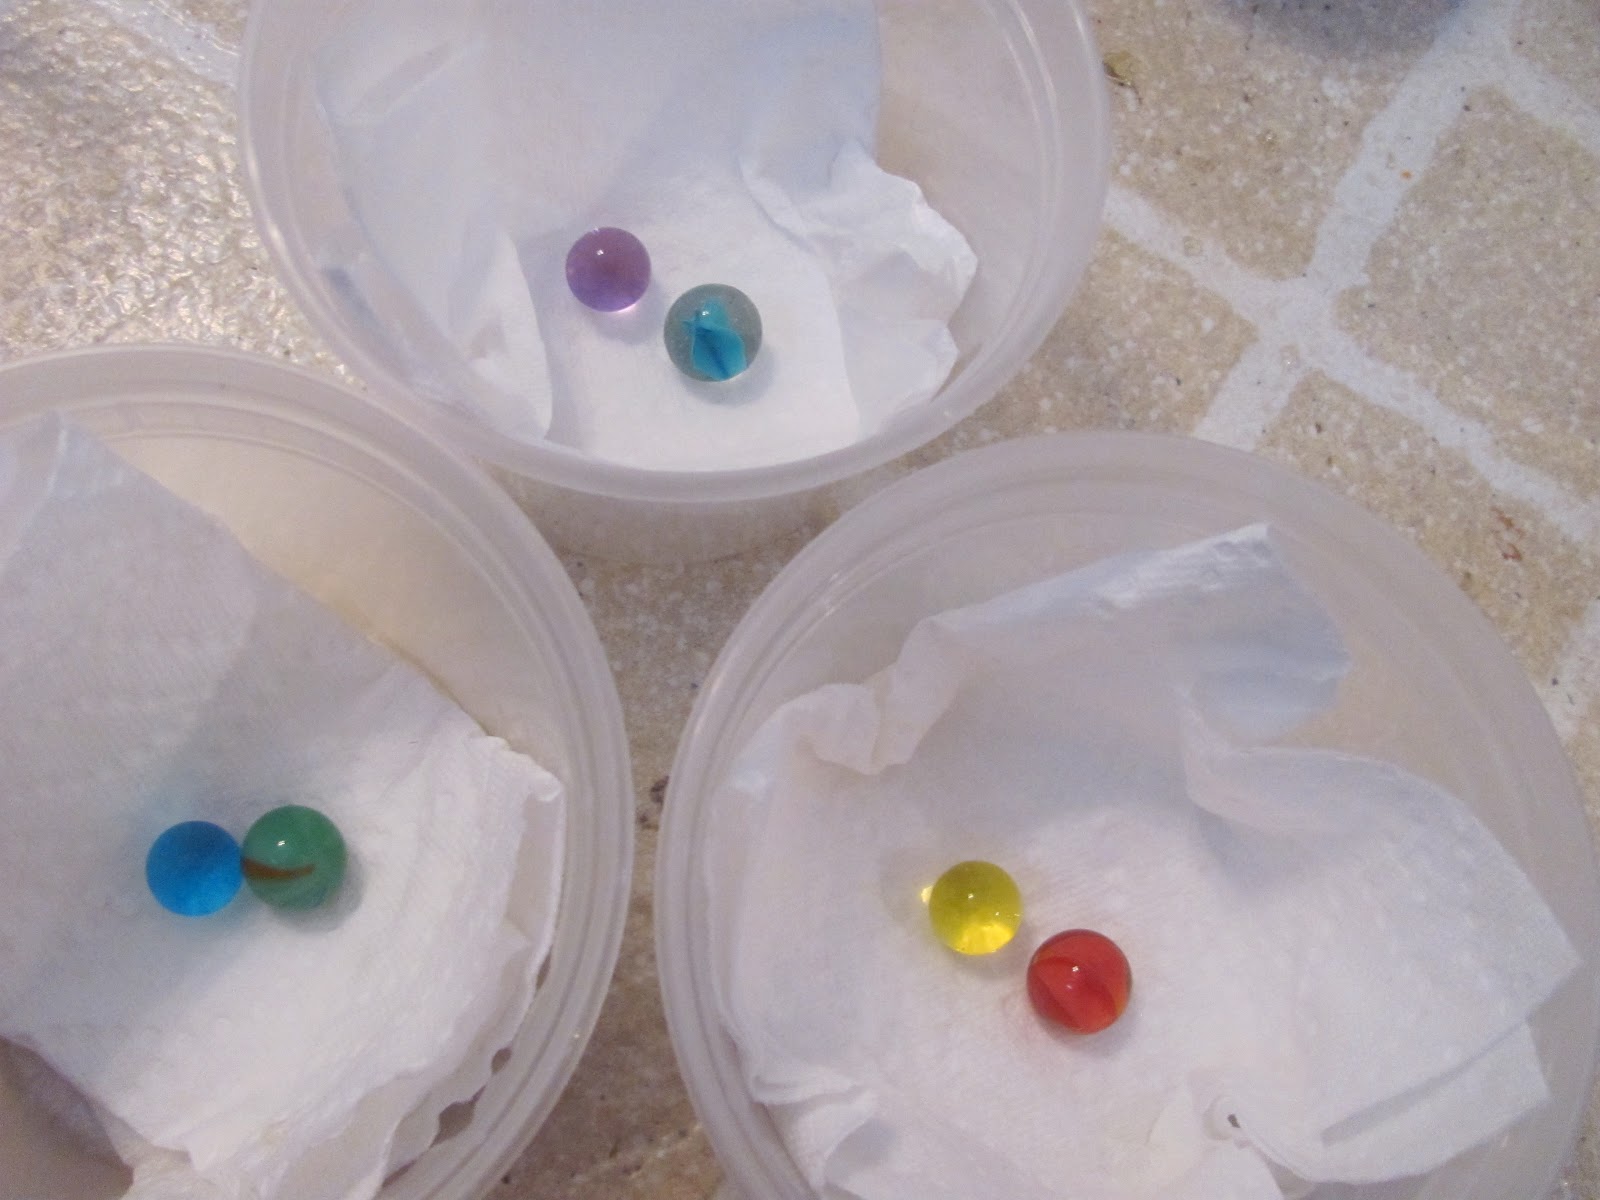
We placed the water beads on some layers of paper towels here so they could begin shrinking faster. They shrink much faster when  you have them separated too.  If you keep them in a bin together the shrinking process is much slower.  Also, you might notice the "real marble" placed in the lower right corner.  We used that as a comparison to see how much they were shrinking.


Some of the water beads we isolated along with a "real marble" to see how much faster they would shrink with less moisture from other water beads around.


One surprise we found along the way was a "tear drop shaped" water bead!!!! How cool is that????


We observed shrinking each day. This is after 2 days or so.


Here is showing comparison with a marble up close.


2 more days go by.


A little more shrinking 2 days later.  It may depend on the temperature outside or in your house of how fast they shrink too.


A noticeable difference with 2 more days.  Some of the water beads were back to their original size. The water beads isolated in separate containers shrank much faster.


A lot of readers will ask, "Do water beads shrink back to their original size?" As you can see,  they do.
Much slower if they are stored together in a bag or container.


We enjoyed this week long experiment. Hope you have tried water beads and just maybe this post may spark your interest.  Check out our other post on Water Beads:  Water Bead Fun!


***Note: Water Beads Should Not Be Ingested!***

Have You Gotten On The Water Bead Bandwagon? 
Please Share Your Ideas!

Where you can buy Water beads: WalMart, JoAnn Fabrics, and Amazon.com: