Remember our Heart Blotto Valentines? We made some lovely ones in this post last week! Well, now we have created some Beautiful Heart Blotto T-shirts based on this same idea! Take a look.


To create some of your own Heart Blotto T-shirts you need:
Fabric paint (we used....
Tulip Dimensional Fabric Paint )![]()


Here is my shirt without the Lovely design around it.
NEWS FLASH: the heart project

paper in heart shapes
plenty of newspaper
a t-shirt or two
First, cut the size of heart you want from some fairly sturdy paper. Fold the heart in half and get your fabric paint and newspaper ready. Also have your t-shirt(s) ready with a piece of cardboard or newspaper (or cardboard) inside the shirt so the paint won't leak to the other side.

Paint on one side of the heart with the fabric paint.

Then close up the painted paper heart so that it transfers to the other side. Rub the paper. You may want to put newspaper on top just in case the paint squirts out. (I forgot to take a picture of the paper folded....so here it is before it is folded!)

Then open up the heart and you have a beautiful Heart Blotto. If there is too much paint (as you can see there is!) print one heart on a piece of newspaper so some will transfer off.


Then take a piece of clean newspaper and put it on top while smoothing over the painted heart blotto.

Now take the heart and carefully flip it to where you want it on your t-shirt!

Then take a piece of clean newspaper and put it on top while smoothing over the painted heart blotto.

***Our newspaper had paint on it so we got mess around the heart....oops! Carefully remove the painted heart from the shirt too!

Since we had this (oops!), I improvised and painted around the heart! C loved it ! This was a good lesson in how mistakes can makes things more beautiful or how they can force you to be more creative! Here is C's shirt again.

Which heart design do you prefer?
**********************************************************
NEWS FLASH: the heart project
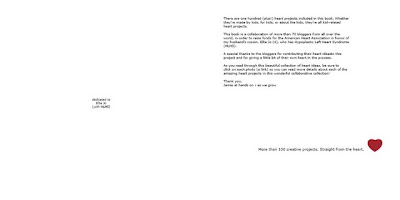
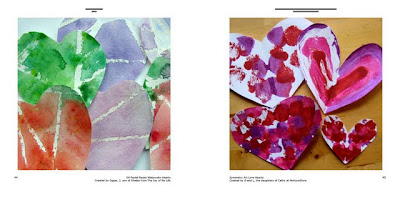
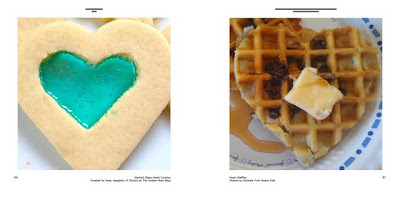
Speaking of Hearts.... my friend Jamie from hands on: as we grow is having a fundraiser for the American Heart Association called The Heart Project with 70 bloggers (including me) involved. Bloggers from around the world have submitted over 100 Creative "Heart" projects for a book called: the heart book. It is available in e-book format as well as in print form to purchase. The proceeds of this book will go directly to The American Heart Association.
You can make a $5.00 donation to The American Heart Association and receive the heart book (ebook). The ebook includes links to the projects that you see on the pages of the book. For every book purchased this month, CraftProjectIdeas.com will be donating $1.00 (up to $500.00) on behalf of The American Heart Association.


You can also purchase the soft cover book for $20.00 (+shipping). The soft cover book is full of beautiful color images and is 8.5" x 8.5". For every book purchased $5.00 will be donated to The American Heart Association.
US $20.00
Order the Printed Version
This book will only be available through the month of February!
Preview of the book:

This book will only be available through the month of February!
Preview of the book:
If you would like to simply make a donation to The American Heart Association, without purchasing the book feel free to do so here:
Check out Hands On: As We Grow here for more information about this project!
Including: Information about Fundraiser Auctions from Sponsors, Special Giveaways, and a list of all The Contributing Heart Project Bloggers!


