Monday, December 12, 2011

Lovely Scented Cinnamon Ornaments

We made these lovely Cinnamon Ornaments the past week and finally finished them! Some are already on our tree and others are awaiting friends and relatives' trees. I've made these Cinnamon ornamnents the past few years and finally have found my favorite recipe (through trial and error) for them here at allrecipes.com .  To make them all you'll need is:

1 cup of ground cinnamon
1 Tablespoon of ground cloves
1 Tablespoon of nutmeg
3/4 cup applesauce
2 Tablespoons white glue


Stir together together the cinnamon, cloves, and nutmeg.  Then mix in the applesauce and glue.


Work the mixture with your hands to form a ball.  If mixture is too wet, add more cinnamon.  If the mixture is too dry,  add more applesauce.


Use the cinnamon like flour and dust the surface with cinnamon.  Roll out to a 1/4 inch thickness.  Cut out shapes with cookie cutters.


Place a hole at the top of each shape so a ribbon can be added to hang the ornament later.  We used a straw,  but you could also use a toothpick or stick. You could let them dry for 4 or 5 days (yikes!) I'm IMPATIENT,   so I dried them in a oven set at 200 degrees F (100 degrees C) for 2 hours.  It makes your house smell WONDERFUL! (almost like Apple Pie!)


When they were dry,  we designed them with metallic markers!!! C really enjoyed designing them and happily did them all in one sitting! I did some too!


Here are some beauties! I think they look Awesome! C helped with attaching the ribbons too! We had quite an assembly line going here!


Now we have some great gifts to give!


More Christmas ornament and gift ideas are on there way,  so stay tuned!

This post is shared with: Monday Madness, It's Playtime, Sunday Showcase

Friday, December 9, 2011

So Easy Peppermint Bark

We made peppermint bark, which is one of my favorite Holiday Candies!   It is so much cheaper to make it.  I found a great recipe for it at Savory Sweet Life here (it has chocolate on the bottom too!!!) Yum....doesn't look delicious?  I like using the red, white, and green candy canes to add more color!


All you need for the recipe is a bag of chocolate chips.


A bag of white chocolate chips.


And some crushed candy canes.  C loved crushing them and eating them!


I'm not going to repeat the directions in detail so please go the recipe here at Savory Sweet Life!  In a nutshell you melt the chocolate chips and spread them on a parchment lined  9x13 pan and cool in freezer. Then melt white chocolate chips and mix in half of your crushed candy canes and top with the remainder of the crushed candy canes.  You can cool them in the freezer again.  Remove from pan and break off pieces and Enjoy! We've been munching on it all week!


Peppermint Bark makes a great gift too! I know we'll be making more because it is almost gone! (so much for it being a gift!)

What Holiday treats have you been making and eating?

We have also made these yummy Cocoa Press Christmas Tree Cookies (almost gone too!)

Wednesday, December 7, 2011

Spin Art Christmas Trees

We Love Spin Art here and we have done quite a few posts on it! Here is another one to add to our collection: Spin Art Christmas Trees!  Here are some of our beauties.  I like the whimsical look of them!  Find out how we made them below.


We used a salad spinner for our spin art this time!  We cut a paper plate to fit our spinner first and squirted paint in shades of green, yellow, blue, gold, and white.  Then we put on the lid and let it spin.


The only disadvantage to using a salad spinner is that you can't see the art being created, but it can create a larger finished project.  So the salad spinner was perfect for this project.


Here are our Beautiful Results:


After letting the spin art dry we cut a circle in half like this.


Then to create all the parts of the tree,  we made half circles successively smaller like this.  The large pieces for the bottom, and smallest for the top.  We shaped these pieces into cone shapes and use staples to hold the cones.


Here are our undecorated trees. Very cute too!  I didn't glue the cones together, but you could!


I just LOVE these little trees!  We used sequin and spangleswith white glue to decorate our trees!


These trees make me so Happy!!!! I hope they make you happy too!

Happy Holidays!!!

Other Spin Art posts:

Spin Art Without the Spinner

This post is shared with: It's Playtime

Introducing...Artterro: Eco Art Kits

While searching the internet one day I came across this wonderful company, Artterro,  dedicated to Eco-friendly Art Kits for kids and adults, and now a sponsor on my blog !!!  I personally would LOVE to own all their art kits to create myself!!! (there are over 12 kits!) Not only are these kits Eco-Friendly,  but they are BEAUTIFUL!  The materials are high quality and are designed to promote open ended art experiences.  Artterro is a small business aiming to be sustainable in every way: from the materials in the kits to the packaging and the fact their kits are assembled by Goodwill Industries in Milwaukee, WI. WOW! what a Great company! Artterro is providing a special discount code to Chocolate Muffin Tree Readers provided at the end of this post for your Holiday shopping!


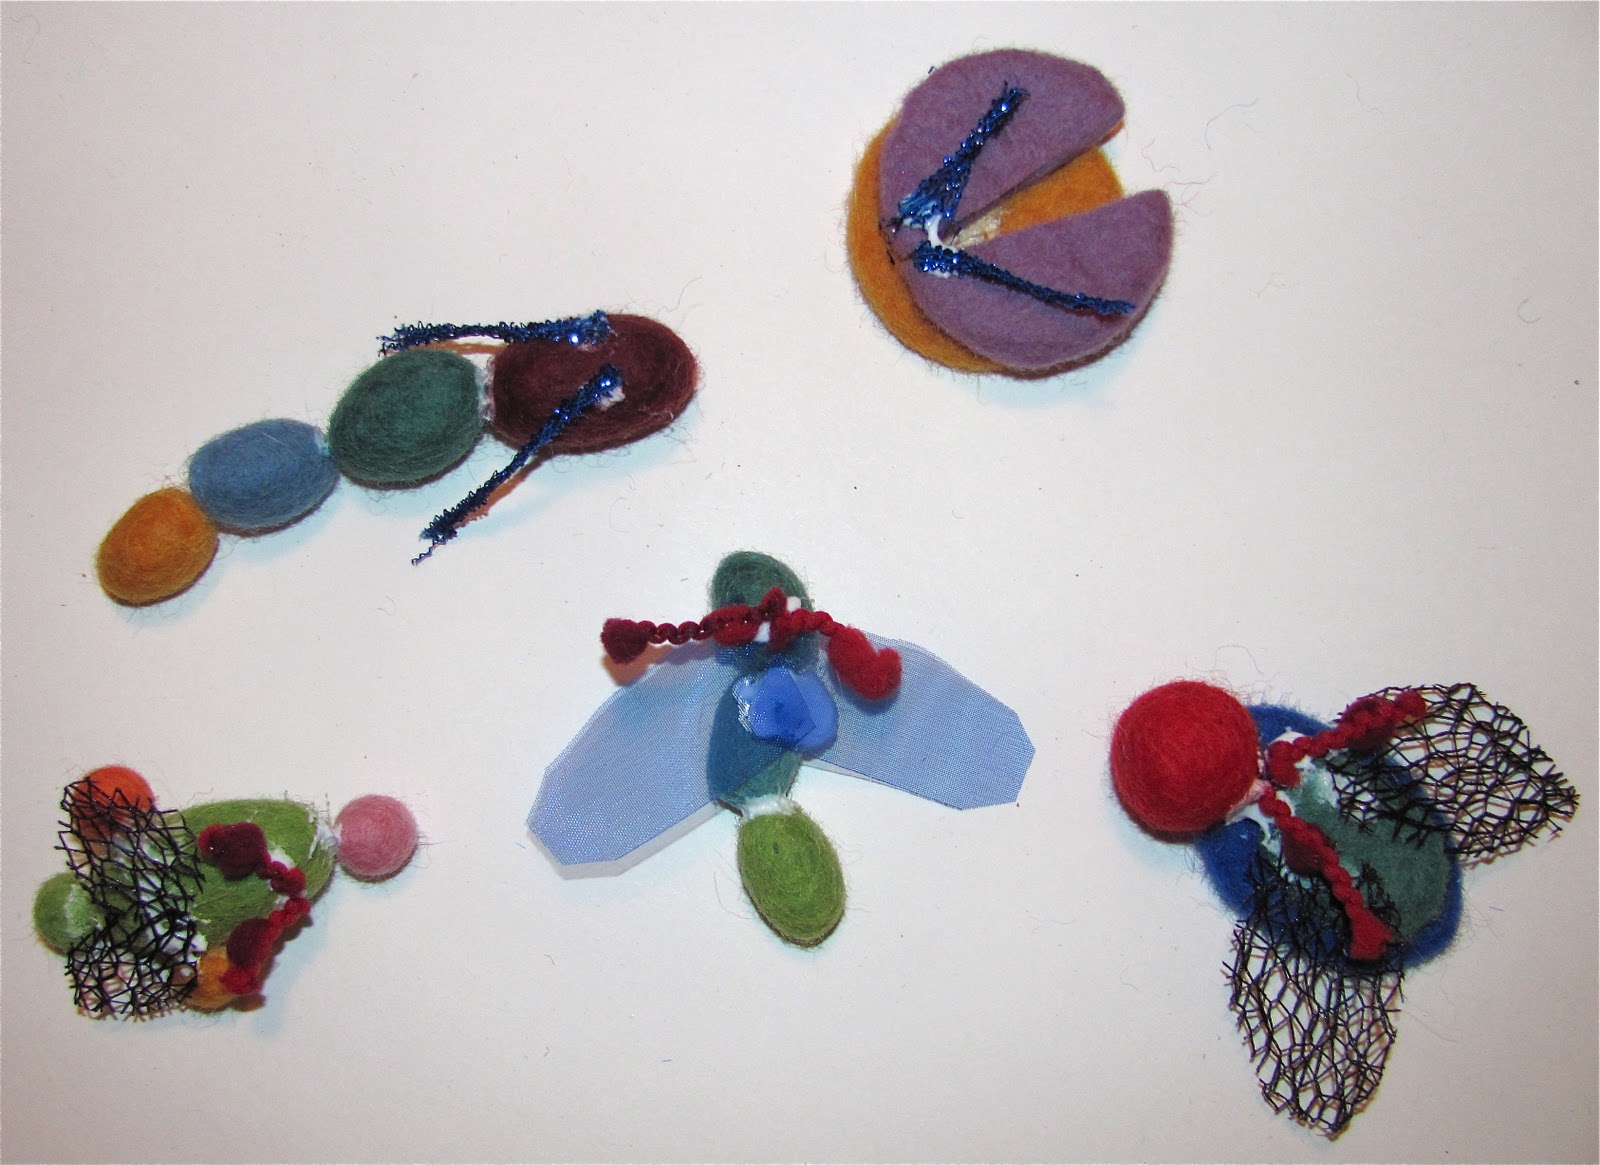
Artterro sent us their Wool Felt Bug Kit to try out and we created some amazingly artistic bugs!
To begin, I first laid out all the materials in the kit to see what our possibilities were!   Lovely wool shapes, beads, fabric, embroidery floss, ribbon, needles, and more...


Then, we started gluing the basic shapes of wool to create our bug bodies.  C had FUN with this part.


We let them dry a bit.


Then C guided me to what beads, and embroidery floss I should use.  I started sewing the bugs together too.  I'm not much of a seamstress,  but I enjoyed this!!! My kind of sewing! You can see some of our LOVELY creations: Our Bee and Caterpillar


And more... Queen Ant (with the blue wings), Purple Ladybug, and Jazzy Bug!


We took Artterro's advice and used their packaging to frame our Art.  I decorated the frame.  GORGEOUS!


Since the Holidays are upon us,  we even fashioned our bugs into ornaments.  What do you think?  They could go with author David Carter's book: Jingle Bugs!!!


There were even some beads left to create some bracelets by C.


Speaking of Christmas,  these kits would make Great X-mas gifts or anytime gift (I know I would enjoy getting them!) Artterro is providing a special discount code to Chocolate Muffin Tree Readers: TREE20, this will give you 20% off any order until December 14, 2011 for their online store @
www.arterroecoartkits.bigcartel.com/


Be sure to check out Artterro's web site here to find out more about this wonderful company and you can purchase their kits here.

Some of their other Lovely kits:

Wire and Bead, Bookmaking, Creativity Kit, Wool Felt Wearables, Art Dolls Kit,  Paint With Wool, Collage Jewelry, Garden Art,  Canvas Storybook,  Bubble Wands, Collage Decoration Kit and Art Journal Kits.

You can view all the kits here.


Saturday, December 3, 2011

A Visual Christmas List

This is the first year that my daughter created a list for Santa. We created a list with pictures!  We don't watch TV in our house (just videos) so my daughter has never really been influenced by commercials about toys.  When she was 3 years old she wanted butterflies and rainbows.  Last year she asked for jingle bells and wreaths!  These requests were so precious and will always remain close to my heart!!  As you can see,  C is a little more influenced by commercialism, but I guess it was to come sooner or later!


To create the "Visual Christmas List", we folded our papers into 8 sections and first drew with a black marker. It was fun discussing what we wanted for X-mas.  C said, "Your list is boring!" Mine included a sweater, kitchen shears, a camera bag, boots.....need I say more?  


I always enjoy the drawings the best,  so I included this picture before C colored it!  She isn't the biggest fan of coloring,  but she has gotten better!


Here is her list again: Very hungry Caterpillar(since she lost hers recently), Mouse Trap Game, Mermaid Barbie, a new tea set, an airplane(no idea which kind), Baby Alive, small Lego set, and last but not least: Doggie Doo Game. If you haven't seen this Doggie Doo Game, it is what you think it might be! (funny for a 5 year old!) We've played with this game in a toy store and it brought many laughs!         


C had a lot of fun creating this "Visual Christmas List" and especially because I did one side by side with her.  I always did this with my Kindergarten Art students before Christmas time and they always loved it! Most of all they enjoyed sharing their lists with the rest of the class!!! 

Here is my "Visual Christmas List" (not very exciting!)


What Do Your Children Want for Christmas???