Showing posts with label marbling. Show all posts

Wednesday, May 16, 2012

Marbling With India Ink

I was thumbing through one of my all time favorite books that I loved as a child: Making Things by Ann Sayre Wiseman and found a project that was titled Smoke Painting....it  seemed intriguing so we decided to give it a try.  It basically turned out to be Marbling with India Ink.  I loved the effect of it and each time we tried it there were interesting results.  


To create a "Smoke Painting" you'll need:

India Ink
 a shallow tray or pan
water
sticks
combs
white paper/envelopes


To begin,  fill your pan about halfway with water.


Then drip in the india ink in the water.


Next,  take your stick and swirl the ink around to make a marbled effect.


When my daughter swirled the ink it had a whole different effect. 


After the swirling, lay a white paper or the front of an envelope on the ink swirls.  Tap it gently. Then lift up and place on newspaper to dry.


Here are some of our very different results:
Kind of like Jupiter?


Reminds me of a print I made in Printmaking Class in college.


Mysterious?


Eeeerie....


Maybe we'll save some of these for Halloween. They have a very dark feel to them.

Let me know what you think...


This post shared with: It's Playtime

Monday, April 2, 2012

Shaving Cream Marbled Easter Egg Cards

We created some Easter Egg greeting cards this past week. We used our shaving cream marbled papers left over from when we made Shaving Cream Marbled Hearts and Shaving Cream Marbled Rainbows. If you haven't seen our posts on shaving cream marbling, be sure to check out the great tutorials on it in each post here and here.


To get started, we first gathered our wonderful supply of shaving cream marbled papers.  Then we cut out a bunch of Easter Eggs that could fit on a greeting card.  Some small, medium, and large sizes.  For younger children you may want to have the eggs already cut out.


Then you can either buy pre-made blank greeting cards or just fold a piece of paper in half to create a card size of your choice.  We used Glue Sticks to adhere the marble paper eggs to our cards.  Glue sticks worked really well for this process.


We tried various different egg arrangements.  C enjoyed this process of collaging the paper eggs together.


Ta-da! Here are some of our finished cards! Ready to send out or give to friends and family for Easter!


Happy Easter!

Tuesday, March 13, 2012

Shaving Cream Marbled Rainbows

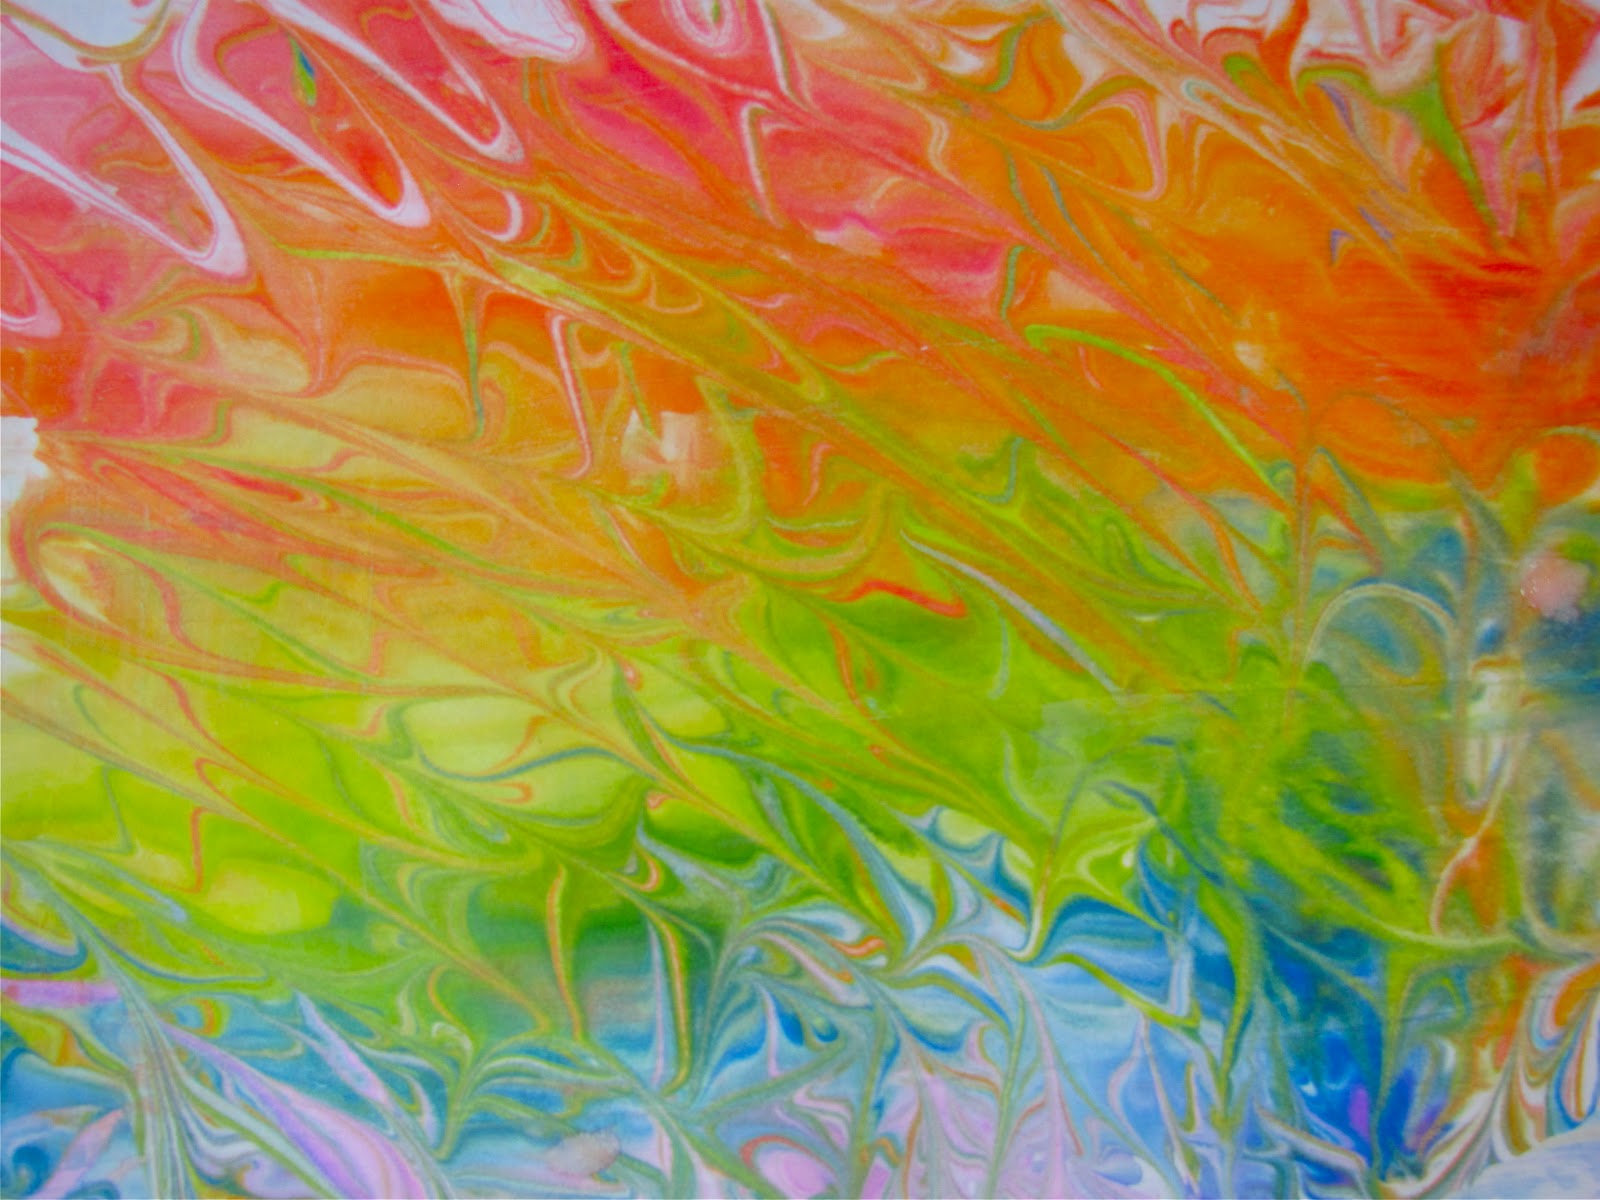
I've said it before, but I just LOVE Marbling with Shaving cream.  It is such an easy way to marble paper with lovely results.  Rainbows have been quite popular the past month, so we decided to create some Shaving Cream Marbled Rainbows.  It is the same process as our Shaving Cream Marbled Hearts, but I will still go over the steps to review.


First, spread out some foamy shaving cream on a flat surface or in a tray or pan.  Smooth it out a bit.


Then use either food colors or liquid watercolors and put blobs of color with a paint brush or eye dropper.   We made the colors in Rainbow order: Red, Orange, Yellow, Green, Blue, and Violet.  Liquid Watercolors give the most vibrant color!


Next swirl/marble the colors with a stick.  We used a kebab stick.  You could use a toothpick, popsicle stick, or even a stick from outdoors. If you had a fancy comb you could use that too.


Gorgeous color!


Now put a piece of paper on top of the swirled colors and press down and smooth your hands over the paper.


Lift up the paper.


Then use a flat edge to scrape the shaving cream off the paper.  You could use a lid cut in half or even a piece of cardboard with a straight edge.


Scraping off the shaving cream reveals Gorgeous Rainbow Marbled Paper!


This is a lighter version when the shaving cream and pigment have mixed up.  If you want brighter results put a brand new clean layer of shaving cream and add the Liquid watercolors.


What would you create with this Rainbow Marbled Paper?