Showing posts with label Spring. Show all posts

Saturday, March 16, 2013

Rainbow Crayon Resist

Crayon Resist activities are always fun and when you add rainbows to the mix that even adds more enjoyment for kids. This is always a magical activity for kids,  and why not think about pairing it up with St. Patrick's Day or Spring Weather activities?
Pin It

Materials Needed:
Crayons (white always works best!)
Watercolors in rainbow colors
Paint brushes
White paper

First,  draw with crayons with firm pressure onto white paper.  White crayons always look coolest! Then paint with rainbow watercolors over the crayon drawings. SO simple an Magical every time!

I always enjoy this activity and my daughter does too! 

We made Crayon Resist Easter Eggs last year!

Sunday, March 10, 2013

Rainbow Coffee Filters

This is a simple activity to create beautiful rainbows for Spring. We always seem to drag out the coffee filters to draw or color on.  I think I have a zillion posts about coffee filters so at the end of this post you can click on the links to see them.
Pin It
Materials Needed
Coffee Filters
Water-based Markers
Newspaper
Spray Bottle with water

Make sure to lay down some newspaper on your work area. Then begin coloring and drawing rainbows on coffee filters.

After you have filled up your coffee filter with marker colors, then spray some water and make sure newspaper in underneath because the color will bleed through. Also, not to much water or the colors will completely disappear!

Ta da! Happy Rainbow Making...we may make a garland of these...

Coffee Filter Ideas:


Friday, May 4, 2012

Colorful Bird Nest Creation

We created a bird nest last week with mud, sticks, flower petals, pine needles, grass, leaves, and water.
Our bird nest creation was a real hit so we decided to create a nest in a different way. This time we made a more colorful artsy bird nest as pictured below.


To create our colorful artsy bird nest we gathered:

shredded colorful paper
feathers
yarn
tissue paper
glitter
poly-fil stuffing
white glue


I made up a mixture of 2 parts white glue and 1 part water and put all the materials above into it. The materials should be covered.


Then I covered the bottom of a plastic bowl with plastic wrap and set it on a plate so any glue dripping would land there.


Then we just started spreading the mixture over the plastic wrap covered bowl.  Cover the bowl the best you can and press down and shape the materials around the bowl.


Once covered we let it all dry out in the sun or somewhere warm (like near a heater). It took a couple days  to dry.  You may want to put plastic wrap over the plate so that the nest won't stick to the paper plate!


Finished empty nest.  I love the glitter added in for  a sparkly touch!


Nest from the bottom.


I think it turned out fantastic. We are very happy with our Artsy Colorful Bird Nest!


What would you put in our Bird Nest?

Other bird nest posts that we have done:


Lots of Birds in a Nest  collage and painting

Friday, March 18, 2011

Lots Of Birds And A Nest

Finally the birds are singing and Spring will be here soon.  It was an appropriate day to create a project involving birds! Here is one of Cassie's finished pictures. Very cute!


To begin, you'll need some brown paint and some cardboard pieces for the branches. Corrugated box cardboard works nice for thicker branches.


Use the side of the cardboard dipped in brown paint to create the branches of the tree.


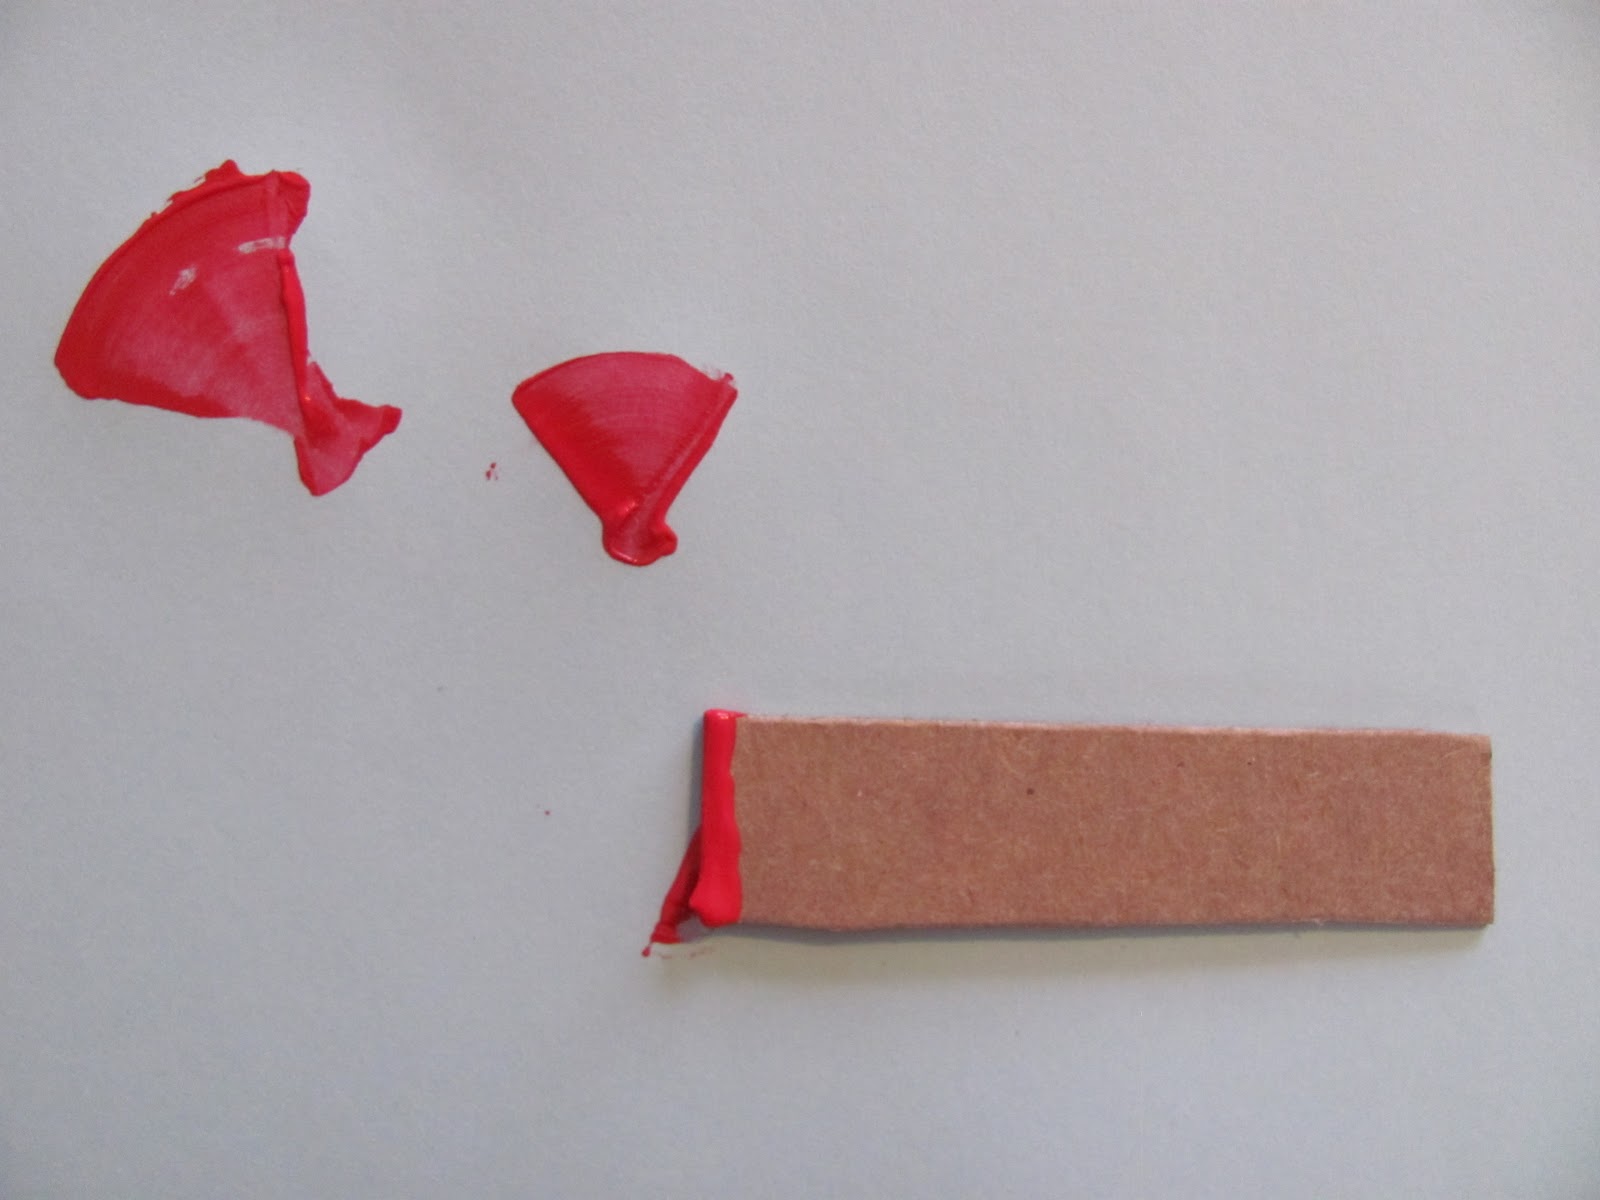
We used a potato cut in half and in half again (half circle) to print the birds body. We used red paint on a lid to print in. You could use blue too or any color you desire!


Cassie really enjoyed the potato printing part! She made a lot of birds!  I had to tell her to stop after a while!


Then we simply used our finger to create the heads of the birds.


Next, using the end of a small piece of cardboard, we twisted it to create a triangle bird tail.


Cassie did very well with creating the tails!!!


After the tails, we added the eyes, beaks, and feet with a small paintbrush.  Lots of work!!!  Almost too tired to finish!!!! Especially with all these birds!!!


Lastly,  we added a nest!!! We used pine needles that Cassie loves to collect, leaves, craft feathers, and some twine. I told her that many of the materials we used are also what birds use to make their nests---along with mud too! (We used glue instead!) You could also use raffia, straw, grasses, or anything that you can find! Make a nature hunt out of it!!! It seems that Cassie is always on a nature hunt and has some collection stored away (rocks, pine cones, leaves, seed pods) so it wasn't difficult to find inspiration!


We put a bunch of glue and arranged the materials to create the nest!  All the birds are coming out of the nest.  Ready to fly! Fabulous!


Now, if you want your picture to go along with this book: Bluebird's Nest by: Dorthea DePrisco, then make the birds blue!!! This is a great pop up book of a bird creating a nest----so cute!!! They used bendy pine needles, feathers, leaves and bark to build the nest in the story.  Cassie loves this book!


This is Cassie's bluebird version to go along with the story:


Which one do you like better?  Cassie said,  "I like the red birds and the blue birds!!".  Well said.


Another idea!  Since we had some pine needles and paint left over.... we had a little fun with painting with them! I think it looks really neat.  You could paint a nest this way!!?? What do you think??? Any ideas???

This post is linked to:
FUN FOR KIDS FRIDAY
FOR THE KIDS FRIDAY
THE PLAY ACADEMY
A Great StART
READ. EXPLORE. LEARN.
KIDS GET CRAFTY
THE MAGIC ONIONS
CRAFT SCHOOLING SUNDAY
PRESCHOOL CORNER
SCIENCE SUNDAY
NO TIME FOR FLASHCARDS
HELPING LITTLE HANDS READ ALONG
MADE BY LITTLE HANDS MONDAY
MADE BY YOU MONDAY
MY DELICIOUS AMBIGUITY/EASTER BOX
SHOW AND TELL
SHARING TIME/RAISING MEMORIES
MONKEYING AROUND
CHILDMADE
WE PLAY
AN ARTY CRAFTY PARTY
RESOURCE CENTRE