Friday, June 8, 2012

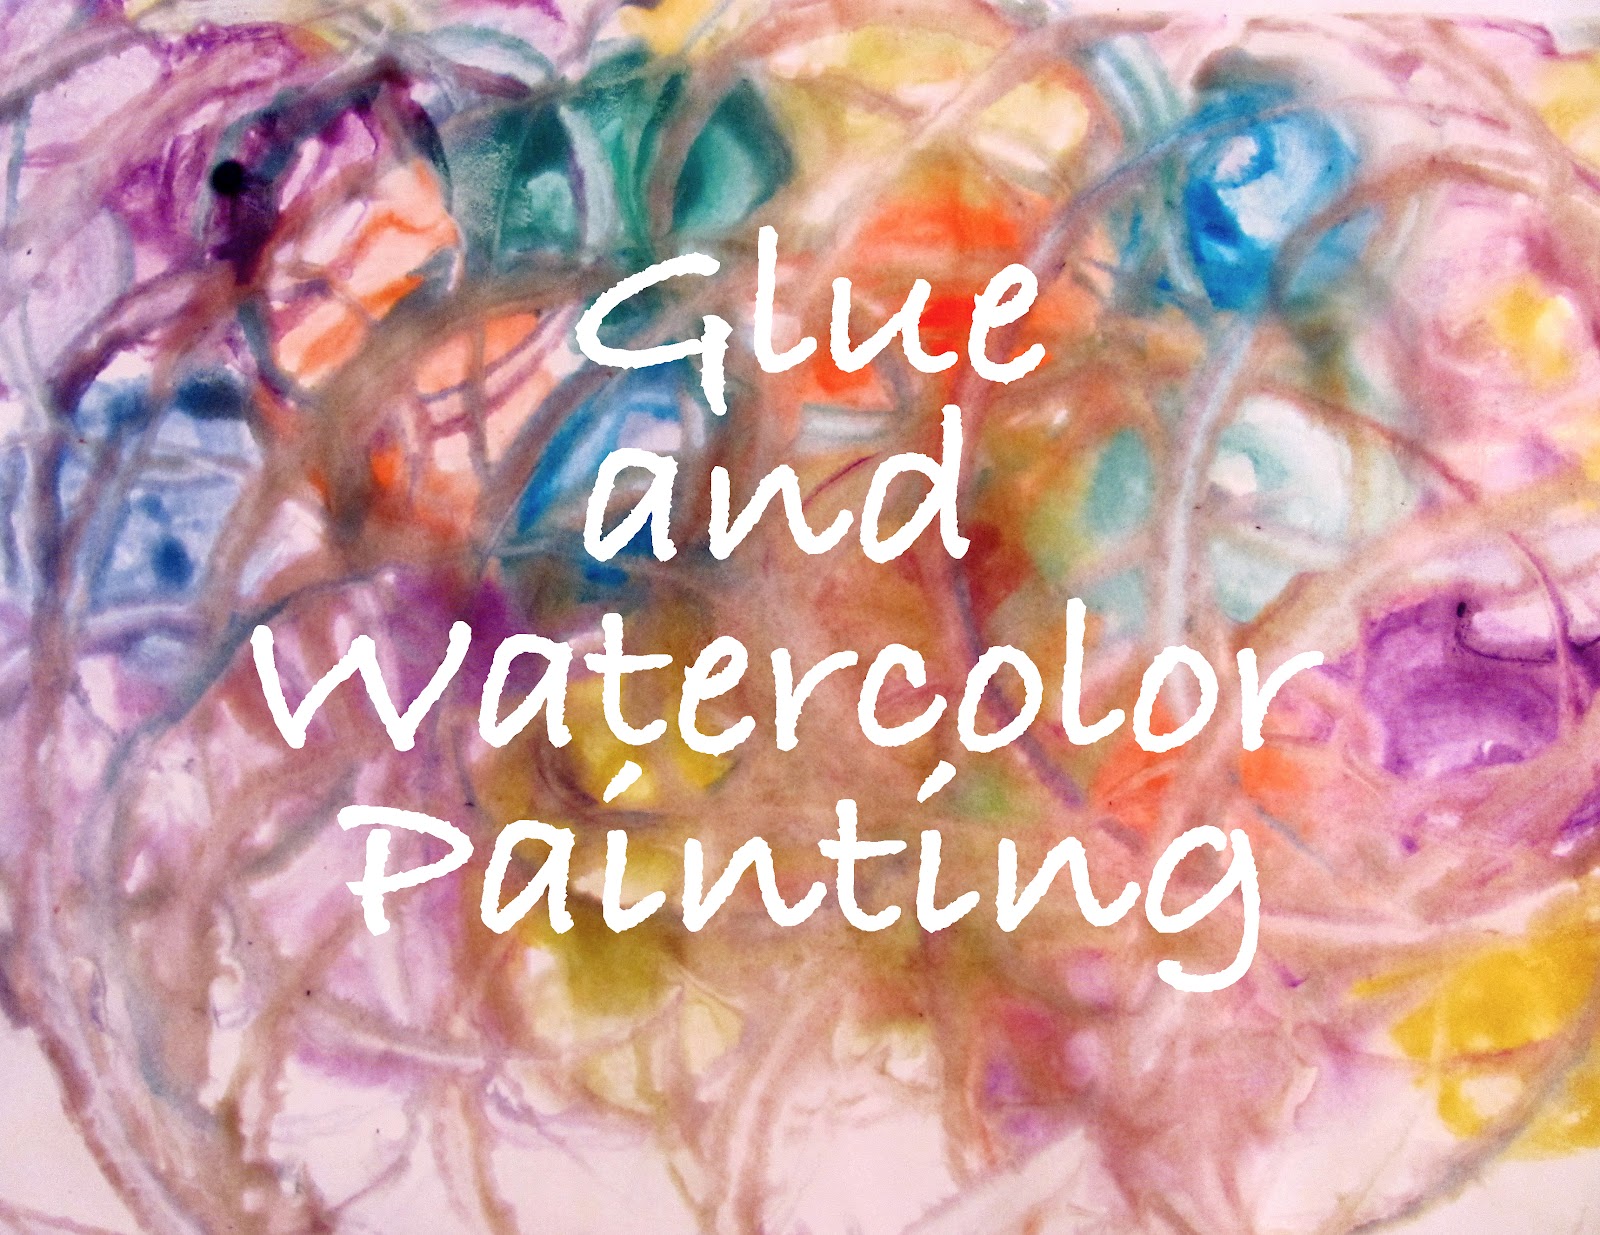
Glue and Watercolor Painting Experiment

Lately we've been experimenting a little bit with glue, water, and watercolors.  I think whenever you introduce a new element to an art process it always makes it more fascinating and it definitely made it more intriguing for my daughter... who lately would rather be playing outside or doing her own thing.  One of my readers,  Amelia, told me she was going to try adding glue to our Colorful Mud Paintings mixture and I'm wanting to try that myself too.  Keep reading to find out the results of our experiment with glue and watercolors.

All you need for this process is:
white Glue
water
brushes
watercolors 
thicker paper (scrap book paper, tagboard)


To begin, first make a mixture of one part water and one part white glue.


Brush it all over your paper like this 


Then begin painting with water colors over the glue.


My daughter really liked this process.  It gave the watercolor paint texture and the paintings a different look...kind of  a speckled look.  Here is a rainbow by C.


People.


Flowers by Mom.


Flowers by C.


Experimentation and free form art.


This isn't the first time we've experimented with glue: we've painted with salt, glue, and watercolors here and check out our post on Four Ways to Use Glue (besides pasting) here.

What new elements have you added to art processes with children? 

Wednesday, June 6, 2012

How to Create Your Own Scratch Art

My daughter came home the other day from school with one of those pre-made scratch art papers. If you don't know what I'm talking about you can check them out here at Amazon.com.  Usually the top layer is black and you scratch through other layers to create a drawing of your choice. I think they are really cool and the colors are brighter, but I wanted to show her that you could create your own with a few materials that most artsy craftsy people like me usually already have at home! Keep reading to find out how to create your own scratch art.


To create your own scratch art you'll need:

Thicker paper/tagboard/scrap matte board/scrap book paper (either one)
crayons (not washable kind)
neon crayons have fabulous results
paint brush
black tempera paint
dish liquid
scratch tool: sticks/skewer stick/ popsicle stick/old pencils


First, color fairly heavily with crayons on  a piece of white cardboard....I used scrap matte board. Color with many colors or just a few.


Then take some black tempera (or poster pant) mixed with a drop or two of dish liquid (to make it stick and scrape off better).


And paint it over your crayon  coloring. Let dry.


Then,  start scratching through to create your drawing or doodle or whatever you choose.


Here are some of our results: "Flower People", by C.


C holding grapes.


My flowers, hearts, and spirals.


The whole collection.


I don't know if I convinced my daughter that these DIY Scratch arts were better than the ready made kind,  but I wanted her to be aware of the process.  I do think she enjoyed the process!  Those commercial scratch art kits are really cool so I don't blame her.

What Do You Think?


Thursday, May 31, 2012

Colorful Mud Paintings for Our Mud Bakery

We created Colorful Mud Paintings for our New Mud Bakery and Cafe.  All Cafes need a little art on the wall or in the trees. (since we have no walls)  C thought it was a great idea....it didn't take much to convince this sometimes stubborn almost 6 year old to make some mud paintings again.  Keep reading to find out how we created our paintings.


For Colorful Mud Paintings you'll need:
Mud
Water
Food colors
brushes
paper, cardboard, or Scrap Matte Board
Containers

To create our mud paint (this is not an exact recipe) we put some mud, water, and food color in plastic cups and mixed it all up.


Then, we began painting....my daughter loved this. If I brought out regular paint she wouldn't have been as interested, but when you change things up a bit.....success!


Splatter Painting.


Cat Painting.


Colors.


Are whole array of Colorful Mud Paintings for our Mud Bakery.


I even made some mud paintings in my sketchbook for TInkerlab's DPS Challenge. Find out more about the challenge here.


Another sketchbook mud painting.


You can check out more Mud Painting here from last year.

Wednesday, May 30, 2012

Our Mud Bakery and Cafe Reinvented

We had a lot of fun with our Mud Bakery from last year so we decided to create a "newer" version complete with "mud painted" signs for 2012.  Keep reading to find out what else we added to the set-up.


We added part of a plastic shelving system to create the preparation area for "new" mud treats. Water buckets underneath for our water source and a big pile of mud to the left (not visible) complete with shovels for easy access.


Our new version includes a Cafe with our Bakery.


It also includes more bakers to help.


New treats such as our daisy petal mud cake, mud cup daisies, birthday mud cups, and sandy mud cakes.


And more: Mud Drizzled Pie.


And our Colorful Mud Birthday Cake with powdered sand.


Looking forward to creating more Mud Bakery treats.  Stay tuned for our next post to find out what else we included in our "New" Mud Bakery.

What else do you think we should add to the Mud Bakery?

Thursday, May 24, 2012

Wet Chalk Fun: Making Hand and Foot Prints

Have you ever used chalk and water together? Just dip some chalk in water and it makes the colors so vibrant and smooth.  My daughter spent a whole hour or so playing with this idea.  Then we realized you could make hand and foot prints too.  Keep reading to find out how.


To create Chalk hand and foot prints:

First draw a huge rainbow chalk picture and add some water.


Then add some water and put your hands in....


Now print your hands.


Next put your feet in...


Then print those...


Add more colored chalk and water. Have fun coloring, drawing, and making prints with chalk. 


Then have fun washing it all away with the hose!


What kinds of fun have you had with chalk?

More chalk Fun: