Thursday, May 19, 2011

The Little Island

We've read this book, The Little Island by Margaret Wise Brown many times, but finally did a little project along with it that went over really well! This book is an oldie, but very well written and illustrated.  We actually own it too! We made our own "little island" out of map dough, cardboard, and natural materials.


First we mixed up the recipe for Map Dough:
1/2 cup flour
1 cup salt
Water to moisten


Then we divided the dough into 3 separate balls to create 3 colors.
We used food colors (more or less to your likening)


You could use a piece of cardboard for the base/ water of the island.  You could either paint the cardboard blue or cover it with blue paper. I happened to have a blue piece of matte board to build on which was perfect!


Now you can start building your island by taking the dough and pushing it down on to the cardboard. You could form other land formations like hills and mountains.  Cassie wanted to build holes!!!


After you have your island formed, we used Cassie's nature collection of pine cones and rocks. We also added in shells and other odds and ends.


Cassie really enjoyed this part of adding all the natural elements.  This island was getting quite overloaded! She was having fun though!


Here is Cassie's mostly finished island with some plastic glass elements added in.


In the end Cassie added plastic insects and dinosaurs to her island too! This island inspired some imaginative play with adding Mom's old toy boat sailing around the island!!! Cassie had much enjoyment creating the island and playing with it too! It turned out better than I thought it would!


Tuesday, May 17, 2011

Spin Art Without The Spinner

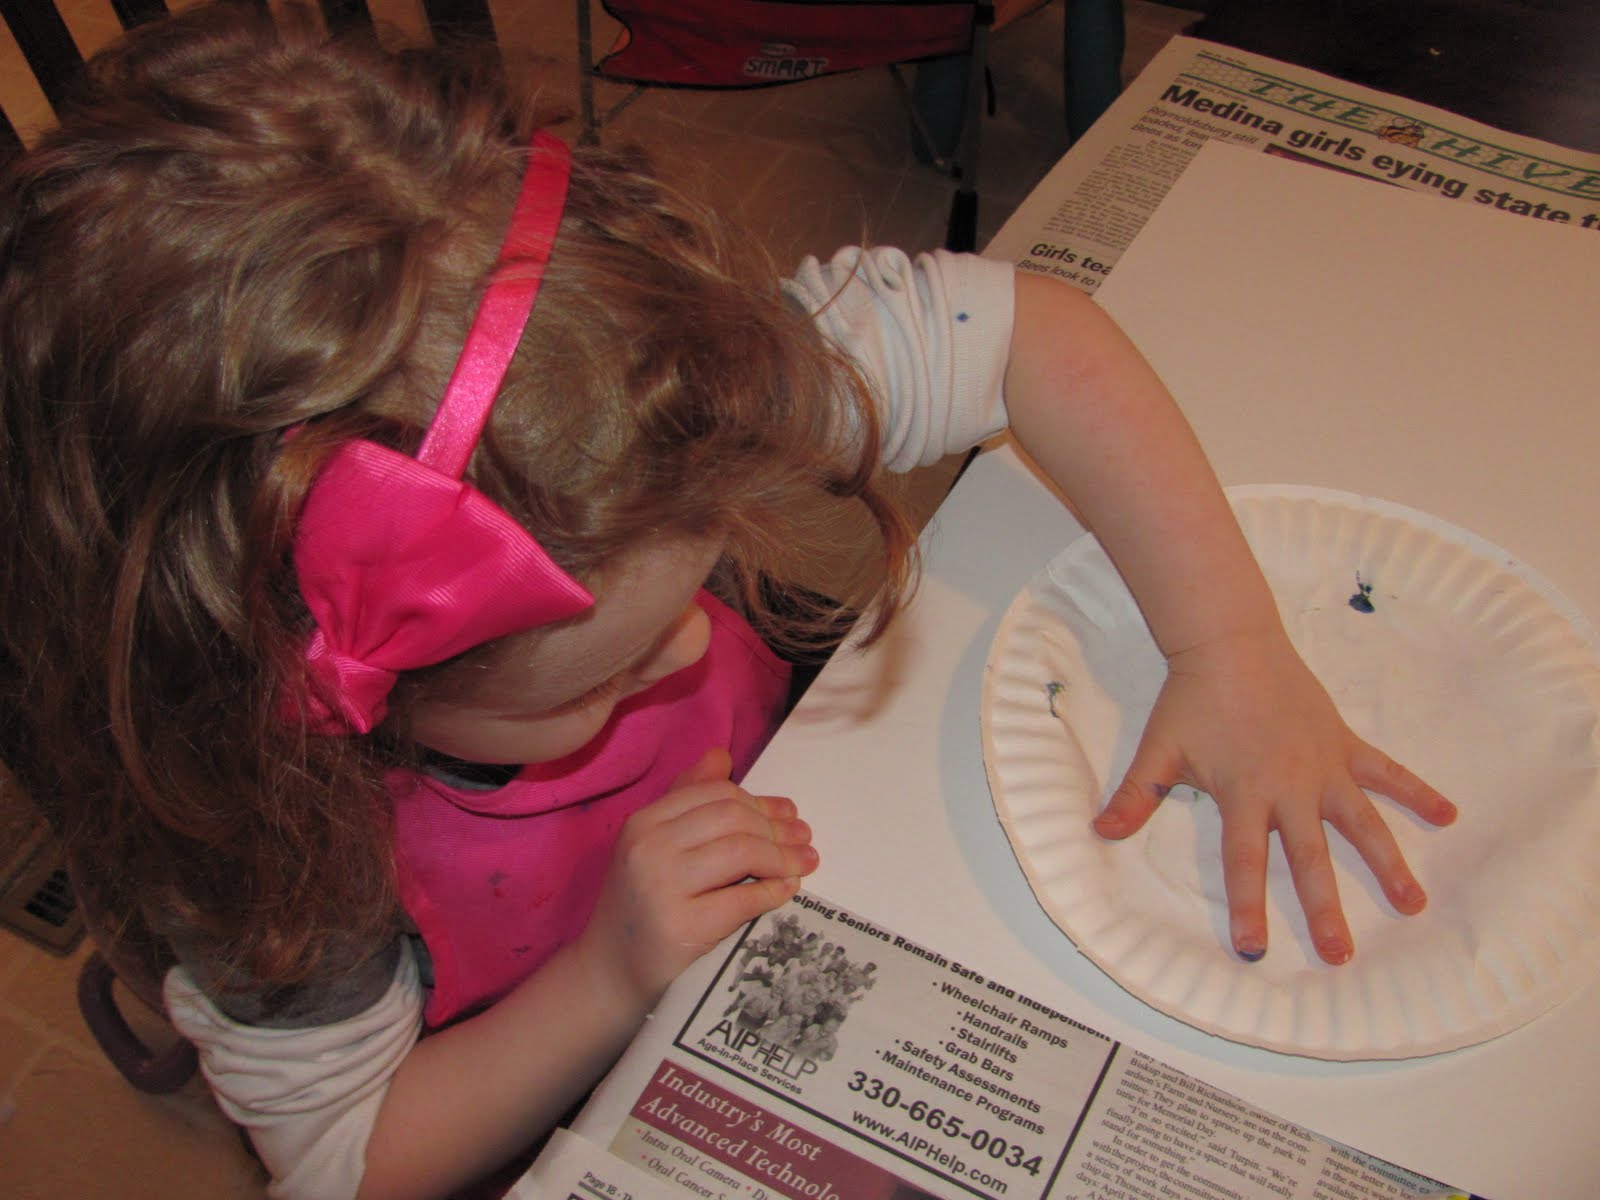
This idea was taken from Teach Preschool's post: Paper Plate Spin Art Without The Spinner For Preschoolers. I was very inspired by this post and knew that Cassie and I would try it soon! We love Spin Art and I thought it would be great to try it without the spinner! This project became all about Mixing Colors in the end! To begin we squirted a bunch of tempera paint on a paper plate. (I would use much less paint than what is pictured here!)


Then after you've put some paint on the paper plate, flip it over carefully on a sheet of paper. (I helped with this) Then twist the paper plate with your hand a few times.


Lift the paper plate up and you will have made your spin art without a spinner! We had so much paint on the plate we printed it again! So we had spin art on the paper plate, and two other paintings!


Here is one print.


After using multiple colors, we experimented with mixing primary colors. First we mixed yellow + red...


...to create spin art with different oranges like: yellow orange and red orange!


Then we mixed yellow + blue...


...to create yellow green and blue green!


Last, we mixed blue + red...


...to create red violet and blue violet!


So you can use both the painted paper plate and the paper print as art, and print more if you have used more paint! So we have a bunch of Spin Art Without The Spinner now!!!

Any ideas of what we could create these into?

Also, these could be purely experimental art too!!!

Monday, May 16, 2011

Marbles and Magna Tile Building Toys

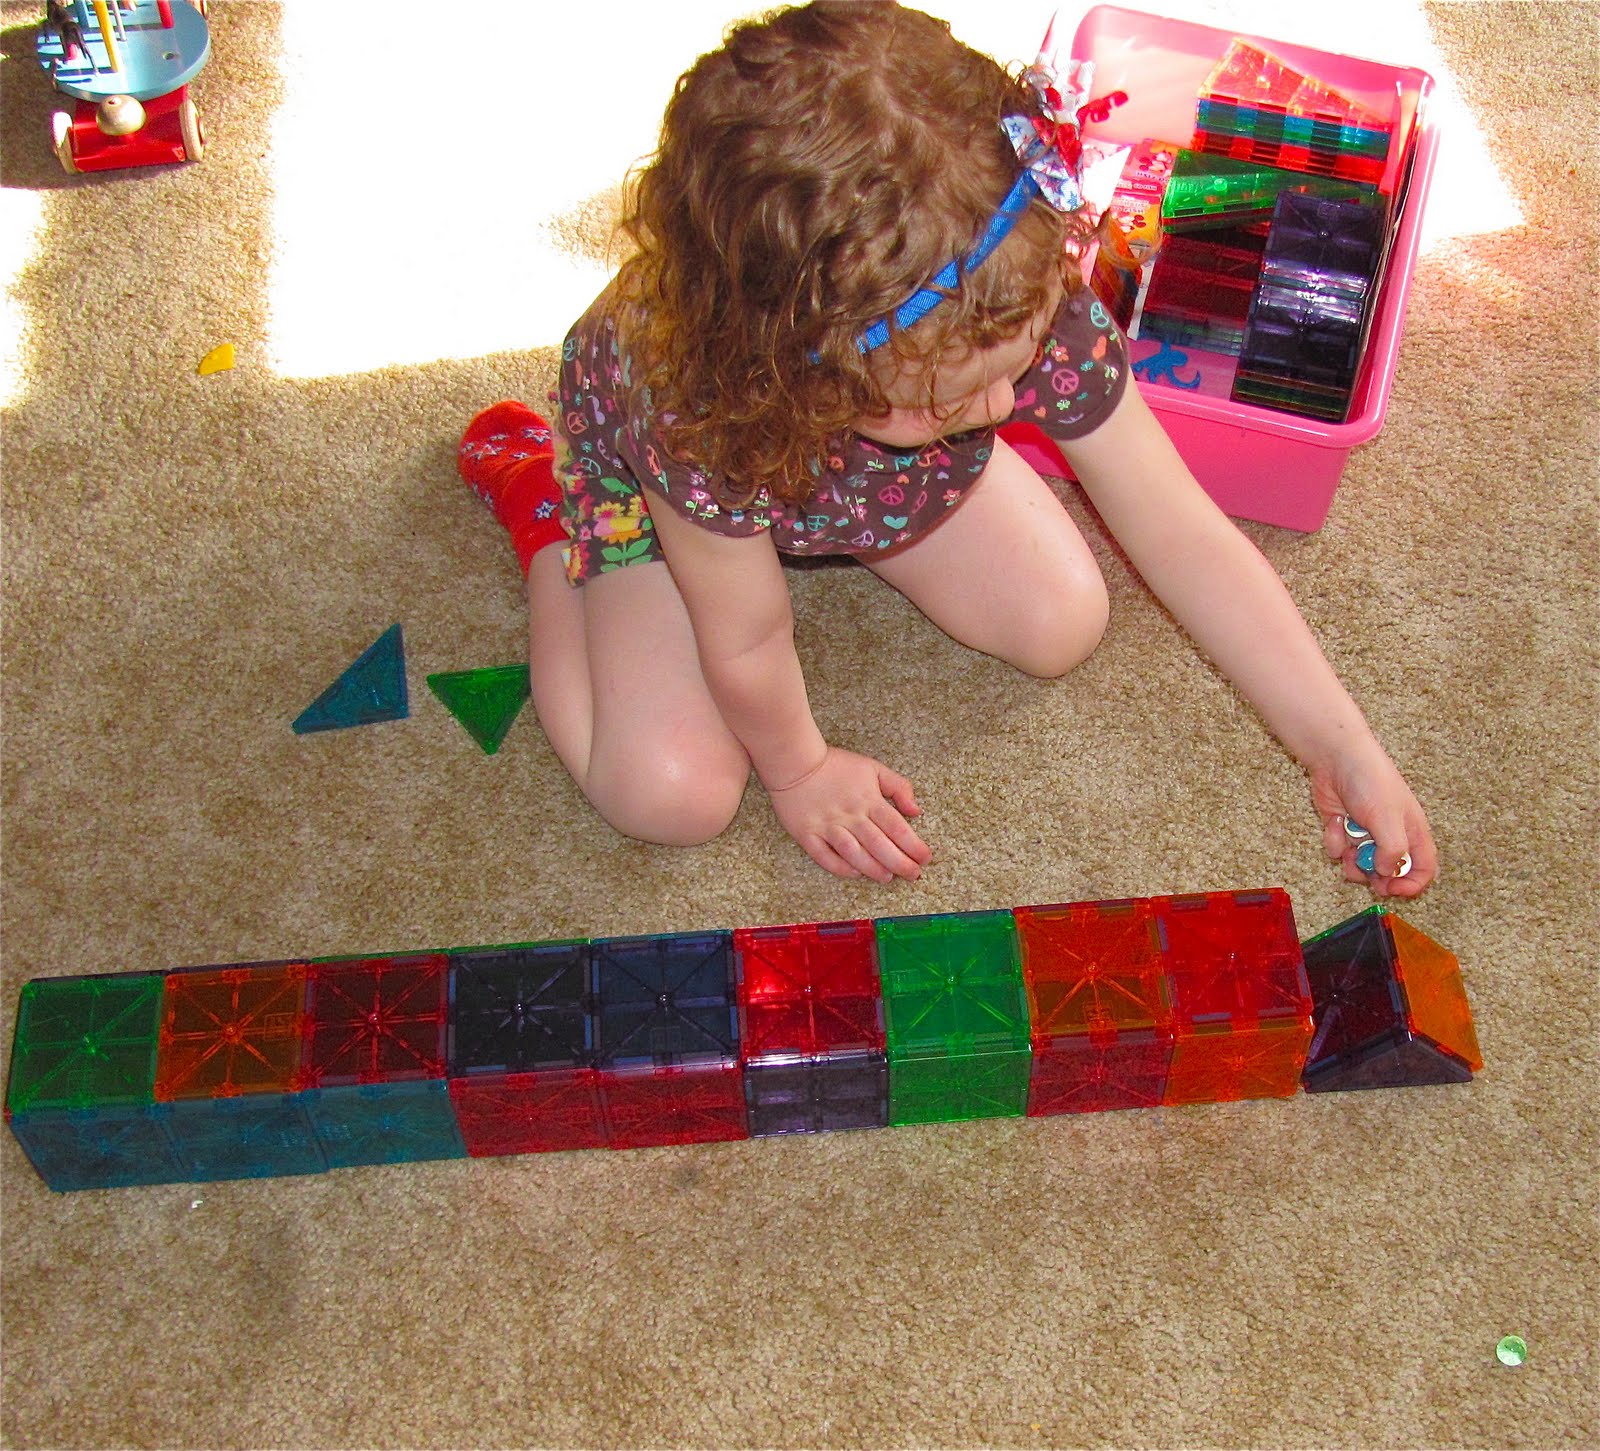
I did a posting called Magnificent Magna Tiles when I first began my blog, but not many people have probably read it because I had few followers back then!  If you want to check it out the post it is here and you can view some of the structures we have built with Magna Tiles! Magna Tiles are one of our all time favorite toys! They are magnetic building toys that encourage Creativity, Math, and Science. They are expensive, but worth every penny because Cassie played with these every day for a year when she first got them! We discovered these amazing building toys at Cassie's Preschool and rumor has it that all the kids fight over them!  We have recently brought new life to our Magna Tiles by adding marbles into the picture! We decided to create a marble run/maze with our Magna Tiles and it worked out pretty well!


We started out with a long path made from square tiles and added a small ramp built with triangular tiles. The nice thing about our tiles are that they are clear which makes them so much cooler to see the marbles or whatever toy you choose to put inside them! This was coming along pretty nicely so far!


We added another path with square tiles going perpendicular, but we needed to add a ramp there too. The square tiles limited us to only angular paths.


Cassie added a "rocket ramp"(the tall triangular structure) to the end of this pathway and she said the marbles could ride in the rocket!


Cassie added more rocket shapes to the structure.


Next we added another level on top of one path and the marbles would go down that path and come down the ramp to the bottom level. We were having great success!


The marbles are rolling down! It was fun to watch!


Here is  a close-up view of a marble going down the top level and in the back you can see through the tiles where a marble is on the bottom level!


This activity kept Cassie's interest for quite a while! I can't wait to see what other creations these marbles inspire!! It was fun to see all the modifications being made throughout the activity!


***Be sure to check out the Magna Tiles Website for inspiration here. There is a gallery of different ideas here.  Also there is a place where  you can submit pictures of your creations here. There is some amazing stuff!!!! Magna Tiles are usually sold at Educational/Specialty Toy stores.  We bought ours online through Amazon.com here, but you could always purchase them through the official website here.


What other toys could you use to create Marble Runs or Mazes?

Next time we will create our own Marble Run with cardboard or tubes!!

Inspiration:
***Check out Tinkerlab here and here for some great cardboard Marble Runs!

*** Check out Hands on : as we grow here for some cardboard ramps to use with balls and toy cars!

Pine Cone Sculptures

We have such a huge collection of natural items, especially pine cones and sweet gum pods, I knew we could eventually incorporate these into some sort of Art! So we created sculptures with them today. Cassie was excited to involve her collections into a project so she was highly motivated! Also, the fact we were using a glue gun got her psyched up too! Again if you are hesitant about using glue guns with little ones, check out this post by Teacher Tom here.  He is the reason I have started using them with my daughter. The glue gun allows for building more vertically and at a faster rate! Kids learn how to be safe with glue guns very quickly! Use your own judgement to what you think is right for your child!


Here is some of Cassie's collection that we used for our sculptures.


Here is our Low temperature glue gun and some scrap cardboard/ matte board that we used for our sculptures. We need to get a glue gun with a trigger, but Cassie seems to have gotten the hang of this one!


Here is Cassie using the glue gun very successfully to create her sculpture.


More building and concentrating!


Cassie really took charge of this project! She said that we were working as a team, but she did a Great deal of it by herself!


Here is Cassie looking very satisfied!!! She kept going with this sculpture for a while!


Completed Pinecone Sculpture:


Cassie created another Sculpture too:


What Do You Think?

What other natural items could you use to create a sculpture?
This post is linked to:

Wednesday, May 11, 2011

Cardboard Box Guitar and Snap Painting

We were over Grandfather's house this past week and ended up making something again! A Cardboard Box Guitar!!! There were no plans in making this....it just happened and Grandfather always has every kind of material at hand in his house!!  Keep reading to find out how we made a "Snap Painting" from one of our guitars! Cassie had a lot fun with both activities!


This (below) was our inspiration to make the guitar. Grandfather has a dustpan with rubber bands on it to keep it flat.  If you know my Father you would know everything in his whole house has a modification to it! I said to Cassie that it looked like a guitar and asked her if she wanted to make one.  And that is how it all began!


Of course Grandfather had an ample supply of rubber bands and a couple boxes so we were good to go!
Do you know anyone that has that many rubber bands in their house? WOW!


Here is Cassie happily putting the rubber bands on a small wooden box. You could use a tissue box too.


Here she is making the rubber bands in the other direction!


Now happily strumming the guitar! Cassie quickly figured the sound was better with the bands going in one direction.


Well, we brought home our guitars and inspiration came to me from  TinkerLab's Cardboard Box Challenge: Snap Pantings from Irresistible ideas for play based learning! Why not just slide a paper underneath the rubber bands to use for the creation of a "Splat Painting"? So a day later that is what we did! First we took our guitar and put a paper to fit in the box. Then painted the rubber bands with tempera paint.


After the rubber band is covered with paint, snap it back and the paint will "splat" on to the paper. You can continue to keep adding paint to the bands and snapping them to create your painting!  Watch because you will get "splatted" with paint too.  Cassie had little specks of paint on her face!!! I suppose you could wear goggles or sunglasses!!! We found thinner rubber bands to work better too.


Here is our finished "Snap Painting"!!!